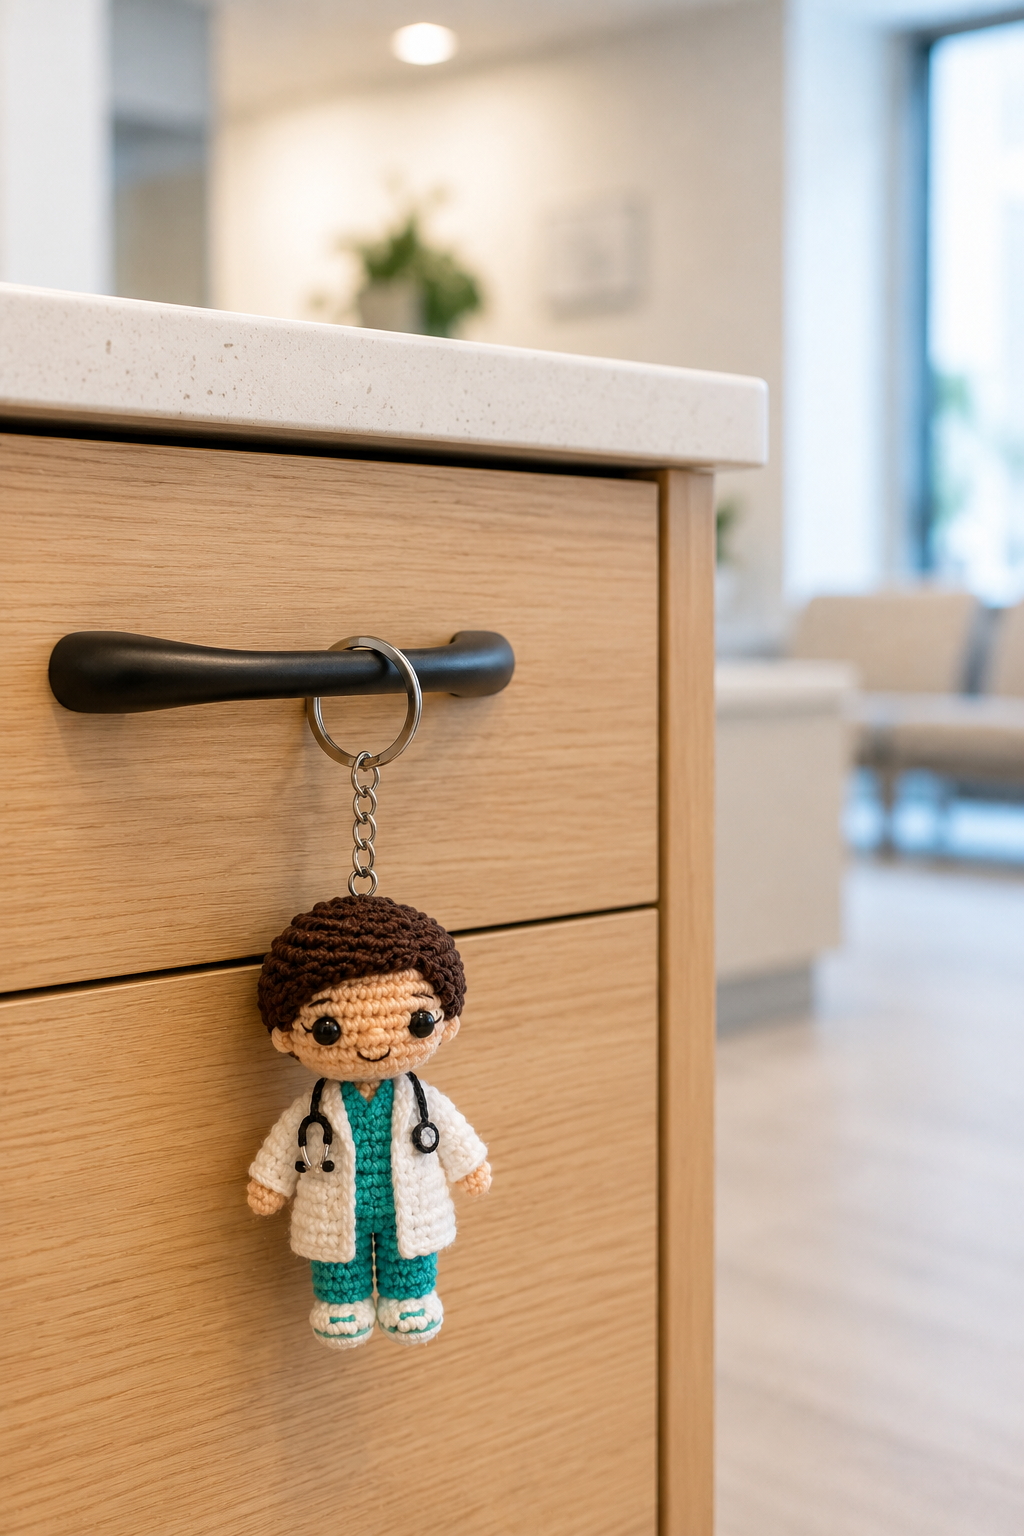
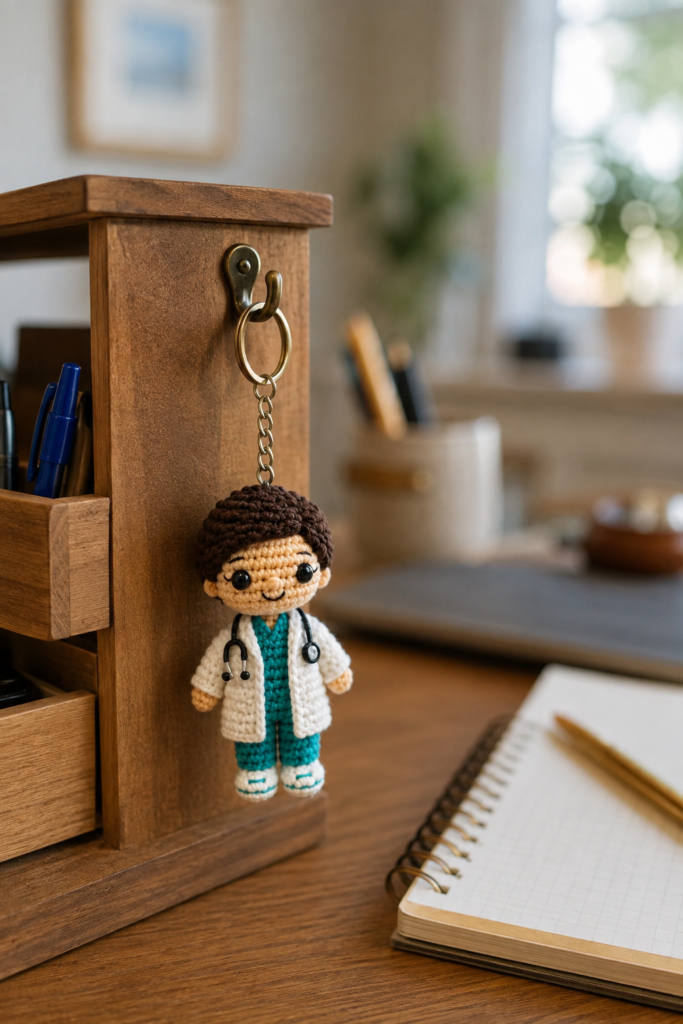
If you love making tiny crochet characters, this Tiny Crochet Doctor Keychain is a fun project to add to your handmade collection. With his little white coat, teal scrubs, brown hair, and miniature stethoscope, this amigurumi doctor makes an adorable keychain, bag charm, desk accessory, or thoughtful handmade gift for a medical professional.
The best part is that this project is small enough to take with you. You can work on it while relaxing at home, traveling, or enjoying a quiet afternoon with your crochet hook.
In this guide, we’ll look at the materials, construction, helpful crochet techniques, finishing tips, and ideas for turning your finished doctor into a cute handmade gift.
Table of Contents
- Why You’ll Love This Crochet Doctor Keychain
- Materials You’ll Need
- Recommended Yarn and Hook
- Skill Level
- How the Tiny Doctor Is Constructed
- Step-by-Step Crochet Guide
- Making the Doctor’s Body
- Creating the Head and Hair
- Adding the White Coat
- Making the Stethoscope
- Attaching the Keychain Hardware
- Beginner Tips
- Common Mistakes to Avoid
- How to Make Your Keychain Look Neat
- Gift Ideas
- Care and Storage
- Frequently Asked Questions
- Final Thoughts
Why You’ll Love This Crochet Doctor Keychain
There is something especially charming about miniature crochet projects. A small amigurumi can have all the personality of a larger doll while using only a small amount of yarn.
This doctor keychain is particularly cute because of the tiny details. The teal scrubs contrast beautifully with the white coat, while the brown crocheted hair gives the character a warm, friendly appearance. The miniature stethoscope completes the medical theme.
You can use the finished piece as:
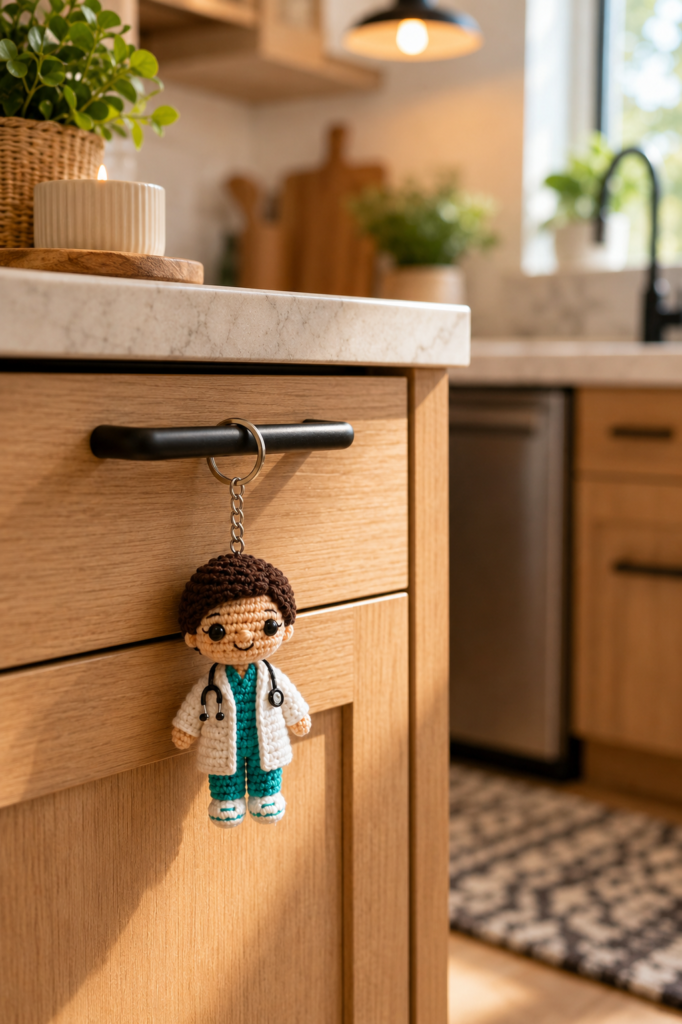
- A keychain
- A backpack charm
- A purse accessory
- A zipper pull
- A desk decoration
- A handmade gift
- A small appreciation gift for a doctor or medical student
It is also a great project for using leftover yarn from other amigurumi projects.
Materials You’ll Need
Before starting, gather your basic crochet supplies.
Yarn
You will need small amounts of yarn in colors similar to:
- Skin tone
- Brown
- Teal
- White
- Black
A smooth worsted-weight or cotton yarn works well for amigurumi. If you want a particularly small keychain, choose a finer yarn and adjust your hook accordingly.
Crochet Hook
Use a crochet hook appropriate for your yarn. For amigurumi, a slightly smaller hook than normally recommended can help create tighter stitches and prevent stuffing from showing through.
Other Supplies
You may also need:
- Polyester fiberfill
- Yarn needle
- Stitch marker
- Embroidery needle
- Black thread
- Small keychain ring
- Small metal chain
- Scissors
- Safety eyes or suitable embroidered eyes
Because this is a keychain, make sure the hardware is securely attached before using the finished piece.
Recommended Yarn and Hook
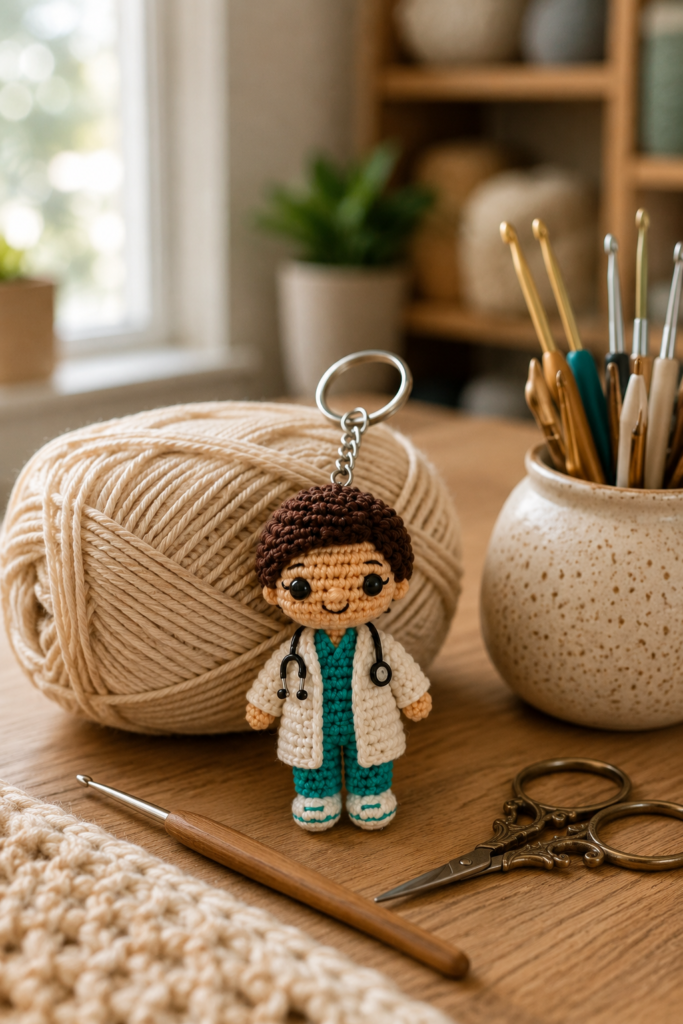
Cotton yarn is an excellent choice for miniature crochet because it gives the stitches a clean appearance and holds its shape well.
For a tiny doctor keychain, you generally want yarn that is:
- Smooth
- Durable
- Easy to work with
- Not overly fuzzy
- Available in several colors
A smaller hook helps produce dense fabric, which is especially useful when stuffing the head and body.
The exact hook size will depend on your yarn weight, so always make a small test piece first.
Skill Level
This project is best suited to advanced beginners and intermediate crocheters.
You should be comfortable with basic amigurumi techniques such as:
- Magic ring
- Single crochet
- Increasing
- Decreasing
- Working in continuous rounds
- Stuffing small pieces
- Sewing pieces together
- Changing yarn colors
The most challenging part is not necessarily the crochet itself. Because the finished doctor is tiny, attaching and positioning the small details requires patience.
How the Tiny Doctor Is Constructed
One useful way to approach a miniature amigurumi is to divide it into manageable sections.
The doctor consists of several main elements:
- Head
- Hair
- Body
- Teal scrubs
- White coat
- Arms
- Legs and shoes
- Stethoscope
- Keychain attachment
Work slowly and check the proportions as you go.
With small amigurumi, even a tiny difference in placement can change the expression of the finished character.
Step-by-Step Crochet Guide
1. Start With the Head
Begin with the head using your skin-tone yarn.
Work in tight single crochet rounds, increasing gradually until you reach the desired width. Continue working even rounds to create the rounded shape.
Once the head is large enough, begin decreasing gradually.
Add the stuffing before closing the final rounds.
Tip: Do not overstuff the head. Too much stuffing can stretch the stitches and make the finished character look less neat.
2. Add the Face
The eyes are one of the most important details on such a small character.
Place them evenly and check their position before permanently securing them.
For the small mouth and other facial details, embroidery is often easier than trying to crochet extremely tiny pieces.
A few simple stitches can create a friendly expression without making the face look crowded.
3. Create the Brown Hair
The brown crocheted hair gives the doctor his distinctive appearance.
Work the hair carefully around the top of the head and keep the stitches consistent.
Because the character is miniature, small variations in tension can become noticeable. Try to maintain the same tension throughout the hair section.
4. Crochet the Teal Scrubs
The teal scrubs form the main part of the body.
Work the body in teal yarn and keep the shape compact. The body should remain proportionate to the head rather than becoming too long or wide.
Once the body is complete, add the arms and legs.
Stuff the body lightly and evenly.
5. Make the White Doctor Coat
The white coat is what immediately gives this little amigurumi its doctor theme.
The coat can be made as a small crocheted outer layer around the teal body.
Keep the coat slightly open in the front so that the teal scrubs remain visible underneath.
When sewing the coat into place, use small stitches and avoid pulling the yarn too tightly.
6. Add the Arms and Shoes
Attach the arms symmetrically on both sides of the body.
The tiny shoes can be finished with white yarn and a small amount of teal detail to coordinate with the scrubs.
Before permanently sewing everything together, place the pieces temporarily and check the overall shape.
This simple step can save a lot of frustration.
Making the Miniature Stethoscope
The stethoscope is one of the cutest details of this project.
Use black yarn or embroidery thread to create the small tubing. A few carefully positioned stitches can form the recognizable shape around the doctor’s neck.
Because the stethoscope is so small, avoid making the yarn too bulky.
You want it to complement the character rather than cover the white coat.
Attaching the Keychain Hardware
Once your doctor is completely finished, attach the keychain hardware securely.
A small metal chain can connect the crochet character to the key ring.
Check the connection by gently pulling on it before attaching it to your keys or bag.
This is especially important if the keychain will be used every day.
For children’s accessories, choose hardware and attachment methods appropriate for the intended age group and always supervise use when necessary.
Beginner Tips for a Better Result
Keep Your Stitches Tight
Loose stitches can allow stuffing to show through the finished amigurumi.
If you notice large gaps between your stitches, try using a smaller crochet hook.
Count Your Rounds
Tiny projects can be surprisingly easy to miscount.
Use a stitch marker and count your stitches regularly.
Stuff Gradually
Instead of adding all the stuffing at once, add small amounts as you work.
This makes it easier to control the shape.
Check Placement Before Sewing
Before permanently attaching the eyes, arms, hair, or coat, position everything first.
Take a quick look from the front and side.
Don’t Rush the Details
The smallest details often make the biggest difference in miniature crochet.
Spend extra time on the face, hair, coat, and stethoscope.
Common Mistakes to Avoid
Using a Hook That Is Too Large
A large hook can create visible gaps between stitches.
For amigurumi, a tighter fabric usually produces a cleaner result.
Overstuffing
Overstuffing can distort the head and body.
The piece should feel firm but not stretched.
Uneven Facial Placement
Eyes that are only slightly uneven can become very noticeable on a tiny face.
Measure the spacing carefully before securing them.
Making the Accessories Too Large
The stethoscope, keychain chain, and other details should remain proportional to the character.
Miniature accessories should enhance the design rather than dominate it.
How to Make Your Keychain Look Neat
After finishing the crochet work, take a few minutes to inspect your character.
Trim loose yarn ends and carefully hide them inside the piece.
Check that the coat sits evenly.
Make sure the eyes are secure and the facial embroidery is neat.
Finally, inspect the keychain attachment.
A little finishing work can make a handmade crochet project look much more polished.
Gift Ideas for a Crochet Doctor Keychain
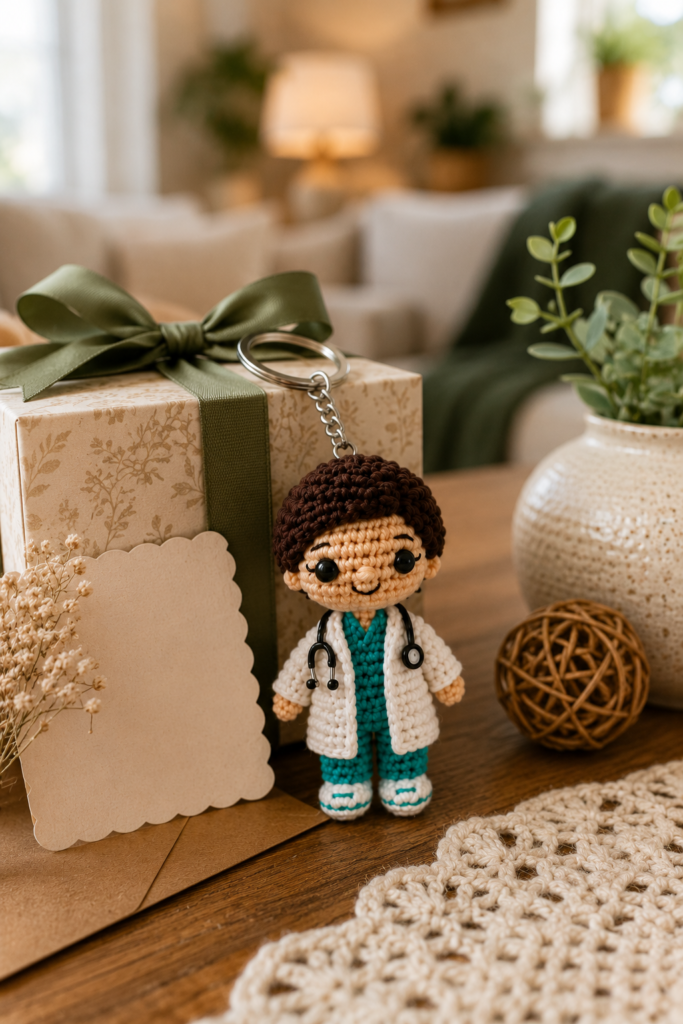
This little doctor makes a thoughtful handmade gift for many occasions.
You could give one to:
- A doctor
- A medical student
- A nurse
- A healthcare worker
- A medical school graduate
- Someone beginning a healthcare career
- A friend who loves miniature crochet
You can also package it inside a small kraft gift box with tissue paper for a simple handmade presentation.
Because the project is small, it can easily become part of a larger gift basket.
Care and Storage
Crochet keychains are generally easy to maintain, but they can collect dust and lint over time.
Keep your finished piece away from excessive moisture and direct heat.
For light cleaning, gently remove dust with a soft brush or cloth.
If the keychain becomes dirty, follow the care recommendations for the specific yarn you used. Avoid aggressive washing or squeezing, especially when metal hardware and small details are attached.
When not being used, store it somewhere dry and clean.
Frequently Asked Questions
Is this crochet doctor keychain beginner-friendly?
Yes, it can be a good advanced-beginner project if you already understand basic amigurumi techniques. The small size and tiny details require more patience than a basic crochet project.
What yarn is best for a crochet keychain?
Cotton yarn is a popular choice because it produces defined stitches and holds its shape well. Smooth acrylic yarn can also work.
Can I make the doctor in different colors?
Absolutely. You can change the scrub color, hair color, or coat details while keeping the basic character design.
How long does a tiny crochet keychain take to make?
The time depends on your experience, yarn weight, hook size, and how detailed you make the finishing. An experienced crocheter may complete a small project relatively quickly, while a beginner may need additional time for sewing and finishing.
Can I use this as a bag charm?
Yes. The finished piece works beautifully as a purse, backpack, tote bag, or zipper charm as long as the keychain attachment is securely fastened.
Is a crochet doctor keychain a good handmade gift?
Definitely. Its small size makes it affordable to create while the medical theme gives it a personal touch.
Final Thoughts
This Tiny Crochet Doctor Keychain is a wonderful example of how a small amount of yarn can become a character full of personality.
The combination of teal scrubs, a white doctor’s coat, brown crocheted hair, and a tiny stethoscope makes the finished piece instantly recognizable. More importantly, miniature crochet projects like this give you plenty of opportunities to practice shaping, color changes, embroidery, sewing, and finishing techniques.
Take your time with the face and tiny accessories, keep your stitches consistent, and don’t be afraid to make small adjustments to suit your own crochet style.
Whether you make one for yourself or create it as a thoughtful gift for someone in the medical field, this tiny doctor is sure to bring a little handmade charm wherever it goes.
Ready to pick up your crochet hook? Save this pattern idea for your next mini amigurumi project and start creating your own adorable little doctor!