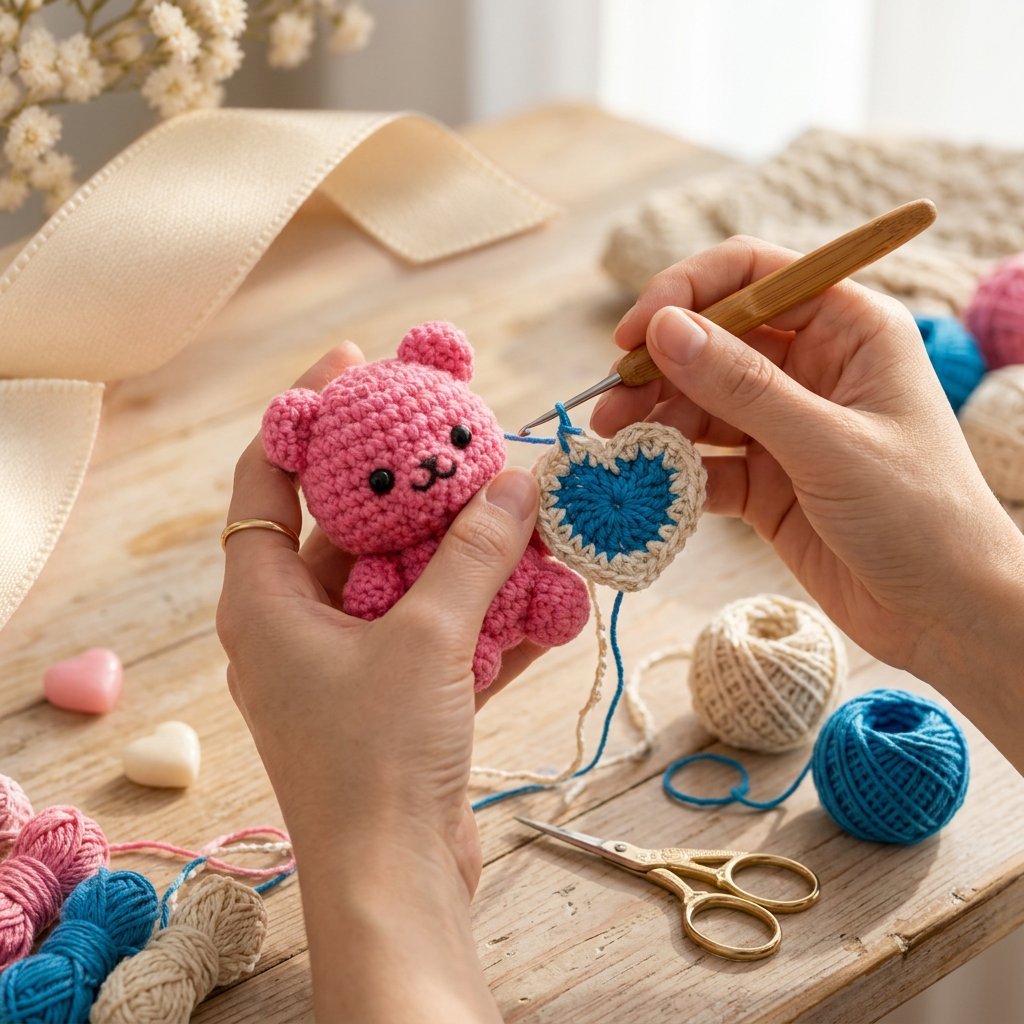
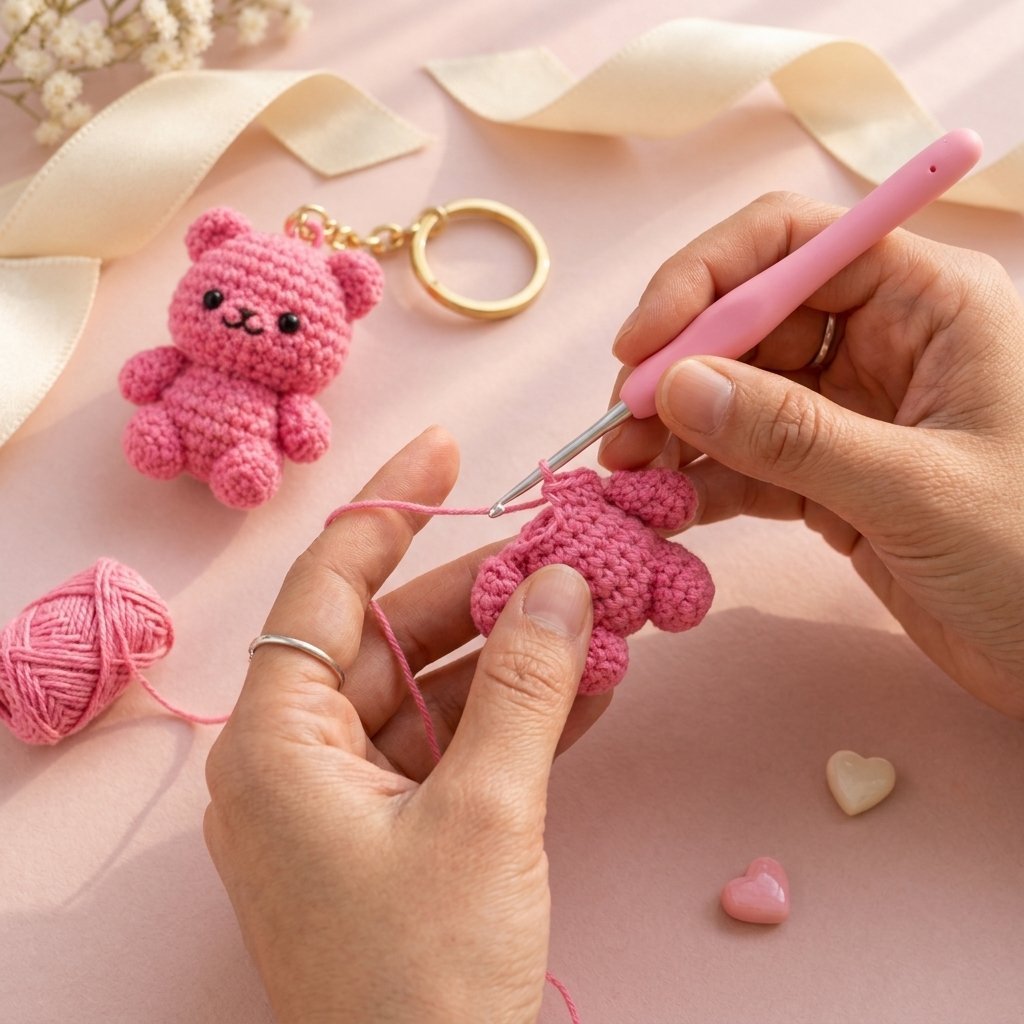
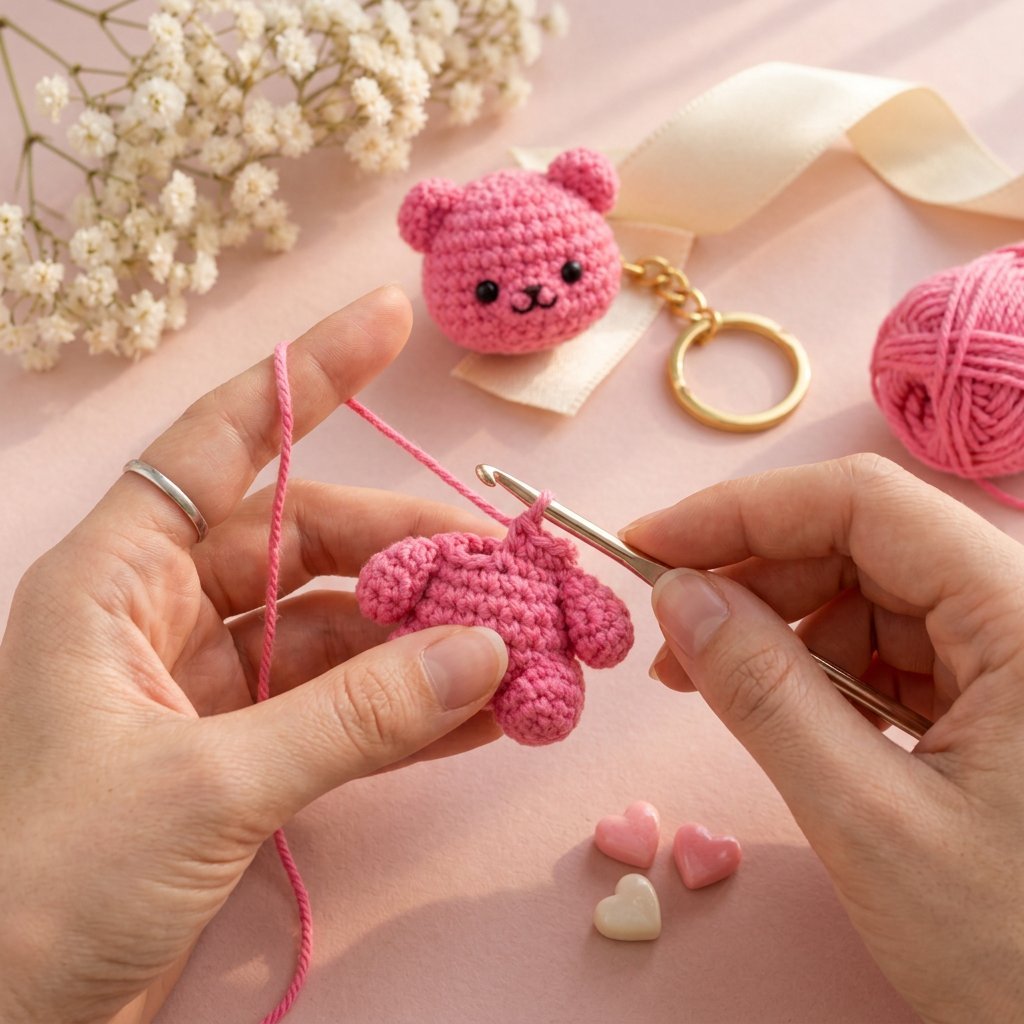
Some patterns are made to be impressive. Others are made to make you smile when you least expect it. This mini crochet gummy bear bag keychain is firmly in the second camp. It is small, squishy, and a little bit silly, and it looks adorable swinging from a tote, a backpack zipper, or a set of car keys.
I designed this pattern for crocheters who want a quick, satisfying project without a complicated construction. The whole bear is made from simple shapes: one chubby body-and-head piece, two ears, two arms, two legs, and a tiny muzzle. If you can make a magic ring, single crochet, increase, and decrease, you can make this bear. Most people finish one in about an hour and a half to two hours, and once you have the rhythm you can crank out a whole rainbow bag of them in an afternoon.
In this post, you will get the complete free pattern with stitch counts for every round, a materials list that explains why each choice matters, tips for getting that glossy gummy candy look, and a troubleshooting section for the problems beginners run into most often. I have also added ideas for colors, ways to turn the bear into other accessories, and answers to the questions people ask me most about amigurumi keychains.
Why You Will Love This Gummy Bear Keychain Pattern
There are plenty of amigurumi keychain patterns out there, so here is what makes this one worth your time.
It is truly beginner friendly. Every piece is worked in continuous spirals using only single crochet, increases, and decreases. There is no color changing, no tricky joining, and no complicated shaping. If you have made a basic amigurumi ball before, you already have the skills.
It is fast. Tiny projects are perfect for the in-between moments, like a lazy Sunday, a long car ride, or a movie night. Because the pieces are so small, you see progress after every few rounds, which makes it hard to put down.
It is great for using up scraps. A gummy bear only needs a small amount of yarn, so every leftover ball in your stash becomes a candy-colored bear. Red, orange, yellow, green, pink, and clear-white bears together look like a real bag of gummies.
It makes a thoughtful handmade gift. A bag charm costs very little to make, ships flat in an envelope, and feels personal. Teachers, friends, coworkers, and kids all love them, and they are a popular choice for craft fairs and holiday swaps.
It works with different yarns. You can change the look completely depending on the yarn you pick, from matte and soft to shiny and translucent-looking. I will explain how below.
Project Details at a Glance
Skill level: Beginner to advanced beginner
Time to make: About 1.5 to 2 hours
Finished size: Roughly 2.5 to 3 inches (6 to 7.5 cm) tall with DK weight yarn and a 2.5 mm hook. Your size will vary slightly depending on your tension, yarn, and how firmly you stuff.
Pieces: 1 body and head, 2 ears, 2 arms, 2 legs, 1 muzzle, 1 hanging loop
Techniques used: Magic ring, single crochet, increase, decrease, basic embroidery, whip stitch assembly
Materials You Will Need
Small projects still deserve the right materials. Here is what I use and why.
Yarn: About 10 to 15 yards (9 to 14 meters) of DK weight (category 3) yarn per bear. Cotton and cotton blends give a clean, defined stitch that holds its shape well. Acrylic works too and is easy to find in bright candy colors. If you want to chase the shiny gummy look, try a mercerized cotton or a yarn with a subtle sheen. You can also hold a thin shimmer or metallic thread together with your main yarn for a sparkly, jelly-like effect.
Black embroidery thread or a scrap of black yarn: For the eyes and the smile. I prefer embroidered eyes for keychains because they cannot pop off, they are safe if the charm ends up in the hands of a younger child, and they give the bear a sweet, simple expression.
Crochet hook: A 2.5 mm hook is what I used for DK yarn. The golden rule for amigurumi is to use a hook one or two sizes smaller than the yarn label suggests. This keeps your stitches tight so the stuffing cannot peek through. If your fabric looks loose or gappy, drop down another half millimeter.
Polyester fiberfill: A small handful per bear. Tiny pieces need only a pinch each, so keep a toothpick or the blunt end of a pencil nearby to push the stuffing into the arms and legs.
Keychain hardware: One split ring (about 15 to 20 mm) and one lobster clasp or a keychain swivel. These are inexpensive and easy to find in craft stores or online. Pick hardware that matches your bag, such as gold, silver, or black.
Yarn needle: A blunt tapestry needle for sewing the pieces together and weaving in ends.
Stitch marker: Essential for spiral rounds. A scrap of contrasting yarn works perfectly.
Small scissors: Sharp ones, because you will be trimming tiny tails.
Optional: Pink or orange embroidery thread for blushing cheeks, and a small amount of clear craft glue to secure tiny ends if you plan to sell your finished bears.
Abbreviations (US Terms)
This pattern uses standard US crochet terms.
- MR: Magic ring (also called magic circle)
- sc: Single crochet
- inc: Increase, which means working 2 sc in the same stitch
- dec: Decrease, which means working a single crochet invisible decrease over the next two stitches (see tip below)
- ch: Chain
- sl st: Slip stitch
- ( ) x6: Repeat the instructions inside the parentheses the number of times shown
- [ ]: The total number of stitches at the end of the round
Invisible decrease tip: Insert your hook through the front loops only of the next two stitches, yarn over, and pull through both loops. Yarn over again and pull through the two remaining loops on the hook. This gives a smoother, neater decrease than the standard version and hides the gaps that can show up on tiny pieces.
How to Read This Pattern
Every piece here is worked in a continuous spiral. That means you do not join the rounds or turn your work. Place a stitch marker in the first stitch of each round and move it up as you go. If you ever lose track of where a round starts, find the spot where the yarn tail hangs and count from there.
Count your stitches at the end of each round. It takes a few seconds, and it saves you from the frustrating discovery three rounds later that you are one stitch short.
The Pattern
Body and Head (Make 1)
The bear is worked from the bottom of the body up to the top of the head, in one piece. The body is slightly narrower than the head, which gives that chubby, chibi gummy bear shape.
Start with an MR.
Round 1: 6 sc in the MR [6]
Round 2: inc in each stitch around [12]
Round 3: (sc, inc) x6 [18]
Round 4: (2 sc, inc) x6 [24]
Rounds 5 to 9: sc in each stitch around [24] (5 rounds)
Round 10: (2 sc, dec) x6 [18]
Round 11: sc in each stitch around [18]
This is the neck. Add a little stuffing into the body now. Fill it firmly but do not overstuff, and keep adding as you go because it gets harder to reach later.
Round 12: (2 sc, inc) x6 [24]
Round 13: (3 sc, inc) x6 [30]
Rounds 14 to 18: sc in each stitch around [30] (5 rounds)
Round 19: (3 sc, dec) x6 [24]
Round 20: (2 sc, dec) x6 [18]
Stop and stuff the head now. Push the fiberfill into every curve, especially the top of the head and the cheeks, until it feels smooth and slightly firm.
Round 21: (sc, dec) x6 [12]
Round 22: dec x6 [6]
Fasten off, leaving a 6 inch (15 cm) tail. Thread the tail through the front loops of the remaining 6 stitches, pull tight to close the opening, and weave in the end inside the body.
Ears (Make 2)
Start with an MR.
Round 1: 6 sc in the MR [6]
Round 2: (sc, inc) x3 [9]
Round 3: sc in each stitch around [9]
Fasten off, leaving a long tail for sewing. Do not stuff the ears. Flatten them so they form little half-moons.
Arms (Make 2)
Start with an MR.
Round 1: 6 sc in the MR [6]
Rounds 2 to 4: sc in each stitch around [6] (3 rounds)
Fasten off, leaving a tail for sewing. Add a tiny pinch of stuffing, just enough to give the arm a soft shape. Do not overfill, or the arm will stick straight out and look stiff.
Legs (Make 2)
Start with an MR.
Round 1: 6 sc in the MR [6]
Round 2: (sc, inc) x3 [9]
Rounds 3 to 4: sc in each stitch around [9] (2 rounds)
Fasten off, leaving a tail for sewing. Stuff lightly. The legs should feel plump and rounded, like real gummy bear feet.
Muzzle (Make 1)
Start with an MR.
Round 1: 6 sc in the MR [6]
Round 2: inc in each stitch around [12]
Fasten off, leaving a tail for sewing. This little circle gives your bear that sweet, raised snout. For a more defined muzzle, add a small pinch of stuffing while sewing it on.
Hanging Loop (Make 1)
Make a slip knot and chain 12. Slip stitch into the first chain to form a loop. Fasten off, leaving a tail for sewing.
If you prefer a sturdier loop for a heavy bag, chain 12, join, and then work 2 or 3 more rounds of sc around the loop to make a thicker ring. A plain loop is plenty strong for a lightweight charm.
Assembly: Bringing Your Gummy Bear to Life
Assembly is where the bear gets its personality. Take your time here. A few millimeters of difference in placement changes the whole expression, and I always pin pieces in place before sewing.
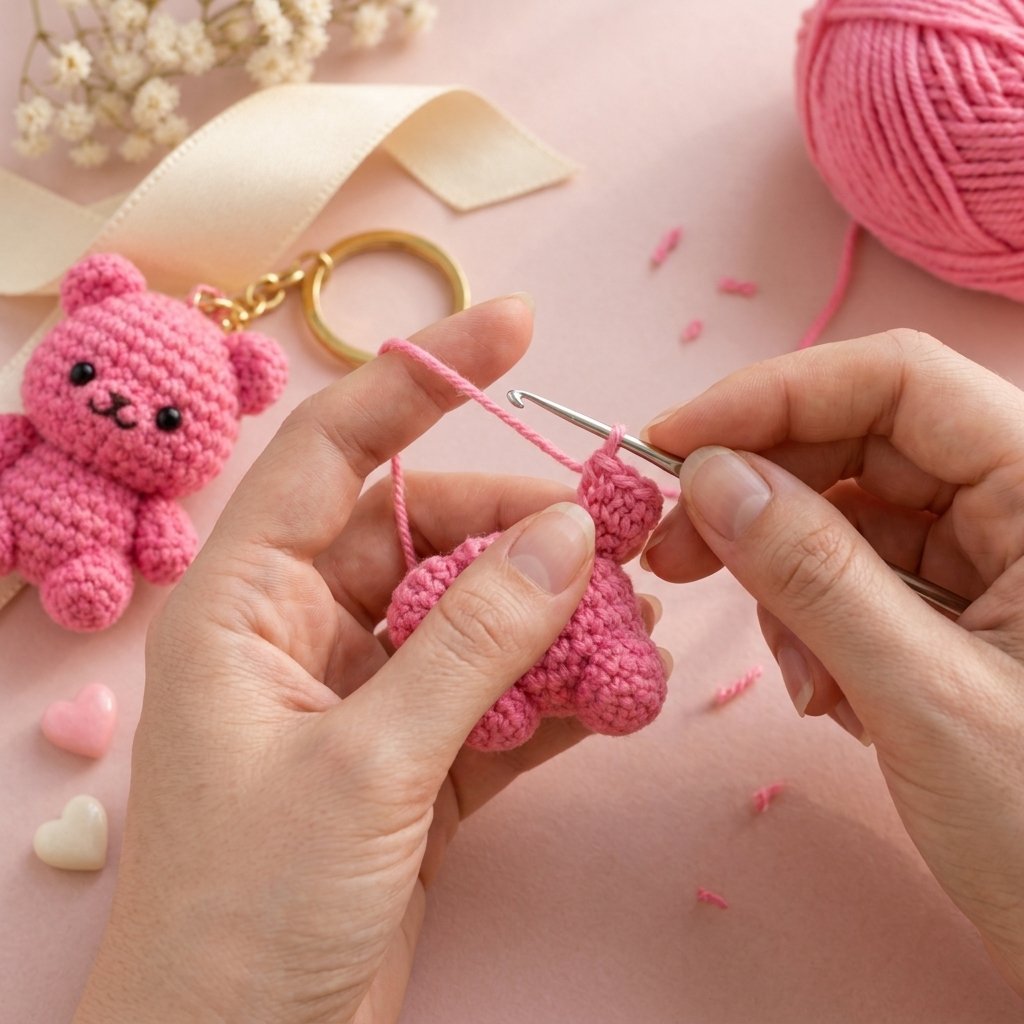
Step 1: Sew on the ears. Pin the ears on the top of the head, about 3 rounds in from the top and angled slightly outward. Leave about 4 stitches between them. Sew them on with a whip stitch, going through the front loops of the ear and the stitches of the head.
Step 2: Attach the muzzle. Center the muzzle on the front of the head, around rounds 15 to 17. Pin it down, add a pinch of stuffing, and sew around the edge with small, tight stitches.
Step 3: Embroider the face. Use black thread to stitch the eyes. Place them about 1 stitch out from either side of the muzzle, on round 14 or 15. Two small straight stitches, one on top of the other, make a clean oval eye. Then embroider a small triangle or a tiny horizontal stitch for the nose on the muzzle, and add a short curved smile under it. If the face does not look right, pull the thread out and try again. A little experimenting is part of the charm.
Step 4: Add blush (optional). A couple of short pink stitches under each eye give the bear rosy cheeks.
Step 5: Attach the arms. Pin the arms to the sides of the body, around rounds 8 to 9, just below the neck. Sew them on, angling them slightly downward so the bear looks relaxed rather than startled.
Step 6: Attach the legs. Sew the legs to the bottom of the body, about 2 stitches apart. Place them at the front edge of the base so the bear can sit up on its own.
Step 7: Add the hanging loop. Sew the loop to the very top of the head, right between the ears. Go around the loop several times and knot securely on the inside of the head. This is the piece that carries all the weight, so reinforce it.
Step 8: Attach the hardware. Slide the split ring through the crochet loop. Attach the lobster clasp. Tug firmly on the clasp to make sure everything holds.
How to Get That Glossy “Gummy” Look
Real gummy bears are shiny, slightly translucent, and bright. You obviously cannot make yarn translucent, but you can get surprisingly close with a few simple choices.
Pick a yarn with sheen. Mercerized cotton, rayon blends, and some acrylics have a natural gloss that catches the light. When you hold the finished bear up, the tiny stitches reflect light like candy.
Hold a shimmer thread alongside your yarn. A fine metallic or iridescent thread worked together with your main yarn adds sparkle without changing the stitch size too much. Test on a small swatch first, because holding two strands together can make your fabric slightly thicker.
Choose saturated, jewel-like colors. Pastel gummy bears look sweet, but vivid reds, oranges, greens, and clear yellows are what make people think of candy.
Keep your stitches tight and even. Dense stitches reflect light more consistently than loose ones, and they hide the stuffing completely.
Smooth the surface. After stuffing, roll the bear gently between your palms to even out lumps. A smooth surface makes the whole piece look polished.
Color Ideas and Variations
Once you have the basic bear, the fun really starts. Here are some of my favorite ways to play with it.
The classic candy mix. Make six bears in red, orange, yellow, green, pink, and white, and clip them all to one bag or one big key ring. It is a rainbow bag of gummies you can carry around.
Pastel dream bears. Lavender, mint, baby pink, and butter yellow create a soft, kawaii look that suits school bags and journals.
Holiday bears. Red and green bears for Christmas, orange and black for Halloween, or pink and red for Valentine’s Day. They make wonderful stocking stuffers and small party favors.
Rainbow stripes. Change colors every two rounds to make a striped bear. This takes a little more patience with tiny pieces, but the result is playful and unique.
Bear mini ornaments. Skip the keychain hardware and attach a ribbon or yarn loop to make a tiny Christmas ornament or gift topper.
Bear charms for jewelry. Make a smaller version with fingering weight yarn and a 1.75 mm hook, then use it as a zipper pull or a necklace charm.
Gummy bear plush for desks. Work the pattern with worsted weight yarn and a 3.5 mm hook for a chunky bear about 4 inches tall, with no hardware at all.
Troubleshooting: Common Problems and Easy Fixes
Even simple patterns can hit a snag. Here are the issues I see most, and how to solve them.
My bear looks lumpy. This usually comes from uneven stuffing. Fill in small pinches rather than one big wad, and use a pencil or hemostat to push the stuffing into the curved parts. After closing, gently roll and squeeze the bear to even things out.
I can see stuffing through the stitches. Your stitches are too loose. Go down a hook size, and try tightening your tension slightly. Dark stuffing, such as old gray fiberfill, can also show through light yarn, so use clean white fiberfill.
My magic ring keeps coming undone. After you make the first round, pull the tail firmly to close the ring, then tie a small knot with the tail and the working yarn. If you are still struggling, try the alternative start: chain 2 and work 6 sc into the second chain from the hook.
The head looks too big or too small. Check your stitch counts, especially around rounds 13 to 18. If your head looks small, add one more round at stitch count 30. If it looks too large, remove one. A difference of one round changes the whole proportion.
The bear will not sit up. Stuff the bottom a little more firmly and sew the legs forward, close to the front edge. A slightly flat base also helps.
The face looks crooked. Pin the eyes and nose in place with sewing pins or tiny scraps of yarn before you stitch anything. Step back, look at the bear from a few feet away, and adjust. Faces are all about symmetry, and being off by one stitch is noticeable.
The hanging loop pulls through. Reinforce it. Sew the loop several times through the top of the head and knot it inside. You can also work a few extra stitches in a cross pattern to spread the strain.
The ears look uneven. Always sew the ears on at the same time, counting rounds and stitches to match on both sides.
Tips From My Own Making Experience
After making a lot of small amigurumi, here are the habits that make the biggest difference.
Always count your stitches. In tiny pieces there is no room for error.
Keep your stitch marker in the first stitch of every round, and move it up as soon as you finish the round.
Crochet the front loops or both loops consistently. Mixing them gives an uneven texture.
Use a brighter light than you think you need, especially with dark yarn.
Weave in your ends before you start stuffing. It is much harder to hide tails inside a stuffed piece.
Make one test bear in scrap yarn before using your favorite colors. It helps you adjust the proportions and tension without wasting good yarn.
Take a photo of the finished bear next to a coin or ruler so you can remember the size with each hook and yarn combo.
Safety, Care, and Washing
A keychain is a decoration, not a toy. This bear is small and is not intended for children under 3, because small parts and stuffing can be a choking hazard. I use embroidered eyes for exactly that reason. If you give a charm to a family with young children, mention that it is a bag accessory and not a toy.
To clean your bear, hand wash it gently in cool water with mild soap, press out the water with a towel, and let it air dry fully before using it again. Cotton and acrylic both handle this well. Avoid putting stuffed pieces in the washing machine, because the hardware can scratch the drum and the stuffing can clump. If the bear gets wet, dry it completely before you stuff it into a closed bag, because trapped moisture can cause odors.
Check the clasp and split ring every few months, especially if the charm lives on a heavily used bag, and replace the hardware if it feels loose.
Can I Sell the Bears I Make From This Pattern?
Yes. You are welcome to sell finished bears you make from this pattern, whether at craft fairs, in an online shop, or to friends. All I ask is that you credit StitchNestStudio as the pattern designer when you list them, and that you use your own photos. Please do not copy, resell, or redistribute the written pattern itself, and do not claim it as your own. This is an original design and is not affiliated with any candy brand or company.
Frequently Asked Questions
Is this crochet gummy bear keychain pattern really free?
Yes. The full pattern is right here in this post. Bookmark it or print it for your craft bag.
Is this pattern good for beginners?
Yes. It uses only the most basic amigurumi stitches and no color changes. If you can make a magic ring and single crochet in a spiral, you are ready.
What yarn is best for a crochet gummy bear keychain?
DK weight cotton or a cotton blend is my favorite, because it holds its shape and has a slight sheen. Acrylic works well too. Avoid fuzzy or very textured yarns, because they hide the stitches and make the small details harder to see.
What size hook should I use?
A 2.5 mm hook works well with DK weight yarn. Use a smaller hook if your stitches look loose.
How big is the finished bear?
About 2.5 to 3 inches (6 to 7.5 cm) tall, depending on your tension and yarn. To make it bigger, use thicker yarn and a larger hook.
Can I make it without safety eyes?
That is exactly how this pattern is designed. The eyes and mouth are embroidered, which is safer and gives the bear a sweeter look.
How long does it take?
Most crocheters need about 1.5 to 2 hours. Your first bear may take a bit longer, but the next ones go much faster.
What do I do with the keychain hardware if I do not have a lobster clasp?
A simple split ring is enough. You can also loop the bear onto a bag zipper with a piece of ribbon or yarn.
Can I make the bear in different colors?
Of course. A rainbow set of gummy bears is the whole point.
Final Thoughts
A good small pattern does not need to be complicated. It just needs to be clear, quick, and rewarding, and I hope this mini crochet gummy bear bag keychain gives you all three. It is perfect for scrap yarn, for beginners learning amigurumi, for last-minute gifts, and for anyone who loves their bag a little extra cute.
If you make one, I would love to see it. Share your finished bear, the colors you chose, and anything you changed to make the pattern your own. And if you ran into a problem I did not cover here, leave a comment and I will help you work it out.
Happy hooking, and may your bag always be full of tiny crochet candy.
Written by the StitchNestStudio team, crochet designers who test every pattern before publishing.