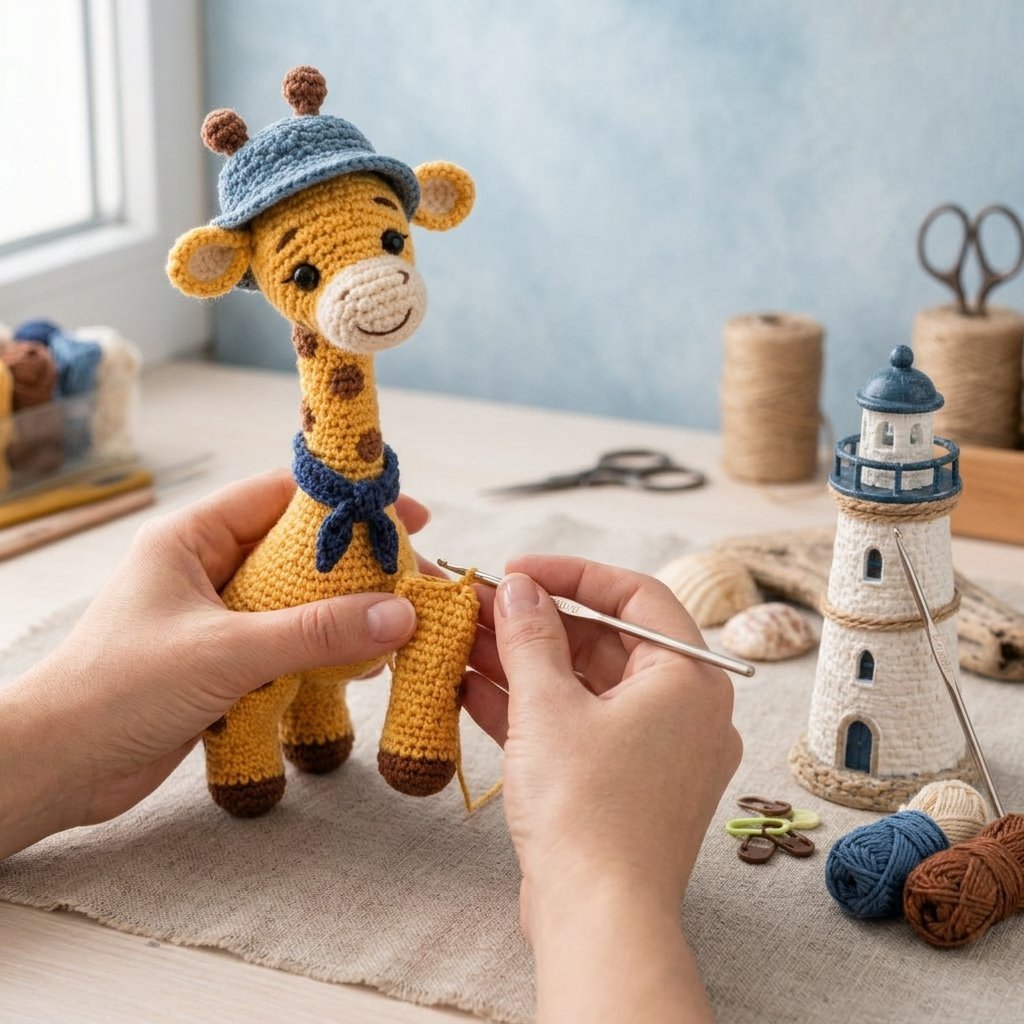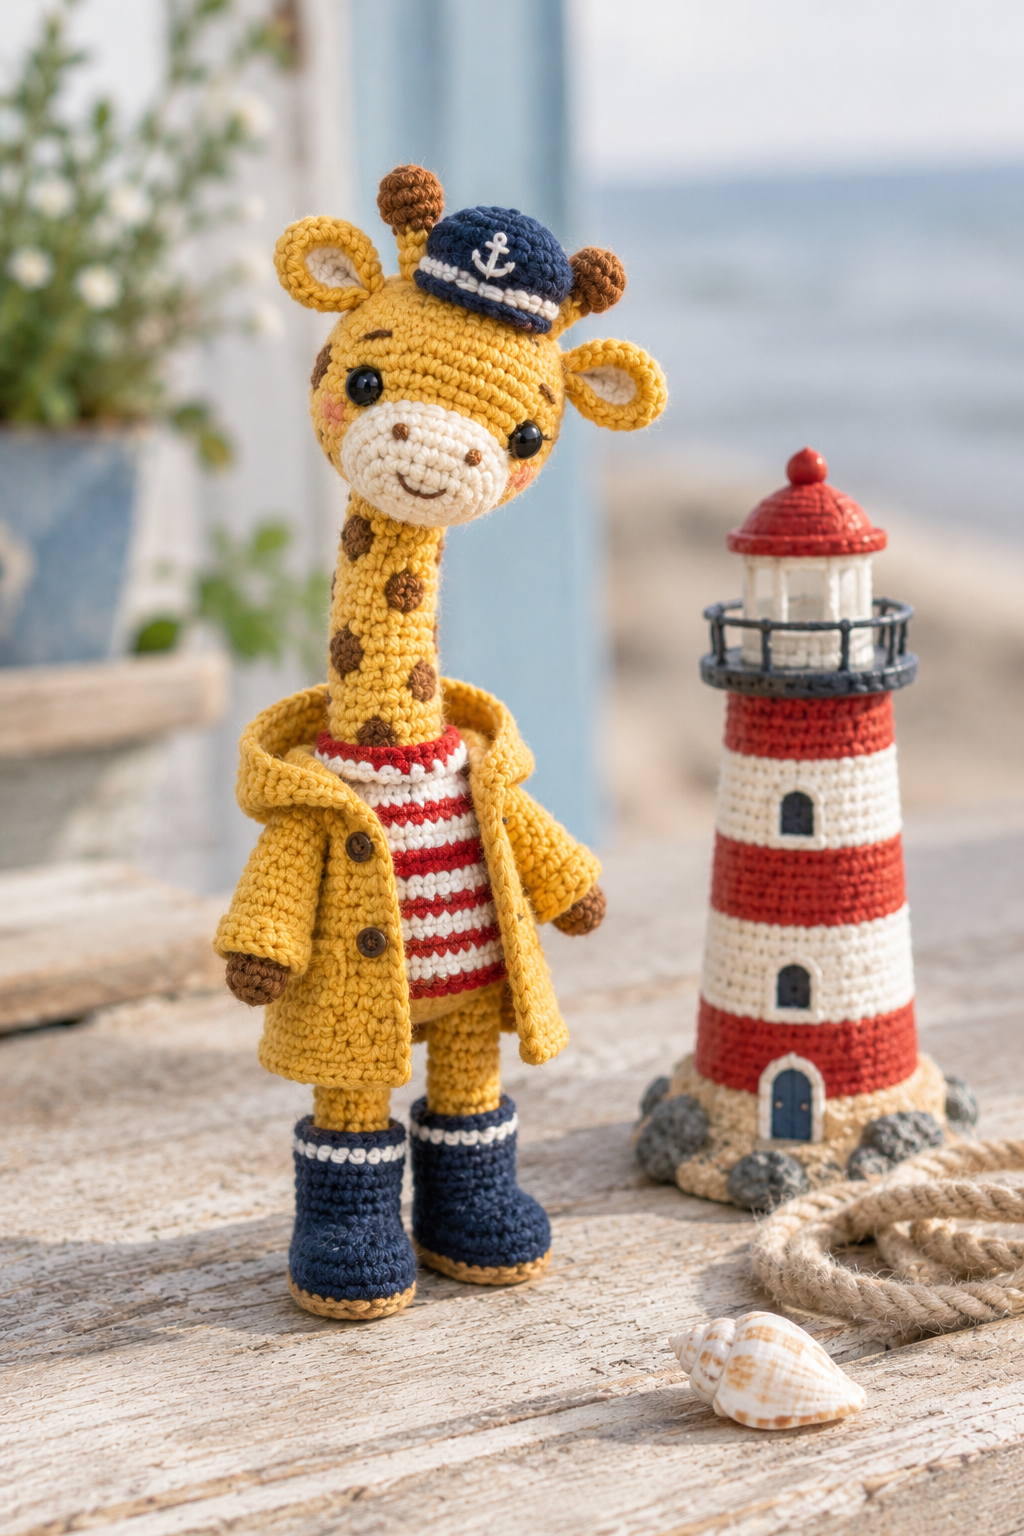
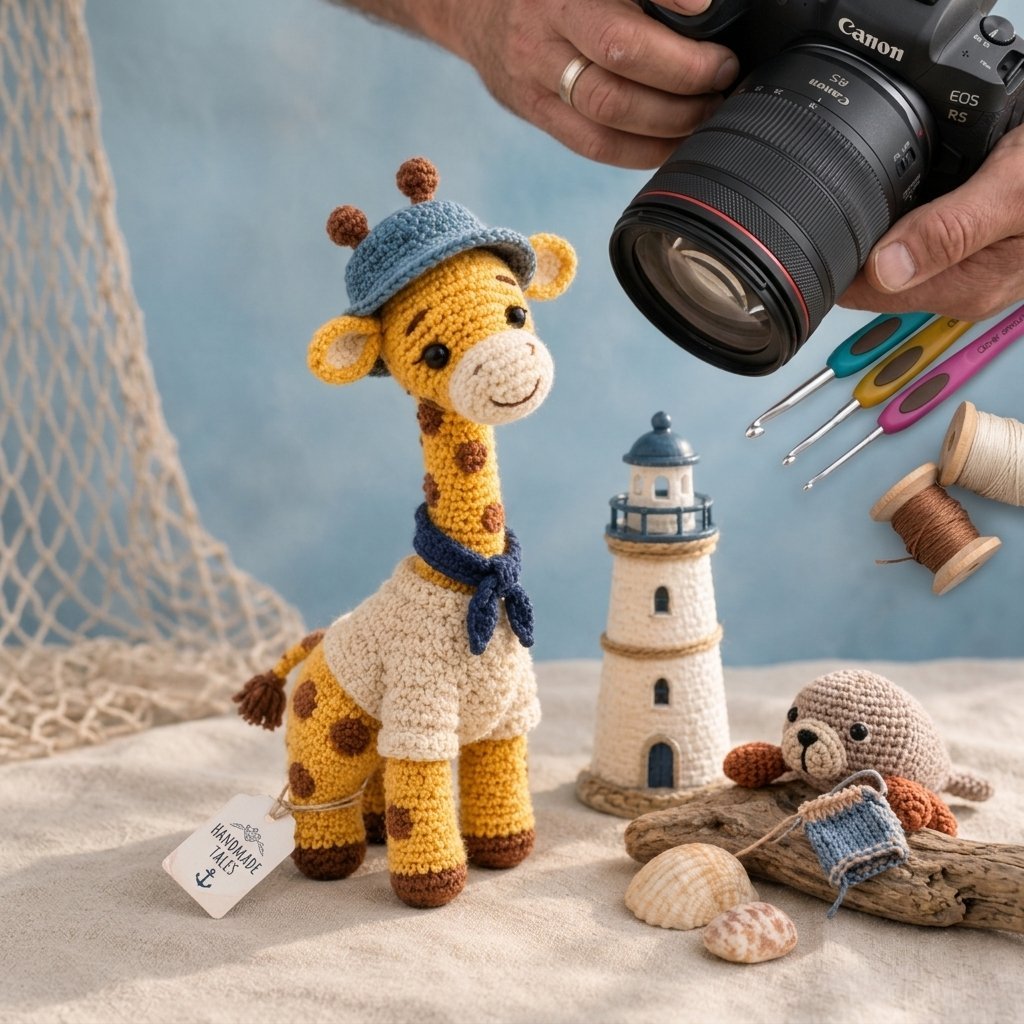
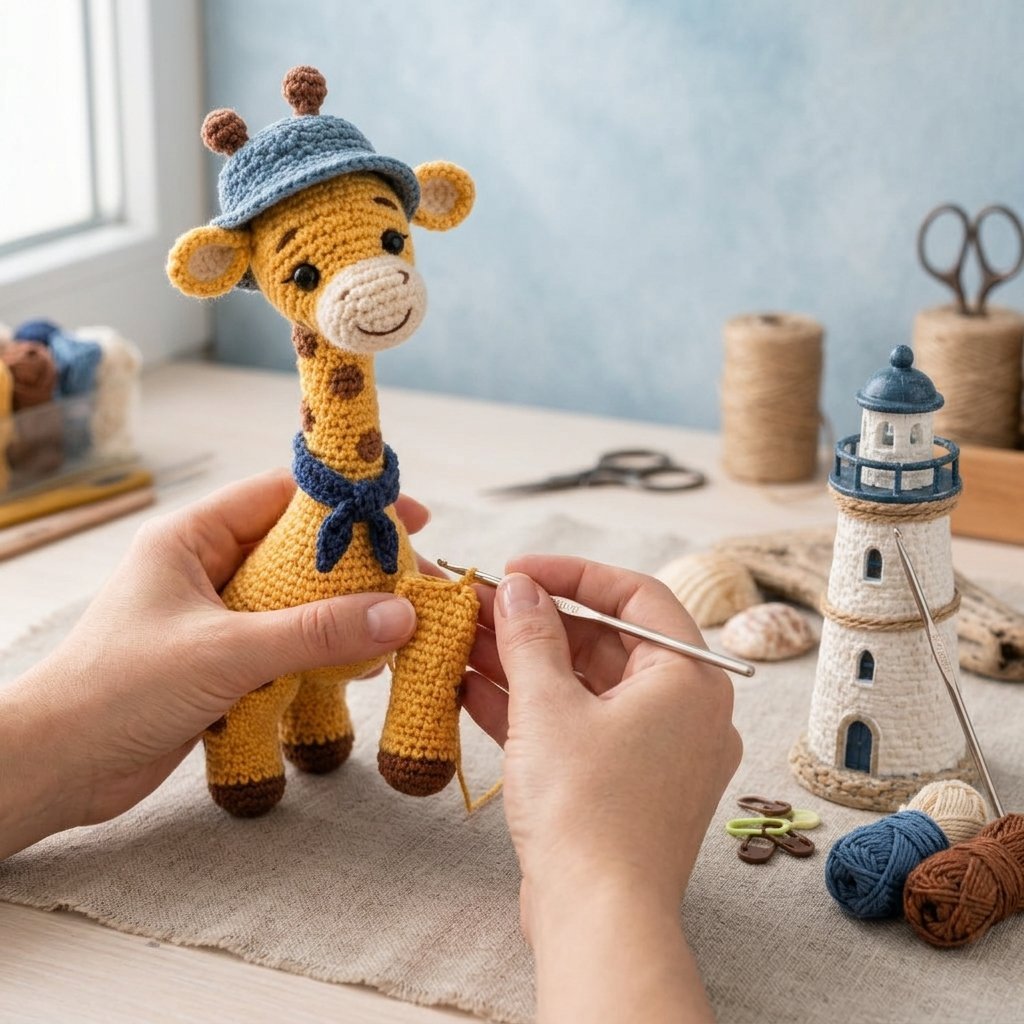
Every so often a design idea shows up that makes you laugh out loud and immediately reach for your yarn. A giraffe who keeps a lighthouse is one of those ideas. Think about it. Of all the animals on earth, the one with the longest neck might be the best-qualified to watch over the sea, spotting ships long before anyone else. Give him a little navy captain’s cap, a red and white striped scarf that looks like the tower he guards, and a tiny lantern, and you have a character with real personality.
This post is a full walkthrough for crocheting that giraffe. You will find the complete pattern with stitch counts for every round, a materials list, assembly steps, ideas for making your own version, and a troubleshooting section for the problems that most often catch crocheters out. I have also included an optional mini lighthouse so your keeper has a home to stand beside.
If you enjoy character amigurumi, this is a very rewarding project. It is a little more involved than a simple ball-shaped animal, because the long neck needs careful stuffing and the legs need to stand, but every part is built from basic stitches. If you can work a magic ring, single crochet, increases, and decreases, you can make this giraffe.
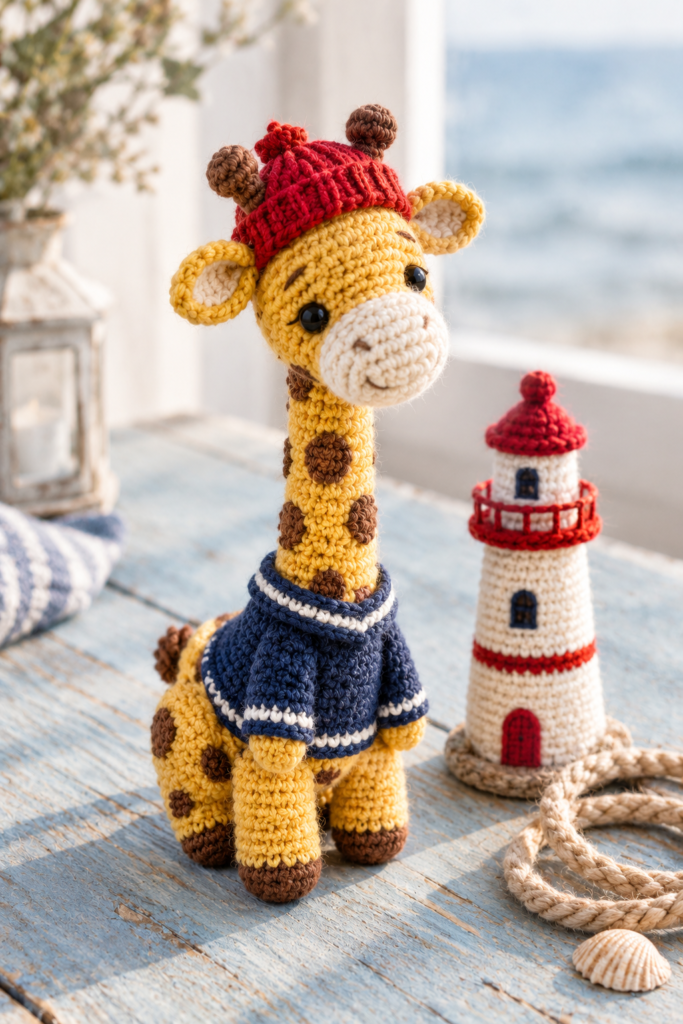
Why a Lighthouse Keeper Giraffe Works So Well
Costumed amigurumi is one of the most popular categories among handmade toy buyers and makers, and this idea fits for a few good reasons.
It tells a story. Plain animals are sweet, but animals with a job are memorable. A lighthouse keeper brings in the sea, the storms, the quiet, and the cozy lantern glow, and people connect with that instantly.
The long neck is a feature, not a flaw. Many crocheters avoid giraffes because the neck sounds tricky. In this pattern the neck is a simple tube of single crochet, worked in the same continuous spiral as the head and body, so there are no joins to line up.
It is a great way to practice shaping. You will work spheres, tubes, cups, and tiny limbs in a single project. By the end you will feel more confident about amigurumi in general.
It is endlessly customizable. Swap the cap for a sou’wester hat, change the scarf colors, or give him a spyglass instead of a lantern. Each change makes the character your own.
It makes a wonderful gift. A giraffe lighthouse keeper is a lovely present for sea lovers, nautical decor fans, new babies’ shelves, or anyone with a quirky sense of humor.
Project Details at a Glance
Skill level: Advanced beginner to intermediate
Time to make: About 5 to 7 hours, including the accessories
Finished size: About 7 to 8 inches (18 to 20 cm) tall with DK weight yarn and a 2.5 mm hook. Your size will vary with your tension and stuffing.
Pieces: Head, neck, and body (one piece), 4 legs, 2 ears, 2 ossicones, muzzle, tail, spots, cap, scarf, lantern, and an optional lighthouse
Techniques: Magic ring, single crochet, increase, invisible decrease, color changes, basic embroidery, whip stitch assembly
Materials You Will Need
Yarn (DK weight, category 3): Cotton or a cotton blend is my favorite for amigurumi, because it holds its shape and gives crisp stitches that show off details. Acrylic works well too. You will need these colors in small amounts:
- Golden yellow for the giraffe (about 60 to 70 yards)
- Warm brown for hooves, ossicone tips, and the tail tuft
- Light orange-brown for the spots
- Navy for the cap
- Red and white for the scarf (and the lighthouse, if you make it)
- Cream or pale yellow for the lantern glow
- Black for the lantern frame and embroidery
Crochet hook: 2.5 mm. Use a smaller size than your yarn label suggests, because amigurumi needs tight stitches so the stuffing stays hidden.
Polyester fiberfill: A generous handful for the giraffe, plus a little for the accessories.
Safety eyes (optional): 6 mm black safety eyes, or black embroidery thread if the toy is for a child under 3 or for display only. I prefer embroidered eyes for a gentle, sleepy-eyed look.
Pipe cleaner or thin wire (optional): A piece of pipe cleaner folded in the neck gives extra support if you prefer a very upright giraffe. Do not use it in toys for young children.
Yarn needle, stitch markers, small scissors, and pins: Essential for assembly.
Optional felt or embroidery thread: For a rosy blush on the cheeks and small details on the cap.
Abbreviations (US Terms)
- MR: Magic ring
- sc: Single crochet
- inc: Increase (2 sc in the same stitch)
- dec: Decrease (invisible decrease over two stitches)
- BLO: Back loop only
- ch: Chain
- sl st: Slip stitch
- ( ) x6: Repeat what is inside the parentheses the number of times shown
- [ ]: Total stitches at the end of the round
Invisible decrease: Insert your hook through the front loops only of the next two stitches, yarn over, pull through both loops, yarn over again, and pull through the last two loops. It hides gaps and keeps the surface smooth.
Work all pieces in continuous spirals unless the pattern says otherwise. Mark the first stitch of every round with a stitch marker and count your stitches often.
The Pattern
Head, Neck, and Body (Make 1, in golden yellow)
This piece is worked in one go, from the top of the head down to the base of the body. That way the neck flows naturally from the head, and you only have one closing at the bottom.
Head
Start with an MR.
Round 1: 6 sc in the MR [6]
Round 2: inc in each stitch around [12]
Round 3: (sc, inc) x6 [18]
Round 4: (2 sc, inc) x6 [24]
Round 5: (3 sc, inc) x6 [30]
Rounds 6 to 11: sc in each stitch around [30] (6 rounds)
If you are using safety eyes, place them between rounds 9 and 10, about 8 stitches apart, with the muzzle area between them in mind. I will explain the muzzle placement in the assembly section.
Round 12: (3 sc, dec) x6 [24]
Round 13: (2 sc, dec) x6 [18]
Stuff the head firmly now. A well-stuffed head is the key to a giraffe that looks proud rather than droopy.
Round 14: (sc, dec) x6 [12]
Neck
Rounds 15 to 26: sc in each stitch around [12] (12 rounds)
Stuff the neck as you go, pushing small pinches of fiberfill down with a pencil or the end of your hook. The neck should feel firm and straight. If you are using a pipe cleaner, fold it in half, wrap the ends with a little yarn to blunt them, and slide it into the neck now.
Body
Round 27: (sc, inc) x6 [18]
Round 28: (2 sc, inc) x6 [24]
Round 29: (3 sc, inc) x6 [30]
Rounds 30 to 38: sc in each stitch around [30] (9 rounds)
Round 39: (3 sc, dec) x6 [24]
Round 40: (2 sc, dec) x6 [18]
Stuff the body firmly, making sure the bottom is flat enough to sit on.
Round 41: (sc, dec) x6 [12]
Round 42: dec x6 [6]
Fasten off, leaving a tail. Thread the tail through the front loops of the last 6 stitches, pull tight, and weave in the end.
Legs (Make 4)
Start with an MR in brown.
Round 1: 6 sc in the MR [6]
Round 2: inc in each stitch around [12]
Round 3: sc in each stitch around [12]
Change to golden yellow.
Round 4: (sc, dec) x4 [8]
Rounds 5 to 12: sc in each stitch around [8] (8 rounds)
Fasten off, leaving a tail for sewing. Stuff each leg lightly, leaving the top inch unstuffed so it is easy to sew to the body.
Ears (Make 2)
Start with an MR in golden yellow.
Round 1: 6 sc in the MR [6]
Round 2: (sc, inc) x3 [9]
Rounds 3 to 4: sc in each stitch around [9] (2 rounds)
Fasten off, leaving a tail. Do not stuff. Flatten the ear so it forms a soft leaf shape.
Ossicones (Make 2)
Giraffe horns are called ossicones, and they are one of the most charming parts of the design.
Start with an MR in golden yellow.
Round 1: 6 sc in the MR [6]
Rounds 2 to 5: sc in each stitch around [6] (4 rounds)
Change to brown.
Round 6: inc in each stitch around [12]
Round 7: sc in each stitch around [12]
Round 8: dec x6 [6]
Stuff the brown tip with a small pinch of fiberfill, fasten off, and leave a tail for sewing.
Muzzle (Make 1)
Start with an MR in golden yellow.
Round 1: 6 sc in the MR [6]
Round 2: inc in each stitch around [12]
Round 3: (sc, inc) x6 [18]
Rounds 4 to 5: sc in each stitch around [18] (2 rounds)
Fasten off, leaving a long tail. Stuff lightly so it holds a soft cup shape. You will sew the open edge to the face.
Tail (Make 1)
In golden yellow, ch 10. Sc in the second chain from the hook and in each chain across [9]. Fasten off, leaving a tail for sewing.
For the tuft, cut four 2 inch (5 cm) strands of brown yarn, fold them in half, and attach them to the free end of the tail with a lark’s head knot. Trim the ends evenly.
Spots (Make about 10 small and 3 large, in light orange-brown)
Small spot: Start with an MR. Work 6 sc in the ring. Join with a sl st to the first sc, fasten off, and leave a tail for sewing.
Large spot: Start with an MR. Work 6 sc in the ring. Join with a sl st, then work 2 sc in each stitch around [12], join, fasten off, and leave a tail.
You can also cut spots from felt and glue or stitch them on, which gives a flatter, cleaner look.
The Lighthouse Keeper Accessories
Captain’s Cap (Make 1, in navy)
Start with an MR.
Round 1: 6 sc in the MR [6]
Round 2: inc in each stitch around [12]
Round 3: (sc, inc) x6 [18]
Round 4: (2 sc, inc) x6 [24]
Rounds 5 to 6: sc in each stitch around [24] (2 rounds)
Round 7: (2 sc, dec) x6 [18]
Fasten off, leaving a long tail. The open edge is the bottom of the cap.
Brim: Ch 7. Sc in the second chain from the hook and across [6]. Ch 1, turn, and sc across [6]. Repeat for one more row (3 rows total). Fasten off, leaving a tail.
Sew the brim to the front edge of the cap. For a tiny badge, stitch a small yellow anchor or star on the front with embroidery thread.
Striped Scarf (Make 1, in red and white)
With red, ch 5. Sc in the second chain from the hook and across [4]. Ch 1, turn, and sc across [4].
Continue working in sc, changing colors every 2 rows, until the scarf measures about 6.5 inches (16.5 cm) long. Fasten off and weave in the ends. Carry the yarn up the side when you change color, or cut and weave in as you go.
Lantern (Make 1)
Start with an MR in black.
Round 1: 6 sc in the MR [6]
Round 2: inc in each stitch around [12]
Round 3: sc in the back loop of each stitch around [12]
Change to cream or pale yellow.
Rounds 4 to 7: sc in each stitch around [12] (4 rounds)
Change to black.
Round 8: (sc, dec) x4 [8]
Stuff lightly, fasten off, and close.
Handle: With black, ch 10. Sew the ends to opposite sides of the top of the lantern to form a loop.
Optional Mini Lighthouse (Make 1)
A tiny lighthouse turns your giraffe into a scene and gives you a lovely photo prop.
Start with an MR in white.
Round 1: 6 sc in the MR [6]
Round 2: inc in each stitch around [12]
Round 3: (sc, inc) x6 [18]
Round 4: (2 sc, inc) x6 [24]
Round 5: sc in the back loop of each stitch around [24]
Rounds 6 to 7: sc in each stitch around in white [24]
Rounds 8 to 9: sc in each stitch around in red [24]
Rounds 10 to 11: sc in each stitch around in white [24]
Round 12: (2 sc, dec) x6 in red [18]
Rounds 13 to 14: sc in each stitch around in red [18]
Rounds 15 to 16: sc in each stitch around in white [18]
Round 17: sc in the back loop of each stitch around in black [18]
Round 18: (sc, dec) x6 [12]
Stuff firmly, fasten off, and close. Finish with a tiny cream circle on top for the lamp. A flat bottom helps it stand on a shelf.
Assembly: Giving Your Giraffe a Personality
Pin everything first, step back, and check the proportions before you sew. A few stitches can make a big difference to the expression.
Step 1: Attach the muzzle. Center the muzzle on the front of the face, around rounds 8 to 11, and pin it in place. Sew the open edge to the head with small whip stitches, adding a pinch of stuffing as you close.
Step 2: Embroider the face. Using black thread, stitch the eyes just above the muzzle, about 8 stitches apart. Add two tiny nostrils on the muzzle with short vertical stitches and a small curved smile beneath them. A tiny pink blush on each cheek adds warmth.
Step 3: Sew on the cap. Position the cap on top of the head, tilted slightly forward, leaving space on either side for the ossicones. Sew around the open edge with the long tail.
Step 4: Attach the ossicones. Pin them on either side of the cap, near the top of the head. Sew firmly around the base so they stand upright.
Step 5: Attach the ears. Sew the ears just below and outward from the ossicones, angled slightly sideways.
Step 6: Add the spots. Arrange the spots on the body, neck, and legs with pins before sewing. Place a few large ones on the body and small ones on the neck and upper legs, and avoid perfect symmetry. Real giraffe markings look best when they are irregular.
Step 7: Sew on the legs. Attach the front legs near the front edge of the base, and the back legs near the rear, about 2 stitches apart from their neighbors. Check that the giraffe stands before you sew them completely.
Step 8: Attach the tail. Sew it to the back of the body, low on the base.
Step 9: Wrap the scarf. Wrap it around the base of the neck and sew the ends together at the back with a few hidden stitches so it never slips off.
Step 10: Add the lantern. Sew the lantern handle to the front leg, as if the giraffe is holding it. A couple of stitches at the hoof keep it in place.
Ideas to Make It Your Own
Once you have the basic giraffe, there are so many ways to play with the idea.
Change the outfit. A yellow sou’wester rain hat, a raincoat made from a simple rectangle, or a knitted-look sweater gives your keeper a completely different character.
Switch the accessory. A tiny spyglass, a mug of tea, a coil of rope, or a telescope would all suit a keeper. Make a mini telescope from a small tube of sc stitches.
Try different colors. A pastel giraffe in cream, pale pink, or lavender looks gentle and nursery-friendly. A deeper mustard shade gives him a more vintage feel.
Make a whole coastal scene. Add a crocheted seagull, a little boat, and a rock to stand on. A harbor of tiny characters makes a beautiful display on a shelf.
Go small. Use fingering weight yarn and a 1.75 mm hook for a miniature giraffe, and shorten the legs and neck. This works well for ornaments and charms.
Go big. Use worsted weight yarn and a 3.5 mm hook to make a larger, huggable giraffe about 12 inches tall. Add extra stuffing to the neck to keep it upright.
Troubleshooting: Fixing the Most Common Problems
The neck is floppy. This is the most common giraffe problem. Stuff the neck firmly in small pinches, and use a pipe cleaner for extra stability if the toy is for display. A tighter hook size also helps, because looser stitches stretch and bend more easily.
The head tilts forward. Make sure the head is stuffed more firmly than the neck. Sew the cap and ossicones on at the very top, and check that the head sits straight before closing the muzzle.
The giraffe will not stand. The legs may be too long, too soft, or sewn too close together. Stuff the legs more firmly, widen the leg placement slightly, and make sure the base of the body is flat. A light pinch of extra stuffing in the base of the body helps.
The legs look uneven. Count the rounds on each leg before you sew, and pin all four in place so you can step back and check the balance.
The spots look messy. Use fewer spots. It is easy to overdo it. Lay them out in a scattered pattern, and keep large spots near the body and small spots on the neck and legs.
The face looks off. Pin the muzzle and eyes first, and step back. Even a one-stitch difference in eye placement changes the expression. Moving the eyes a little farther apart usually makes the face sweeter.
The cap keeps slipping. Sew it on with small stitches around the whole edge, and anchor it with a couple of stitches into the ossicone bases.
There are gaps between the stitches. Go down a hook size, or crochet tighter. Stuffing shows through loose stitches, and white fiberfill can show through dark yarn.
Tips From My Own Making Experience
A few habits that keep my amigurumi neat and consistent:
Make the neck first-time right. The neck is the hardest part to fix once you have finished. Stuff it as you go rather than all at the end.
Use stitch markers on every round. On a long tube, losing your place is easy, and a counting mistake in the neck shows.
Weave in ends before stuffing. Tails are almost impossible to hide neatly inside a stuffed piece.
Take progress photos. They help you remember your counts and make it easy to write up your own variations later.
Let the giraffe rest. After finishing, leave the toy overnight. The yarn settles, and you can see small shape issues more clearly the next day.
Try a test piece. If you are new to long necks, make the neck and head first and see how it stands before committing to the rest.
Safety, Care, and Washing
If you plan to give this giraffe to a child under 3, use embroidered features only, skip the pipe cleaner, and attach every piece securely. The lantern and scarf are best left off for very young children, as small parts can be a choking hazard. For display pieces and older children, the full set works well.
To clean, spot clean with a damp cloth and mild soap, or hand wash gently in cool water and air dry. Avoid machine washing, which can distort the neck and stuffing. If you used a pipe cleaner, avoid soaking the toy.
Can I Sell Finished Giraffes?
You are welcome to sell finished giraffes you make from this idea, whether at craft fairs or in an online shop. Please credit StitchNestStudio as the designer, use your own photos, and do not copy, resell, or redistribute the written pattern. This is an original design and is not affiliated with any brand.
Frequently Asked Questions
Is this giraffe pattern good for beginners?
It is best for advanced beginners. If you have made a few amigurumi animals before, you will do well. Total beginners can try a simple ball-shaped animal first and then come back to this one.
What yarn works best for a crochet giraffe?
DK weight cotton or a cotton blend gives crisp stitches and good shape. Acrylic is also fine. Avoid very fuzzy yarns, because they hide the small details.
How long does the giraffe take?
Expect 5 to 7 hours total, spread over a weekend or a few evenings.
How do I keep the neck from bending?
Stuff firmly in small pinches, use a smaller hook, and add a pipe cleaner for display-only toys.
Can I make it without the lighthouse?
Yes. The lighthouse is optional and only there to complete the scene.
Can I use safety eyes?
Yes, but embroidered eyes are safer and give a softer look. Use safety eyes only if the toy is for display or older children.
How big is the finished giraffe?
About 7 to 8 inches (18 to 20 cm) tall with DK weight yarn and a 2.5 mm hook. Use thicker yarn and a bigger hook for a larger giraffe.
Can I change the colors?
Absolutely. Pastel, mustard, or even rainbow giraffes all look wonderful.
Final Thoughts
A lighthouse keeper giraffe is a gentle, funny, story-filled project, and I hope this guide makes it easy to bring him to life. The long neck, the little cap, and the striped scarf all come together into a character that is hard not to smile at. Take your time, stuff the neck carefully, and enjoy the small moments, like the first time he stands up on his own.
If you make one, I would love to see it. Share your colors, your accessories, and any changes you made to the idea. And if you get stuck anywhere, leave a comment and I will help you work it out.
Happy hooking, and may your giraffe always keep a good watch.
Written by the StitchNestStudio team, crochet designers who test every pattern before publishing.