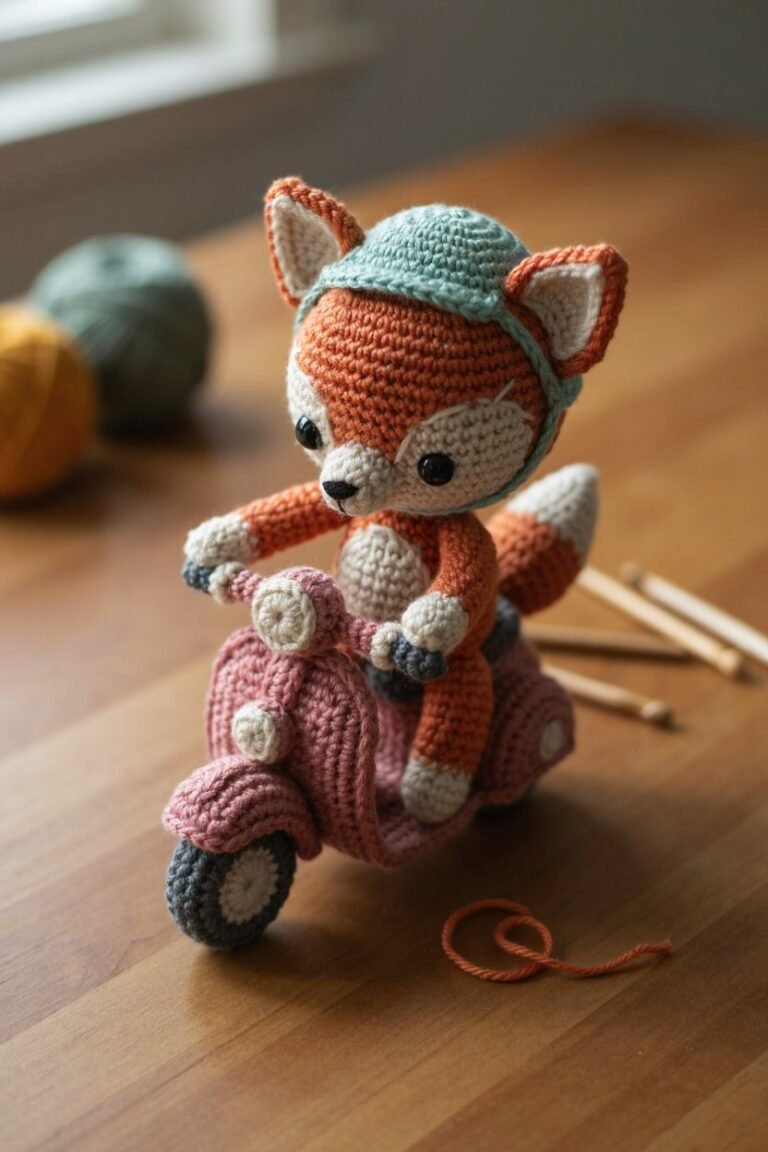
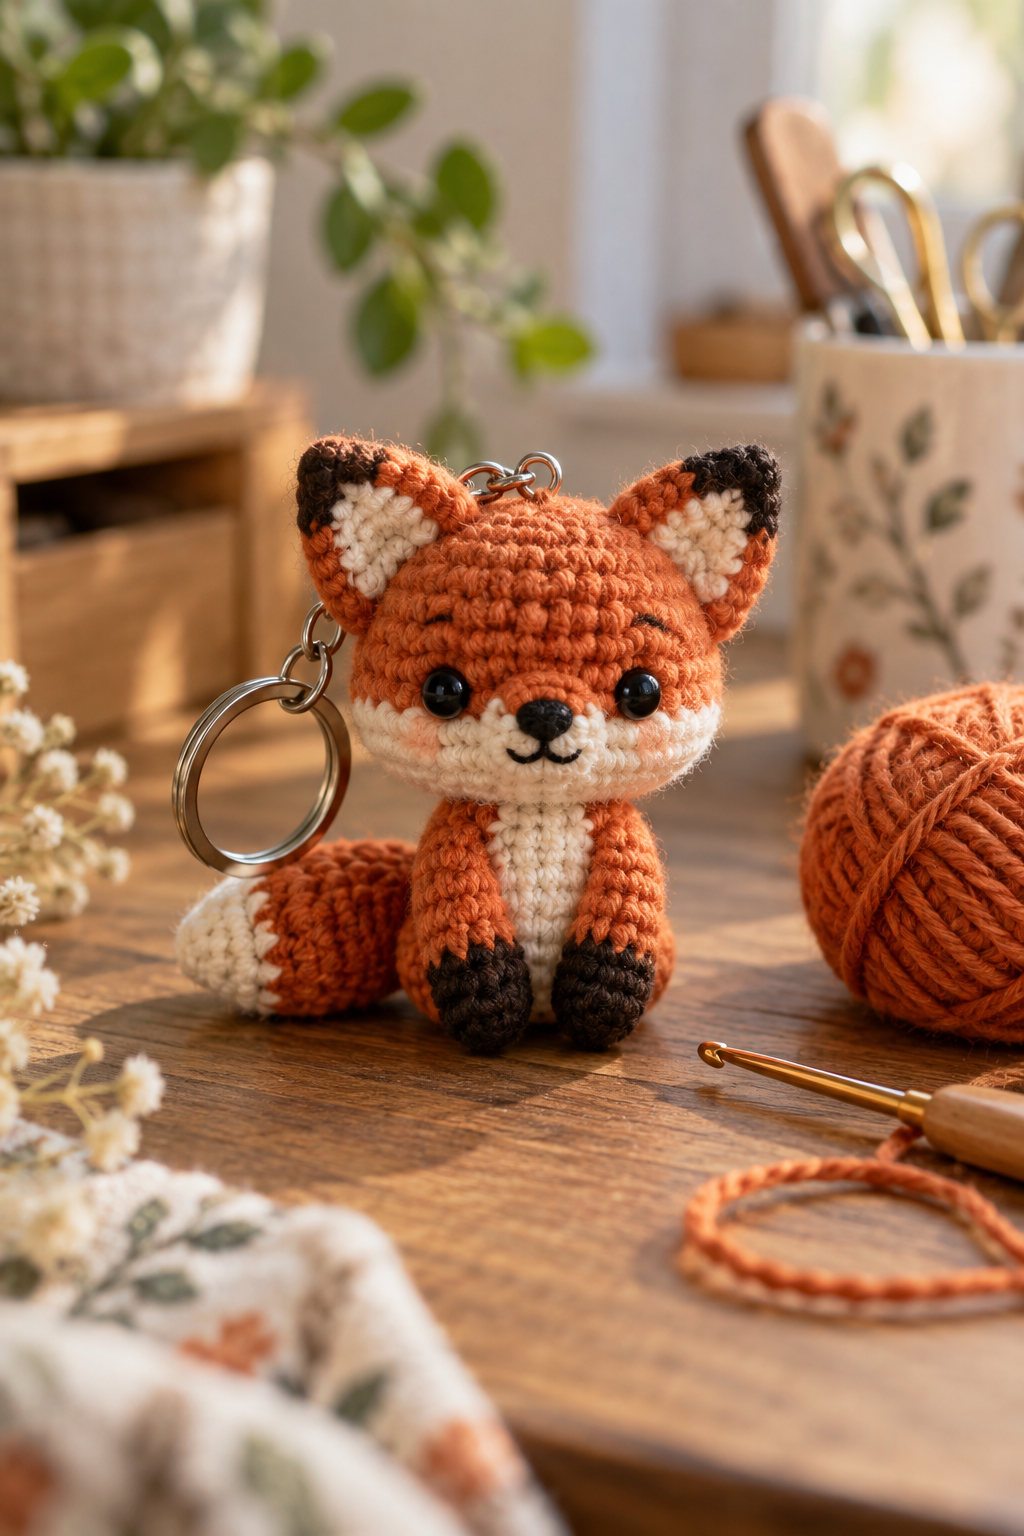
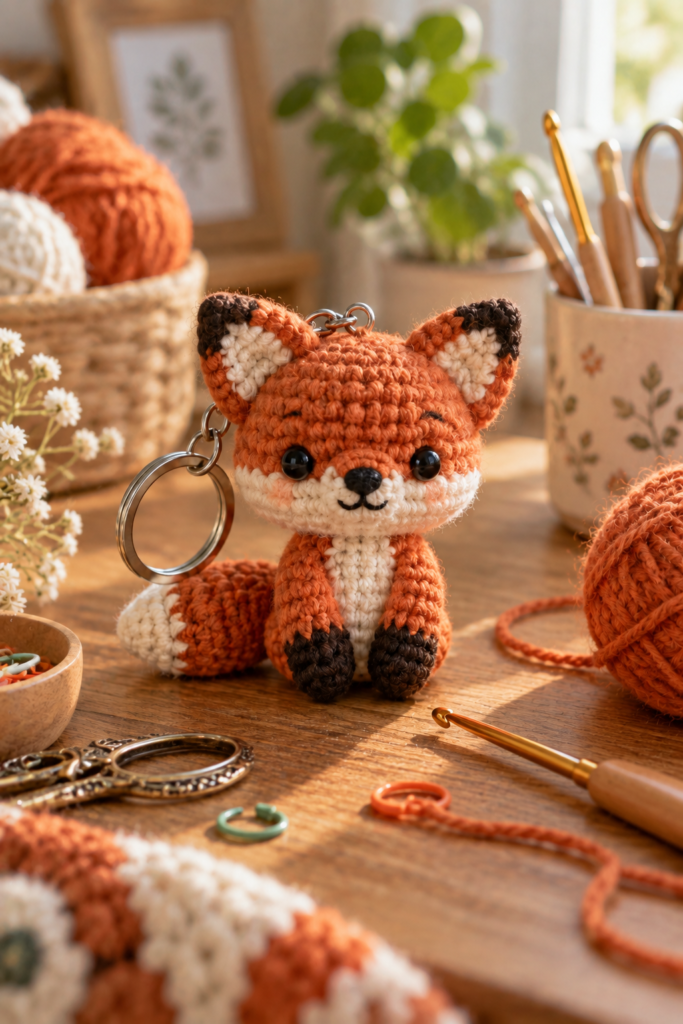
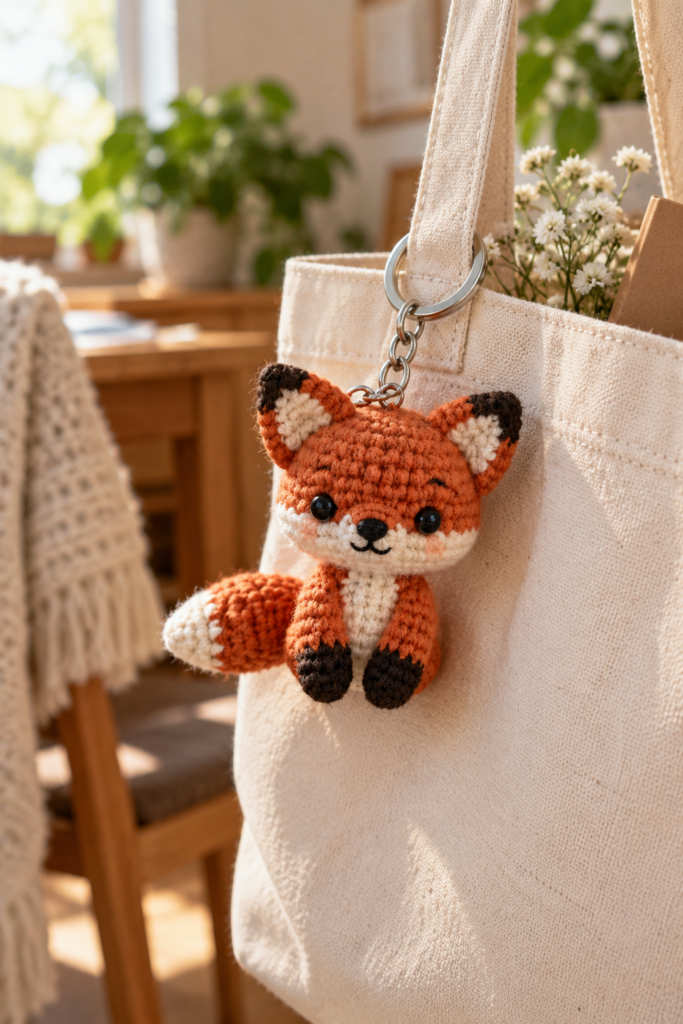
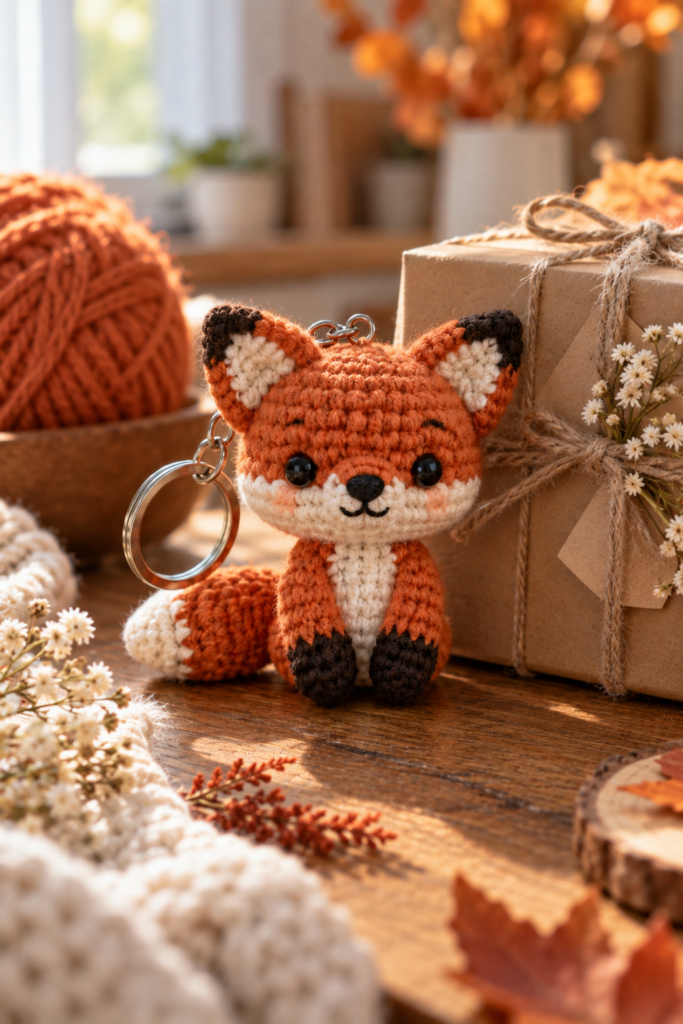
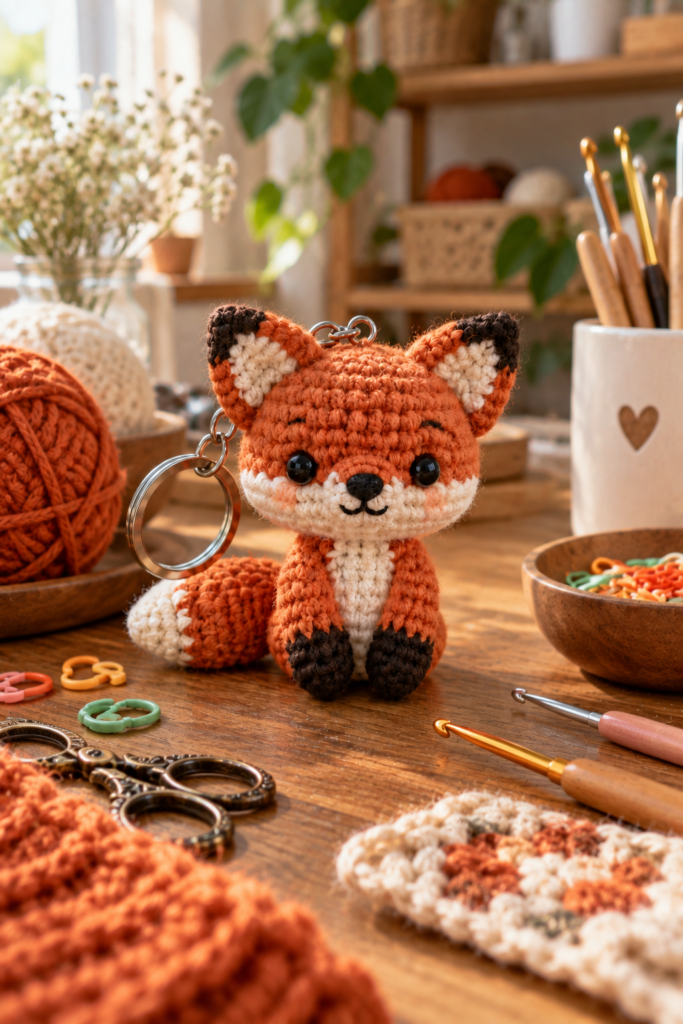
There is something especially fun about making a tiny crochet fox. It is small enough to finish without committing to a large project, but it still has plenty of personality. This adorable mini fox crochet keychain combines warm orange yarn, a cream-colored face and chest, dark paws and ear tips, and a fluffy curled tail into a little handmade accessory that can go almost anywhere.
Whether you are making one for your own keys, adding a cute charm to a tote bag, or preparing a handmade gift, a mini fox is a great amigurumi project to have in your crochet collection.
The design shown in this tutorial has a compact amigurumi shape with a large rounded head, small body, pointed ears, embroidered facial details, and a silver keyring. The finished look depends heavily on neat tension and careful stuffing, so I will focus not only on the construction but also on the small details that make a miniature crochet animal look polished.
Table of Contents
- Why Make a Mini Fox Crochet Keychain?
- What You’ll Need
- Choosing the Right Yarn
- Crochet Skills You Should Know
- Understanding the Fox Design
- Step-by-Step Mini Fox Construction
- How to Get a Neat Amigurumi Shape
- Adding the Face
- Making the Keychain Attachment
- Common Mistakes to Avoid
- Beginner Tips for Better Results
- How to Use Your Crochet Fox
- Care and Storage
- Frequently Asked Questions
- Final Thoughts
Why Make a Mini Fox Crochet Keychain?
Mini crochet animals are one of my favorite projects when I want something that feels rewarding without taking days to finish.
A fox works particularly well because the color combination is naturally attractive. The rusty orange body gives it a warm woodland feel, while cream and dark brown details create enough contrast for the face, ears and paws to stand out.
A mini fox crochet keychain is also practical. Unlike a large amigurumi, it can be attached to:
- House keys
- Backpacks
- Purses
- Tote bags
- Pencil cases
- Zipper pulls
- Craft bags
- Gift packages
It can also make a thoughtful handmade gift for someone who enjoys woodland animals or cute crochet accessories.
What You’ll Need
You do not need a huge collection of supplies for this project. Keeping the materials simple also makes it easier to reproduce the same look.
Yarn
For this fox design, you will want a few coordinating colors:
- Burnt orange or rust orange
- Cream or ivory
- Dark brown or black
A smooth worsted-weight or similar yarn can work well, although the exact yarn weight will affect the final size.
For a smaller keychain, many crocheters prefer a thinner yarn with a suitably small hook. The important thing is to use a hook that produces tight stitches.
Crochet Hook
Choose a hook appropriate for your yarn while keeping your stitches firm.
With amigurumi, you generally want a fabric that does not have large gaps between stitches. If stuffing is clearly visible through the fabric, your hook may be too large or your tension may be too loose.
Stuffing
Use a lightweight polyester fiberfill or another suitable amigurumi stuffing.
You will only need a small amount for a mini fox, so avoid overfilling the body.
Eyes
Small black safety eyes give the fox the shiny-eyed appearance shown in the reference design.
If the finished item may be given to a young child, consider embroidered eyes instead of safety eyes.
Keychain Hardware
You will need:
- A metal keyring
- A small chain or connector ring
- A secure attachment point
Make sure the hardware is firmly attached because a keychain will experience considerably more pulling and movement than a decorative amigurumi.
Other Tools
Keep these nearby:
- Tapestry needle
- Scissors
- Stitch marker
- Crochet hook
- Fiberfill
- Small pliers if needed for the metal hardware
Choosing the Right Yarn for a Crochet Fox
The yarn makes a bigger difference than many beginners expect.
For this particular fox, a warm rust or burnt-orange shade creates the main character of the design. Cream is useful for the muzzle, cheeks, chest and tail tip, while dark brown adds definition to the paws and ear tips.
Look for yarn that has:
- Good stitch definition
- A smooth surface
- Consistent thickness
- Enough structure to hold a small shape
- Colors that contrast clearly
Avoid extremely fuzzy yarn if this is your first amigurumi project. Fuzzy yarn can make it difficult to see individual stitches, especially when working with a very small piece.
Crochet tip: Before starting the actual fox, crochet a few stitches with your chosen yarn and hook. If the stitches look loose or the filling would easily show through, try a smaller hook.
Crochet Skills You Should Know
This Adorable Mini Fox Crochet Keychain Tutorial is best suited to someone who is comfortable with basic amigurumi techniques.
You should ideally know how to:
- Make a magic ring
- Crochet single crochet stitches
- Work increases
- Work decreases
- Count stitches
- Crochet in continuous rounds
- Stuff an amigurumi
- Fasten off
- Sew pieces together
If you are a beginner, do not worry if the first attempt is not perfectly symmetrical. Small amigurumi pieces can be surprisingly fiddly, and practice makes a noticeable difference.
Understanding the Fox Design
Before crocheting, it helps to look at the fox as a collection of simple shapes rather than one complicated character.
The reference design consists visually of:
- A rounded head
- Two pointed ears
- A small seated body
- Two front legs
- A curled tail
- Cream facial markings
- A cream chest
- Dark paw tips
- Dark ear tips
- Black eyes and nose
- A small silver keyring
The head is intentionally larger in proportion to the body. This is what gives the fox its cute, slightly oversized amigurumi appearance.
The tail is also important. Rather than hanging straight down, it curves around the side of the body and finishes with a cream-colored tip.
Step-by-Step Mini Fox Construction
1. Start With the Head
The head is the most visually important section.
Begin with your chosen orange yarn and work the head in tight rounds. The shape should gradually increase until you reach the widest part, then decrease to create a rounded form.
Do not rush the stitch counting here.
A single missed increase or decrease can change the shape noticeably when the piece is this small.
Keep the head rounded
The goal is not to make a perfect sphere. The reference design has a slightly wider, rounded fox head with a flatter lower area where the muzzle sits.
As you work, check the shape from different angles.
If one side appears larger than the other, stop and inspect your stitch count before continuing.
2. Add the Cream Face
The cream muzzle is what immediately makes the piece recognizable as a fox.
Work the cream section carefully so it sits evenly across the lower front of the head.
The cream area should visually frame the black nose and small embroidered mouth.
This is one place where color changes need to be neat. Loose strands or uneven transitions can become very noticeable on a small amigurumi.
Beginner tip: Keep your color-change points positioned consistently rather than changing randomly around the round.
3. Add the Eyes
The black eyes should sit evenly on either side of the muzzle.
Before permanently securing them, place both eyes and look at the fox from straight ahead.
Ask yourself:
- Are they at the same height?
- Is the distance between them even?
- Are they centered over the muzzle?
- Does the expression look balanced?
This small check can save you from having to undo finished work.
4. Shape the Ears
The fox’s pointed ears give the character its woodland appearance.
Each ear should have an orange outer section with a cream inner area and a dark tip.
The two ears should be as symmetrical as possible.
They do not need to be mathematically identical. Handmade crochet naturally has tiny differences, and those differences can actually make the finished piece feel more authentic.
What matters most is that both ears have a similar height, width and angle.
5. Crochet the Body
The body is smaller than the head and should remain compact.
Work the body in orange, adding the cream chest section toward the front.
Keep the stuffing light and even.
A common mistake is to pack a miniature body extremely tightly. This can make it look stiff and oversized.
Instead, add small amounts of stuffing gradually and shape the body with your fingers as you go.
6. Make the Front Paws
The front legs are relatively narrow compared with the head.
The lower portion has a dark brown or black color that creates the appearance of dark paws.
Try to keep both paws approximately the same length.
Before sewing them permanently, position them against the body and check how the fox sits.
This is especially important for a keychain because the finished piece should have a stable, balanced appearance.
7. Create the Curled Tail
The tail is one of the cutest details of this mini fox.
Use orange yarn for the main section and cream yarn for the tip.
The tail should have enough stuffing to maintain its rounded shape without becoming rigid.
Position it toward the side or back of the body and curve it naturally around the fox.
The cream tip provides a strong visual contrast and helps complete the classic fox appearance.
How to Get a Neat Amigurumi Shape
Even when the stitches are correct, the final result can look different depending on tension and stuffing.
Here are a few techniques that make a real difference.
Use tight tension
Loose stitches can leave visible holes.
For amigurumi, the fabric should be firm enough that stuffing does not easily show through.
Stuff gradually
Do not put a large handful of stuffing into the piece at once.
Add small amounts and shape the piece between additions.
Check symmetry
Compare the ears, eyes, paws and facial markings as you work.
Shape before closing
Once an opening is nearly closed, take a moment to gently push the stuffing into the areas that need more definition.
Don’t overstuff
Too much stuffing can stretch your stitches and distort the shape.
Adding the Face
The face is where your mini fox really comes to life.
The black safety eyes provide the main expression, while the black nose and tiny curved mouth complete it.
For the reference style, the face has a sweet and friendly expression rather than an exaggerated cartoon look.
When embroidering the mouth, use small controlled stitches.
A few simple stitches are usually enough. Overworking the mouth can make the expression look heavier than intended.
You can also add subtle rosy cheeks if you want to recreate the warm, soft appearance of the reference piece.
Making the Keychain Attachment
The keychain hardware needs to be treated as a functional part of the project rather than just decoration.
The silver ring should be attached to a secure section of the fox.
Do not rely on a loose yarn strand.
A stronger method is to sew the attachment point securely through several stitches and reinforce it from multiple directions.
After attaching the hardware, gently pull it several times before using the finished keychain.
If anything shifts, reinforce it before attaching the fox to your bag or keys.
Important: Small hardware and safety eyes can present choking hazards. Use appropriate materials and construction for the intended recipient.
Common Mistakes to Avoid
Using a Hook That Is Too Large
A large hook creates loose stitches and visible gaps.
Solution: Try a smaller hook suitable for tight amigurumi fabric.
Overstuffing the Head
Too much filling can stretch the stitches and make the head look unusually large.
Solution: Add stuffing gradually and shape as you go.
Uneven Eyes
Even a small difference in eye placement can completely change the expression.
Solution: Position both eyes before securing them.
Forgetting to Count
Small amigurumi pieces can quickly become misshapen after one missed increase.
Solution: Use a stitch marker and count every round.
Making the Ears Different Sizes
One taller ear can make the fox look unintentionally tilted.
Solution: Compare the completed ear pieces before attaching them.
Weak Keychain Attachment
A decorative attachment is not necessarily strong enough for daily use.
Solution: Reinforce the connection between the crochet piece and metal hardware.
Beginner Tips for Better Results
If this is your first crochet fox keychain, give yourself permission to work slowly.
Miniature crochet can actually be more challenging than a larger project because every stitch has a bigger visual impact.
Here are a few things that help:
Take photos while working
A quick photo can reveal uneven eyes or ears that you may not notice while holding the piece close.
Mark the first stitch
This makes continuous rounds much easier to follow.
Keep your tension consistent
Try not to tighten dramatically during one round and loosen during another.
Sew pieces on carefully
Pin or hold each piece in place before making the final stitches.
Don’t chase perfection
A handmade crochet item should still look handmade. Tiny variations are normal and often give the finished fox its charm.
Where Can You Use a Mini Crochet Fox?
Once finished, this little fox can become more than a keychain.
You can attach it to a canvas tote, backpack, purse or zipper.
It can also work as:
- A small birthday gift
- A stocking stuffer
- A handmade party favor
- A woodland-themed gift
- A craft-fair item
- A crochet shop product
- A cute desk accessory
If you make several, try experimenting with different seasonal color combinations while keeping the basic fox shape consistent.
Care and Storage
Because crochet keychains are handled frequently, they can collect dust and lint.
For light cleaning, gently remove surface dust with a soft brush or cloth.
Avoid aggressive scrubbing because it can distort the stitches.
If the yarn label allows washing, follow the yarn manufacturer’s care instructions. Otherwise, spot-clean the piece carefully and allow it to dry completely before storing or using it again.
When storing handmade amigurumi, keep it somewhere dry and away from prolonged direct sunlight. Strong sunlight can gradually fade yarn colors.
Frequently Asked Questions
Is a mini fox crochet keychain good for beginners?
Yes, if you already understand basic amigurumi techniques such as single crochet, increases, decreases, stuffing and sewing pieces together. The small size makes it a manageable project, although the details require patience.
What yarn is best for a crochet fox keychain?
A smooth cotton or acrylic yarn with good stitch definition works well. Choose a yarn that allows you to create tight stitches without making the project unnecessarily difficult to handle.
Why can I see stuffing through my crochet stitches?
This usually happens because the stitches are too loose or the piece has been overstuffed. Try using a smaller hook and add stuffing gradually.
How do I make both fox ears the same size?
Make the first ear carefully and use it as a visual reference when making the second. Count your stitches rather than relying only on how the piece looks.
Can I use embroidered eyes instead of safety eyes?
Yes. Embroidered eyes are a useful alternative, especially when making crochet toys for young children. Make sure the embroidery is securely fastened.
How do I attach the keyring securely?
Reinforce the attachment through several strong stitches rather than relying on one yarn loop. Test the connection by gently pulling the ring before using the finished keychain.
Can I sell crochet fox keychains I make?
That depends on the specific pattern’s licensing terms if you are following a published pattern. Always check whether the designer permits finished items to be sold.
Final Thoughts
This Adorable Mini Fox Crochet Keychain Tutorial is a great example of how a small amount of yarn can become something with plenty of personality.
The most important parts are not simply making the stitches. Pay attention to the proportions of the head and body, keep the eyes balanced, shape the ears carefully, use stuffing gradually, and reinforce the keychain attachment properly.
The combination of burnt orange, cream and dark brown gives this fox a warm woodland look that works beautifully for everyday bags, backpacks and handmade gifts.
If your first attempt is not perfectly symmetrical, don’t be discouraged. Mini amigurumi takes a little practice, and every project teaches you something about tension, shaping and assembly.
If you enjoy making small crochet projects, save this tutorial for your next craft session and try making your own adorable mini fox. Once you get comfortable with the basic construction, you can use the same amigurumi skills to explore other small animals and crochet keychain designs.