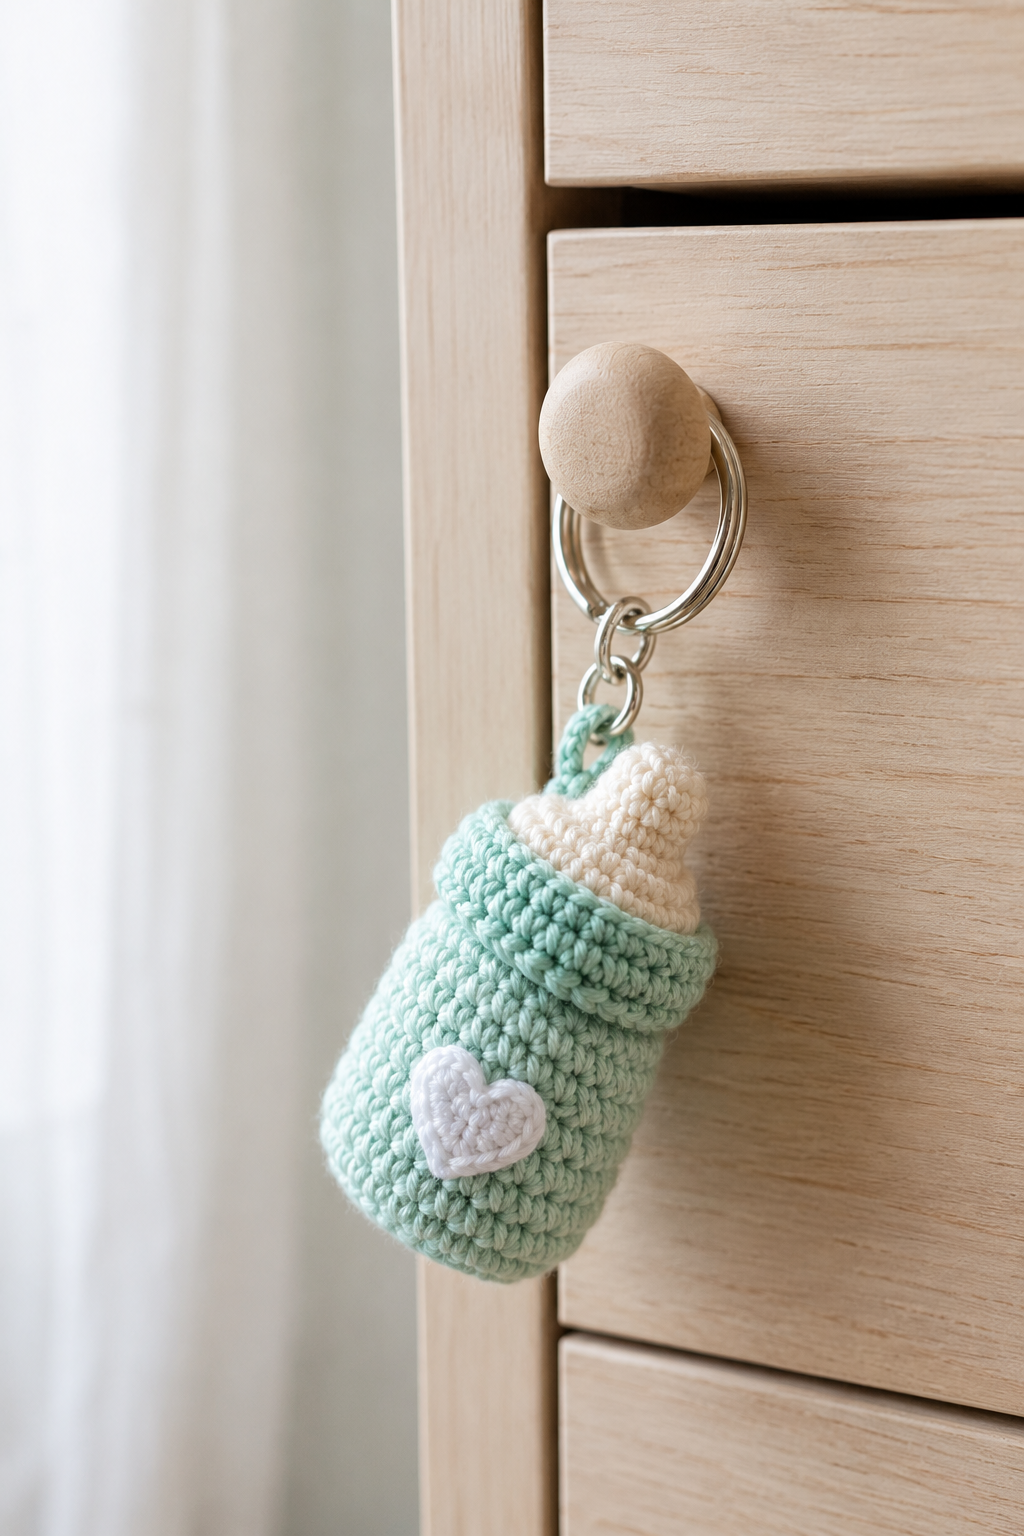
If you love making small crochet projects that are cute, practical, and perfect for gifting, this easy crochet baby bottle keychain is a fun project to add to your list. Its tiny bottle shape, soft mint-green color, white crocheted nipple, and little heart detail give it a sweet handmade look that works beautifully for baby showers, new-baby gifts, nursery accessories, or simply as a cute bag charm.
The best part is that this project doesn’t require a large amount of yarn or hours of crocheting. It is a small amigurumi-style project that can be made with basic crochet skills and a few simple supplies.
Whether you’re a beginner looking for a manageable crochet project or an experienced crocheter searching for a quick handmade gift, this little crochet baby bottle keychain is a charming project to try.
Table of Contents
- What Is a Crochet Baby Bottle Keychain?
- Why You’ll Love This Crochet Project
- Materials You’ll Need
- Recommended Yarn
- Crochet Hook and Other Supplies
- Skill Level
- How to Crochet the Baby Bottle Keychain
- Step 1: Crochet the Bottle Body
- Step 2: Create the Bottle Neck
- Step 3: Crochet the Bottle Nipple
- Step 4: Add the Heart Detail
- Step 5: Attach the Keychain Hardware
- Beginner Crochet Tips
- Common Mistakes to Avoid
- How to Make Your Keychain Look Neat
- Gift Ideas for Your Crochet Baby Bottle
- Care and Storage
- Frequently Asked Questions
- Final Thoughts
What Is a Crochet Baby Bottle Keychain?
A crochet baby bottle keychain is a miniature amigurumi-style version of a baby bottle made with yarn and a crochet hook.
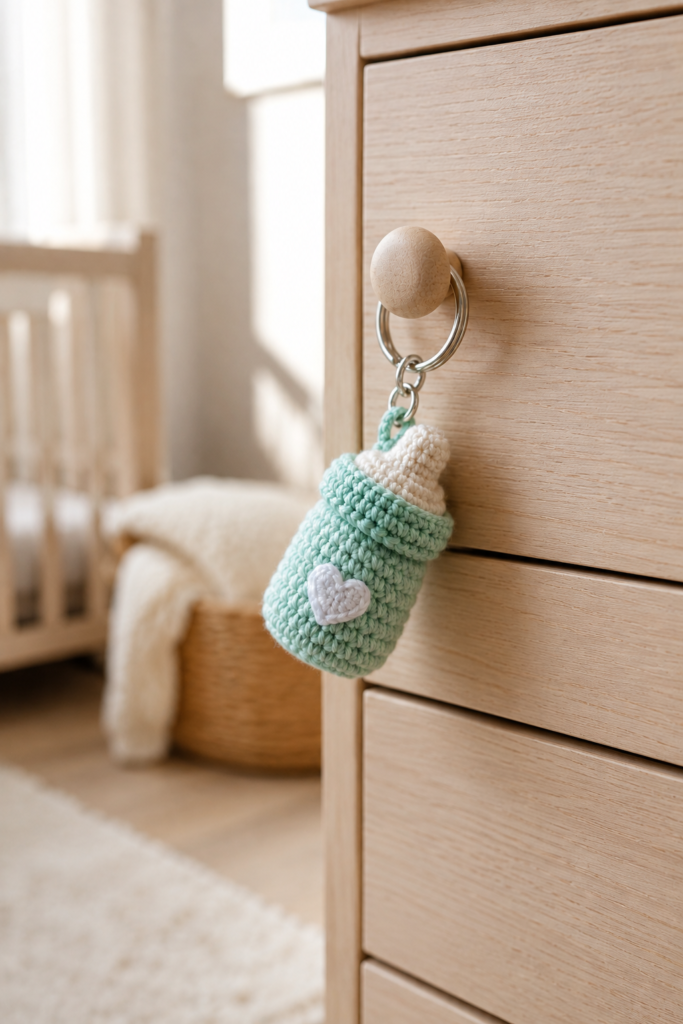
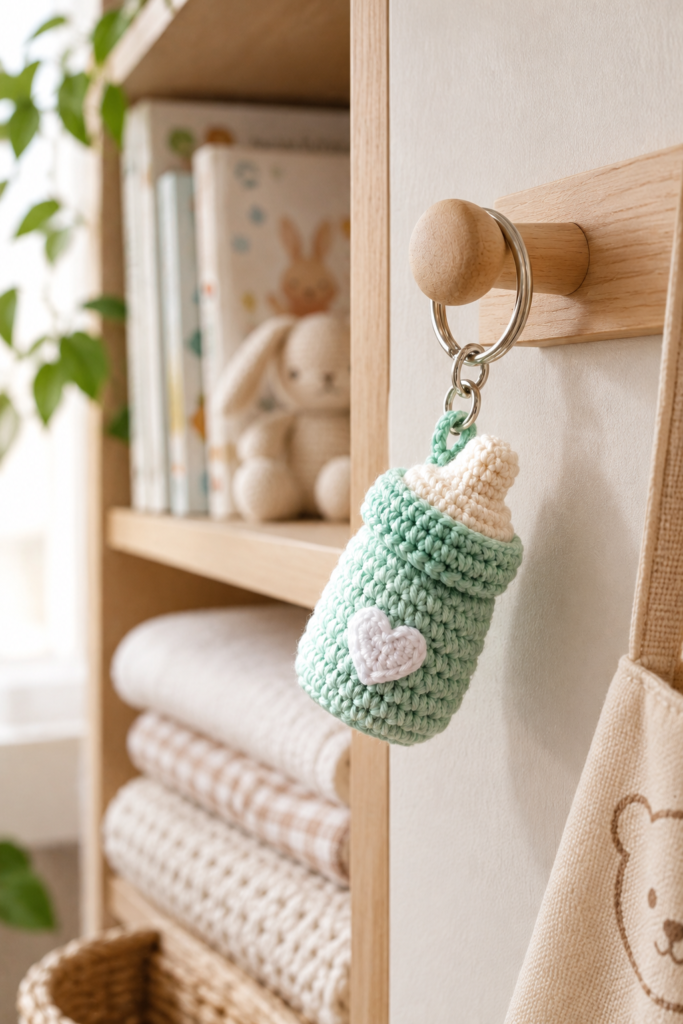
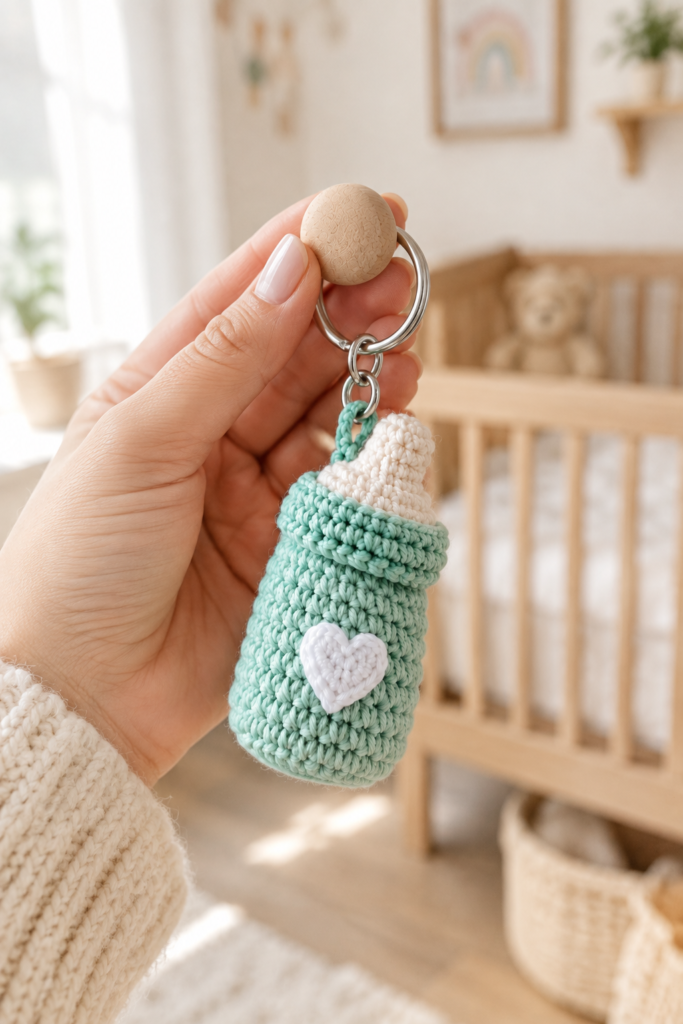
The design shown in this tutorial features a soft mint-green crocheted bottle body, a contrasting white top and nipple, a small white heart on the front, and metal keychain hardware at the top.
Because the finished project is small, it is an excellent way to use leftover yarn from other crochet projects.
You can attach it to:
- Keys
- Handbags
- Backpacks
- Diaper bags
- Nursery storage
- Gift baskets
- Baby shower presents
- Crochet project bags
It can also make a lovely handmade party favor when several are made in coordinating colors.
Why You’ll Love This Crochet Project
There are plenty of reasons to try this little crochet baby bottle.
It’s Small and Quick
Unlike a large blanket or stuffed animal, this project uses only a small amount of yarn. That makes it a convenient project for a quiet afternoon or evening.
It’s Beginner-Friendly
The basic bottle shape can be created using familiar amigurumi techniques such as working in the round and making single crochet stitches.
If you already know how to crochet a magic ring, single crochet, increase, and decrease, you’ll have a good foundation for this project.
It’s Great for Leftover Yarn
Small crochet projects are perfect for using yarn scraps. You don’t need a full skein of every color.
Mint, cream, white, pastel pink, pale blue, or soft yellow can all create beautiful baby-inspired color combinations.
It’s a Cute Handmade Gift
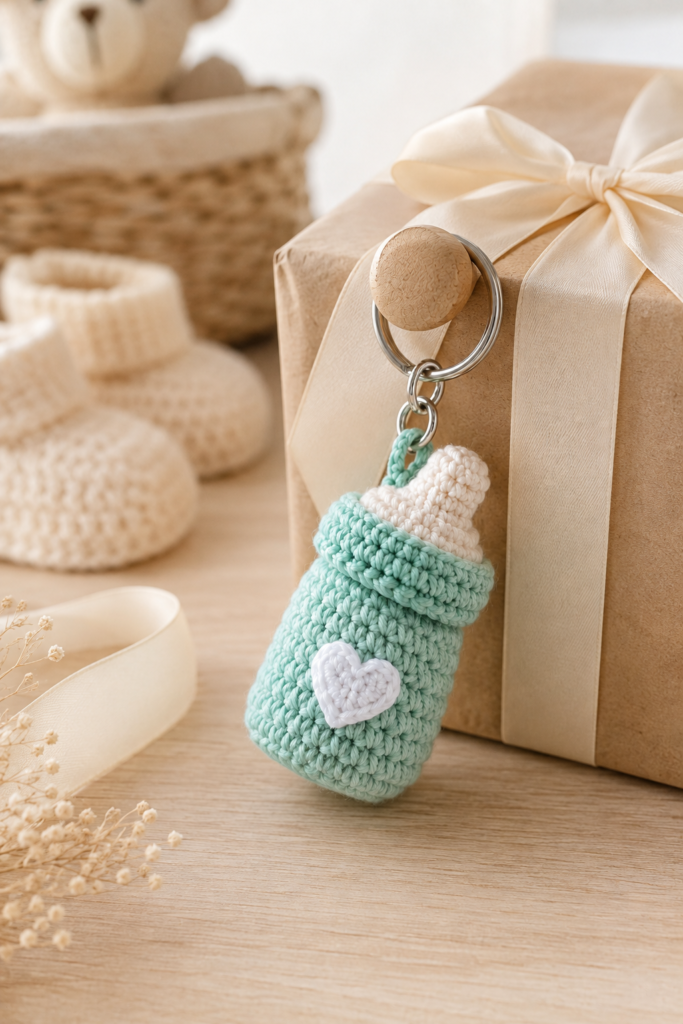
A tiny crochet baby bottle makes a thoughtful addition to a baby shower gift. You can attach it to a wrapped present instead of using a traditional gift bow.
Materials You’ll Need
You only need a few basic supplies to make this crochet baby bottle keychain.
Yarn
For the main bottle, choose a soft worsted-weight or DK-weight yarn in mint green.
You’ll also need a small amount of white or cream yarn for the nipple and heart.
Crochet Hook
A small crochet hook is recommended for amigurumi because tighter stitches help prevent the stuffing from showing through.
A hook around 2.5–3.5 mm can work depending on your yarn weight and personal tension.
Always check your stitches as you work. The goal is a firm fabric rather than a loose, open fabric.
Stuffing
Use a small amount of polyester fiberfill to give the bottle its rounded shape.
Don’t overstuff it. Too much stuffing can stretch the crochet stitches and change the proportions of the bottle.
Keychain Hardware
You’ll need:
- 1 metal keychain or split ring
- 1 small connecting ring
- Optional wooden bead if your design includes one
Make sure the hardware is securely attached before using the finished piece.
Tapestry Needle
A yarn needle is useful for sewing the parts together and weaving in the yarn ends.
Stitch Marker
A stitch marker is helpful when crocheting in continuous rounds.
Recommended Yarn
For a polished finished keychain, choose a yarn with good stitch definition.
Cotton or cotton-blend yarn is particularly useful for small amigurumi because the stitches tend to look crisp and defined.
For the design pictured, a soft mint-green yarn combined with white yarn creates the gentle pastel appearance.
You can also experiment with:
- Mint + white
- Baby blue + white
- Blush pink + white
- Lavender + cream
- Butter yellow + white
- Sage green + cream
For a baby-themed project, softer colors usually create the most delicate finished appearance.
Skill Level
Beginner to Easy Intermediate
You should be comfortable with:
- Magic ring
- Chain stitch
- Single crochet
- Increasing
- Decreasing
- Working in continuous rounds
- Slip stitch
- Basic sewing
If you’re completely new to amigurumi, don’t worry. The bottle is made from simple shapes, so it is a good project for practicing tension and working in the round.
How to Crochet the Baby Bottle Keychain
The bottle consists of a few simple sections:
- The mint-green bottle body
- The bottle neck
- The white nipple
- The decorative heart
- The keychain attachment
The exact finished size will depend on your yarn, hook size, and crochet tension.
For a miniature keychain, keep your stitches firm and consistent.
Step 1: Crochet the Bottle Body
Start with your mint-green yarn.
Create a magic ring and work single crochet stitches into the ring.
Continue crocheting in rounds while gradually increasing to create the rounded bottom of the bottle.
Once the base has reached the desired width, continue working even rounds without increases.
This creates the cylindrical body.
Important Tip
Keep your tension consistent.
If your stitches become loose, stuffing may become visible through the fabric. If your stitches are extremely tight, the project can become difficult to work.
A firm but comfortable tension is ideal.
Continue until the body reaches the approximate height shown in the reference image..
Step 2: Create the Bottle Neck
The top section of the bottle is slightly narrower than the main body.
To create this shape, work a decrease round near the upper portion of the bottle.
Continue crocheting several rounds until the neck has the proportions you want.
The transition should look smooth rather than sharply angled.
This is one of the most important areas to watch because the neck determines whether the finished project looks like a miniature baby bottle.
Expert Tip
Don’t rush the decreases.
If the decreases are placed too quickly, the top may become pointed. If they’re too gradual, the bottle can look too cylindrical.
Compare your work with the reference image as you crochet.
Step 3: Crochet the Bottle Nipple
Switch to your white yarn.
The nipple is a small rounded section positioned at the top of the mint-green bottle.
Work a small number of single crochet rounds and use gradual shaping to create the slightly tapered nipple.
Keep the stitches tight and even.
The white section should contrast clearly against the mint-green body.
Once complete, sew the nipple securely to the bottle neck.
Step 4: Add the Heart Detail
The small white heart is an important decorative feature of the reference design.
You can crochet a miniature heart separately and sew it onto the front of the bottle.
For a small heart, use white yarn and a small crochet hook.
Work the heart using short chains and basic stitches, shaping the two rounded upper sections and pointed bottom.
After finishing, leave a yarn tail long enough to sew the heart securely to the bottle.
Position it approximately in the center of the mint-green body.
Make the Heart Stand Out
Use neat, evenly spaced stitches when sewing the heart onto the bottle.
Avoid pulling the sewing yarn too tightly because it can cause the heart to wrinkle.
A slightly raised heart creates a lovely handmade texture.
Step 5: Attach the Keychain Hardware
Once all the crochet components are finished, attach the keychain hardware.
A small metal split ring or keychain clasp can be connected to the top of the bottle.
If your design includes a small wooden bead, position it above the metal ring as shown in the reference.
Check the attachment carefully.
Because the keychain may be pulled or moved frequently, the connection should be strong enough to withstand normal everyday handling.
Safety Note
This project is intended as a decorative accessory or keychain. It is not a functional baby bottle or baby toy.
Keep metal hardware, yarn tails, stuffing, and small decorative components away from infants and young children.
Beginner Crochet Tips
Small amigurumi projects can sometimes feel more difficult than larger crochet pieces because the stitches are tiny.
These tips can make the process easier.
1. Use a Stitch Marker
When working in continuous rounds, it can be difficult to identify the beginning of each round.
Place a stitch marker in the first stitch of each round.
2. Count Your Stitches
Don’t rely only on how the project looks.
A single missed increase or decrease can change the shape of a small amigurumi piece noticeably.
3. Keep Your Tension Firm
Amigurumi usually requires tighter stitches than blankets or scarves.
The fabric should be firm enough that stuffing does not easily show through.
4. Stuff Gradually
Instead of filling the entire bottle at once, add small amounts of stuffing as you work.
This gives you more control over the shape.
5. Check the Shape Frequently
Hold the project upright and compare its proportions with the reference.
This is especially useful when shaping the bottle neck.
Common Mistakes to Avoid
Using a Crochet Hook That’s Too Large
A large hook creates bigger gaps between stitches.
For amigurumi, a smaller hook is usually preferable.
Overstuffing the Bottle
Adding too much stuffing can stretch the crochet fabric.
It can also make the bottle look wider than intended.
Add stuffing gradually and shape the body with your fingers.
Making the Nipple Too Large
The white nipple should remain proportionate to the bottle.
If it becomes too wide or too tall, the finished project may lose its miniature baby-bottle appearance.
Attaching the Keychain Too Loosely
The keychain hardware needs to be secured firmly.
Before using the finished project, gently test the attachment.
Ignoring Yarn Weight
Mixing yarns with dramatically different thicknesses can change the proportions.
If possible, choose yarns with similar weights for the mint-green and white sections.
How to Make Your Keychain Look Neat
The difference between an ordinary crochet project and a polished handmade piece often comes down to finishing.
Take time to:
- Keep stitches consistent
- Hide yarn ends properly
- Shape the stuffing evenly
- Sew the heart straight
- Center the nipple
- Secure the keychain hardware
- Trim loose fibers carefully
Small details become especially noticeable in miniature crochet.
A neat finish will make your crochet baby bottle keychain look more professional and gift-ready.
Ideas for Using Your Crochet Baby Bottle
This tiny crochet project has many uses beyond a traditional keychain.
Baby Shower Gift
Attach one to a wrapped baby shower present for an extra handmade touch.
Nursery Gift Basket
Place the finished keychain inside a baby gift basket alongside blankets, bibs, booties, or other handmade items.
Diaper Bag Charm
The small bottle shape makes a cute decorative charm for a diaper bag.
Backpack Decoration
It can also be used as a decorative zipper pull or backpack charm.
Handmade Party Favor
If you’re hosting a baby shower, several miniature bottles can be made in coordinating colors.
Crochet Market Item
If you sell finished crochet products, small keychains can be attractive impulse-buy items because they require less yarn and time than larger handmade pieces.
Choosing Colors for Your Crochet Baby Bottle
Mint green is especially pretty for this design because it creates a soft, fresh appearance with the white details.
However, you can easily personalize the colors.
For a classic baby look, try:
Mint Green + White
Soft, fresh, and gender-neutral.
Baby Blue + White
A traditional pastel combination.
Blush Pink + White
Sweet and delicate.
Sage + Cream
A modern neutral nursery aesthetic.
Lavender + White
Soft and playful.
When choosing yarn, think about the overall appearance you want rather than following trends alone.
A simple two-color palette often looks more polished than using too many colors on such a small project.
How Long Does This Crochet Project Take?
The exact time depends on your crochet speed, yarn weight, and whether you are comfortable with amigurumi.
An experienced crocheter may be able to complete a small bottle relatively quickly.
A beginner may need more time because of stitch counting, shaping, stuffing, sewing, and attaching the hardware.
The advantage is that the project can easily be divided into small sessions.
You can crochet the body first, finish the nipple later, and add the heart and hardware at the end.
Can Beginners Make This Crochet Keychain?
Yes.
If you’ve already learned basic single crochet techniques, this is a manageable small project.
The most challenging parts for a beginner will probably be:
- Maintaining tight tension
- Counting rounds
- Shaping the bottle
- Working with very small stitches
- Attaching tiny components neatly
Take your time and don’t worry if the first attempt isn’t perfect.
Miniature crochet often becomes much easier after making one or two practice pieces.
Care and Storage
Although crochet keychains are durable, they should still be treated gently.
Keep your finished piece away from excessive moisture and avoid pulling directly on the crochet body.
If it becomes dusty, gently clean the surface according to the care instructions of your yarn.
Avoid soaking the entire keychain unless the yarn and attached components are known to be washable.
When storing it, keep it somewhere dry and clean.
If the keychain contains metal hardware, prolonged exposure to water can cause discoloration or corrosion.
Frequently Asked Questions
What yarn is best for a crochet baby bottle keychain?
Cotton or cotton-blend yarn is a great option because it provides clear stitch definition and works well for small amigurumi projects.
What crochet hook size should I use?
A smaller hook is generally better for amigurumi because it creates tighter stitches. Around 2.5–3.5 mm is a useful starting range, depending on your yarn.
Is this crochet baby bottle suitable for babies?
No. This project is designed as a decorative keychain. It contains small components and hardware and should not be given to infants or young children as a toy.
Can I change the colors?
Absolutely. Mint green and white create the look shown in the reference, but you can substitute other pastel or neutral colors.
Can I use leftover yarn?
Yes. This is one of the best things about small crochet projects. You only need a small amount of each color.
Can I sell finished crochet baby bottle keychains?
If you are using your own original handmade work, you can generally sell finished items. Always make sure you understand the terms associated with any pattern or design you use, particularly if you are following someone else’s copyrighted instructions.
Is this a good crochet project for a baby shower?
Yes. The miniature baby bottle design makes a charming decorative addition to baby shower gifts, gift baskets, or handmade party favors.
Can I use this as a bag charm?
Yes. The keychain hardware makes it suitable as a decorative charm for handbags, backpacks, crochet project bags, or diaper bags.
Tips for Making Multiple Keychains
If you’re making several crochet baby bottle keychains, preparation can save a lot of time.
Instead of completely finishing one bottle before starting the next, consider working in batches.
For example:
- Crochet all the mint-green bottle bodies.
- Make all the white nipples.
- Crochet all the hearts.
- Sew on all the hearts.
- Attach all the hardware.
This production-line method can be much faster when making party favors or several gifts.
Keep your yarn, stuffing, needles, and hardware organized in separate containers so you don’t have to repeatedly search for supplies.
Why Small Crochet Projects Are Worth Making
Large crochet projects are rewarding, but small projects have their own advantages.
A tiny project gives you the opportunity to experiment with:
- New shapes
- New color combinations
- Different yarns
- Amigurumi techniques
- Decorative details
- Keychain hardware
They’re also easy to take with you.
A small crochet project can fit into a project bag and be worked on during quiet moments at home or while traveling.
And because the finished item doesn’t require much material, mistakes are less frustrating than they might be on a large project.
Final Thoughts
This Easy Crochet Baby Bottle Keychain is a sweet example of how a simple crochet project can become something special with just a few thoughtful details.
The mint-green bottle body, white crocheted nipple, tiny heart, and silver keychain hardware create a charming miniature design that works beautifully as a handmade accessory or gift.
If you’re new to amigurumi, use this project as an opportunity to practice working in rounds, maintaining consistent tension, shaping small pieces, and creating clean finishes.
And if you’re already an experienced crocheter, this is a quick project you can personalize with different colors and decorative details.
The finished piece is small, but that’s exactly what makes it so useful. Add it to a baby shower gift, hang it from a bag, use it as a decorative keychain, or make several matching pieces for a special occasion.