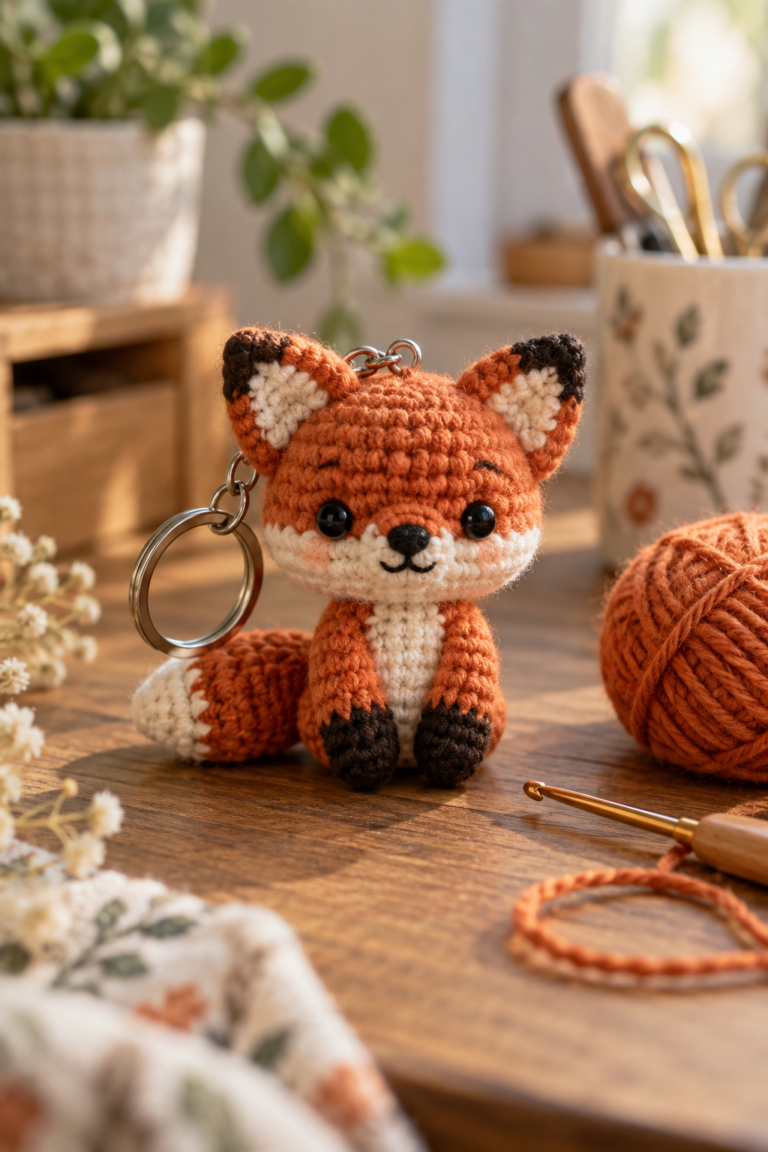
There is something special about tiny crochet animals. They are quick to make, easy to personalize, and small enough to turn into a cute everyday accessory. This mini crochet deer keychain pattern is especially sweet for anyone who loves woodland-inspired amigurumi, handmade gifts, and tiny crochet projects.
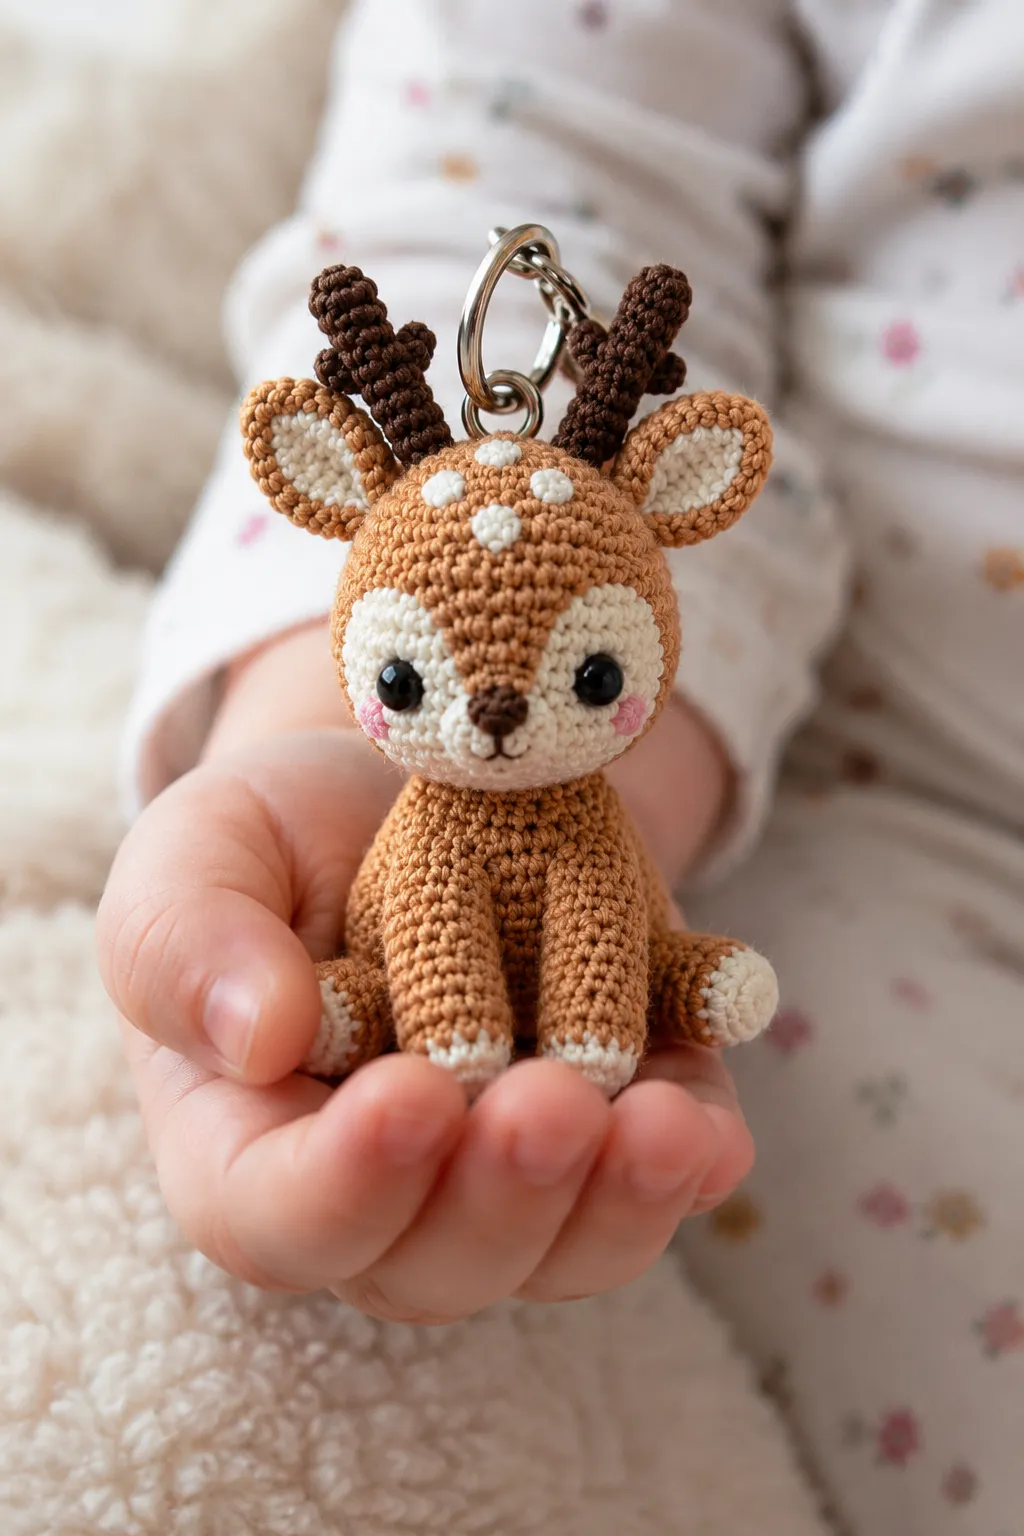
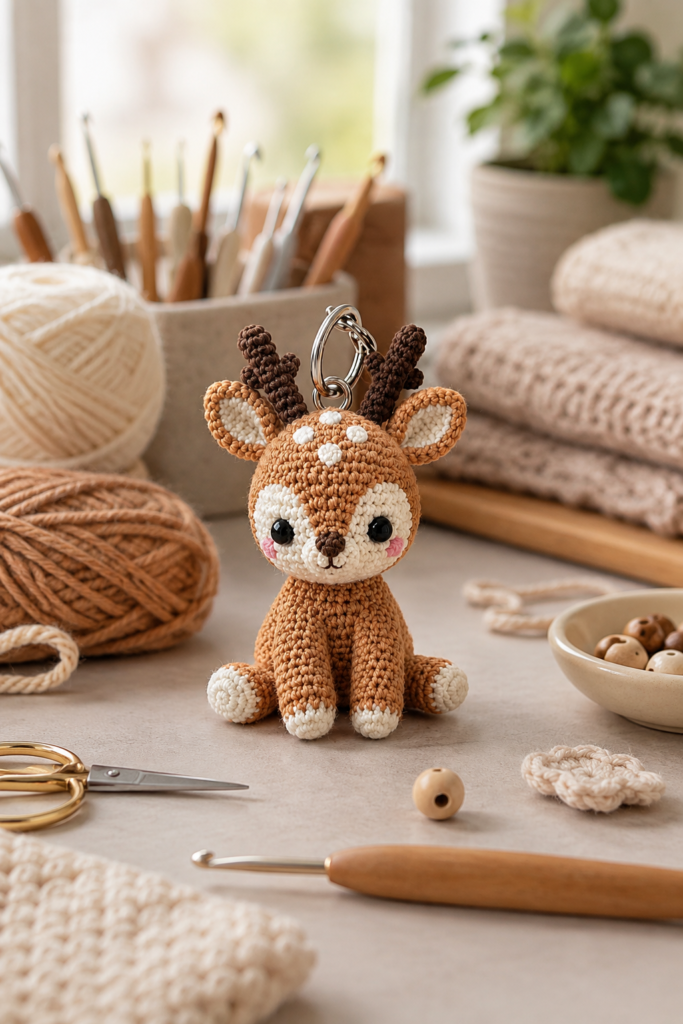
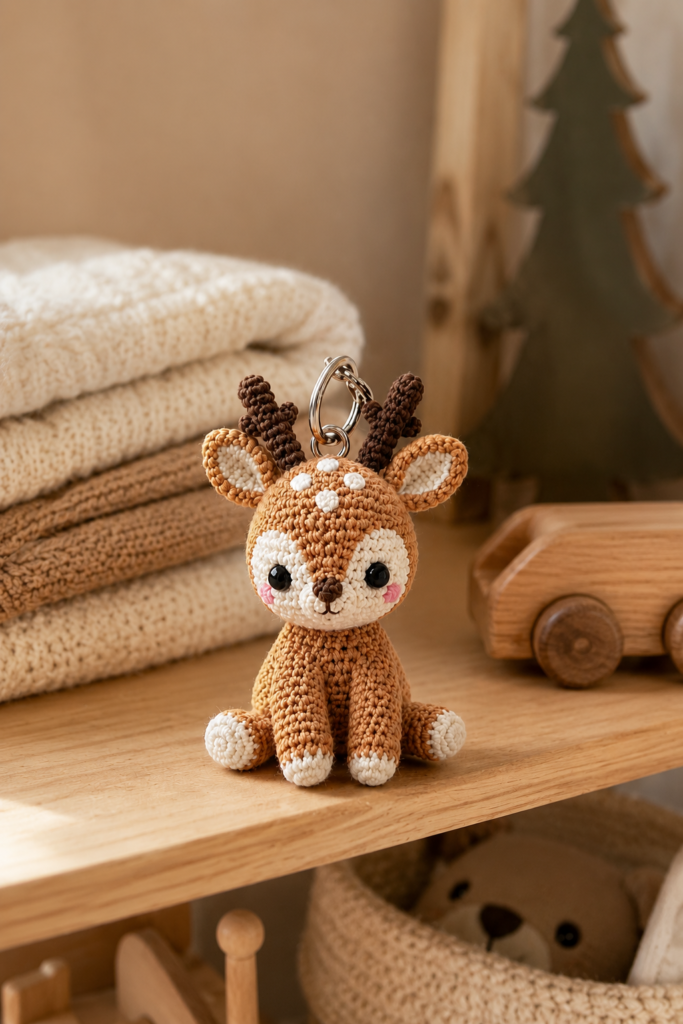
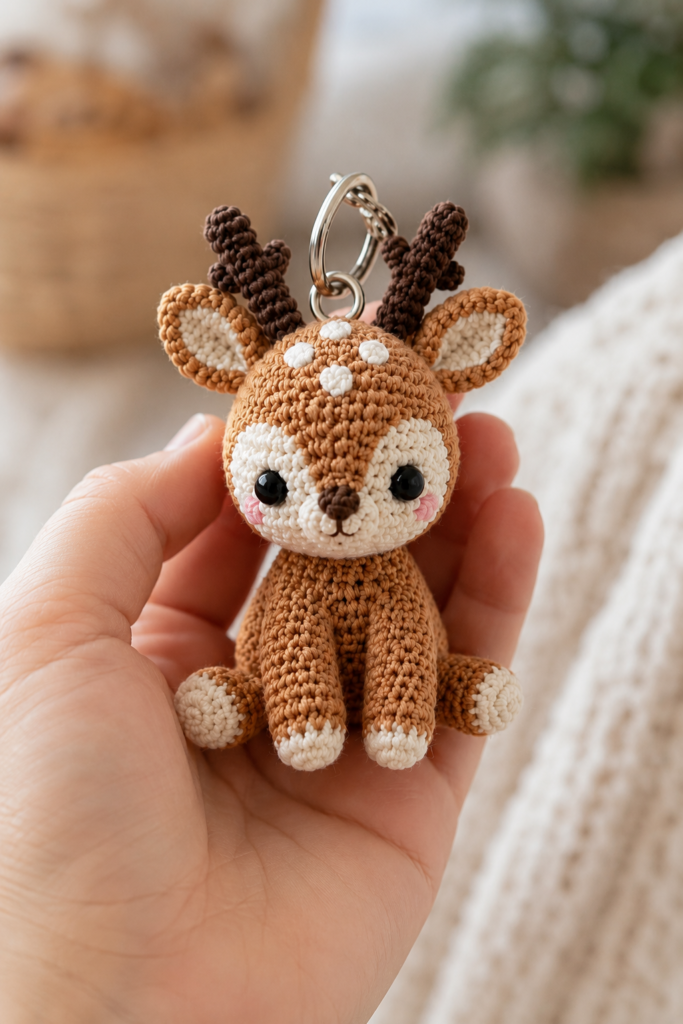
The deer in the reference design has a warm tan body, creamy facial details, little white spots on the forehead, dark brown antlers, rosy pink cheeks, and a shiny silver keyring. Its small size makes it perfect for attaching to a handbag, backpack, keys, craft pouch, or even a nursery-themed gift.
If you enjoy making amigurumi but don’t always want to commit to a large project, a crochet deer keychain is a great choice. You can work on it in short sessions and use leftover yarn from other projects.
Why You’ll Love This Mini Crochet Deer
This woodland amigurumi has several details that make it stand out from a basic crochet animal.
- Small and portable
- Cute woodland-inspired design
- Great use for leftover yarn
- Suitable for handmade gifts
- Can be used as a keychain or bag charm
- Easy to customize with different colors
- Perfect for crochet markets and craft fairs
- Makes a charming stocking stuffer or small gift
The best part is that the finished deer has plenty of personality without needing a complicated design.
Table of Contents
- Why Make a Crochet Deer Keychain?
- Materials You’ll Need
- Choosing the Right Yarn
- Crochet Hook and Other Supplies
- Understanding the Deer Design
- Tips for Making Mini Amigurumi
- How to Assemble the Deer Keychain
- How to Attach the Keyring Securely
- Common Mistakes to Avoid
- Beginner Tips for Better Amigurumi
- Easy Ways to Customize Your Deer
- How to Care for a Crochet Keychain
- Gift Ideas for a Woodland Deer
- Frequently Asked Questions
- Final Thoughts
Why Make a Crochet Deer Keychain?
A mini crochet deer keychain is one of those projects that is both decorative and useful.
Unlike a larger amigurumi project, a keychain-sized animal doesn’t require a huge amount of yarn or stuffing. That makes it a practical project when you want to use up small amounts of yarn sitting in your craft basket.
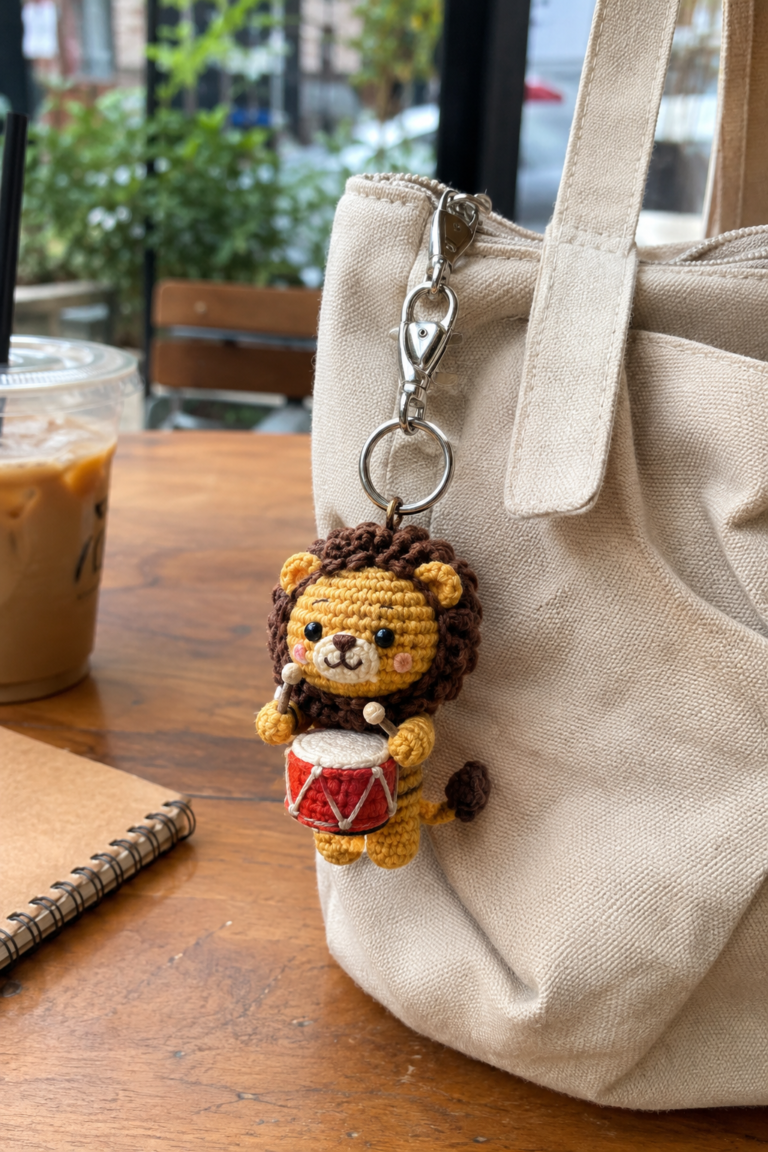
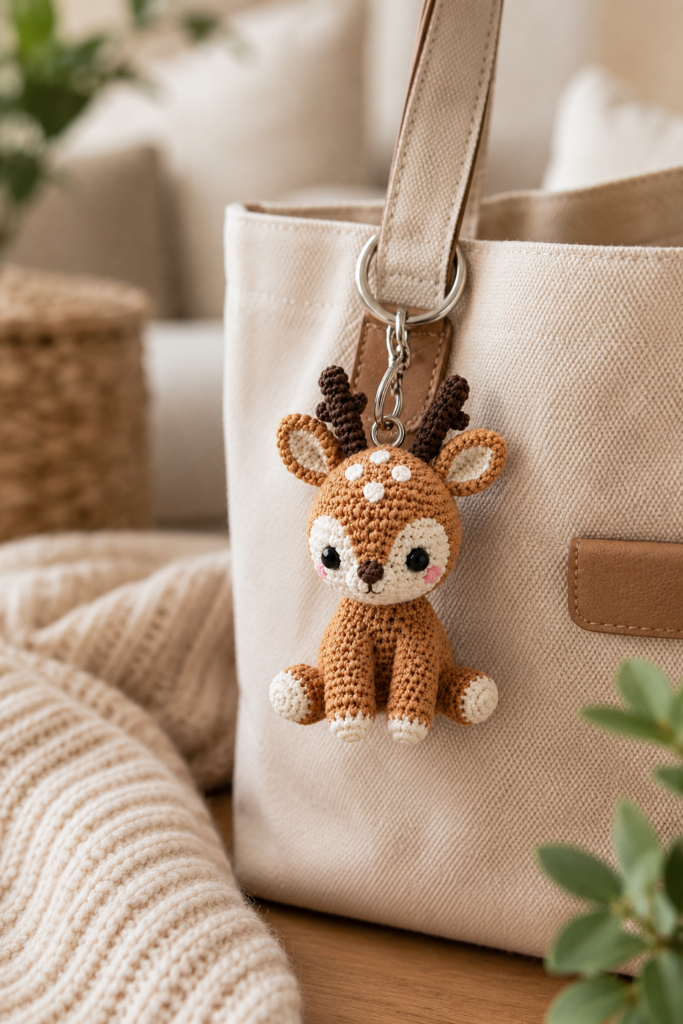
It is also a lovely handmade gift. A finished deer can be attached to a backpack for a child, added to a crochet lover’s gift box, or used as a cute charm on a neutral canvas handbag.
For makers who sell handmade items, small crochet keychains can also be useful because they are easy to display, package, and carry to craft markets.
Materials You’ll Need
Before starting your crochet deer pattern, gather your materials and keep the colors organized.
Yarn
For the reference-style deer, you’ll want a warm woodland color palette:
- Tan or caramel brown yarn for the main body
- Cream or ivory yarn for the muzzle, ears, and feet
- White yarn for the small forehead spots
- Dark brown yarn for the antlers
- Pink yarn for the cheeks
- Dark brown yarn for the nose
A medium or worsted-weight yarn can work, although the final size will depend on your yarn and hook combination.
Stuffing
Use a small amount of soft polyester fiberfill to give the head and body their shape.
The key with mini amigurumi is not to overstuff. Too much filling can stretch the stitches and make the finished deer look uneven.
Safety Eyes
Small black safety eyes create the cute expression seen in the reference design.
If the keychain is intended for a very young child, consider embroidered eyes instead of safety eyes because small detachable parts can present a choking hazard.
Keyring
A sturdy silver keyring completes the project and turns the finished deer into a functional crochet keychain.
A small connector ring or lobster clasp can also be used depending on how you want to attach it to a bag or backpack.
Other Supplies
You’ll also need:
- Crochet hook appropriate for your yarn
- Tapestry needle
- Stitch marker
- Small scissors
- Fiberfill stuffing
- Optional pins for positioning pieces
- Keyring hardware
Choosing the Right Yarn for a Mini Crochet Deer
Yarn choice has a surprisingly big effect on miniature amigurumi.
For a deer like this, smooth cotton or cotton-blend yarn is a good option because the stitches remain clearly visible. This is particularly helpful when you’re working on small pieces such as ears, legs, and antlers.
A smooth yarn also makes color changes easier to see.
For the main deer, a warm caramel or light brown shade creates the classic woodland look. Pairing it with cream gives the face and feet a soft contrast.
Keep Your Yarn Weight Consistent
Try not to mix dramatically different yarn thicknesses within the same piece.
If one color is much thicker than another, your stitches may become uneven and the finished deer can lose its shape.
Understanding the Deer Design
The reference deer has a simple but carefully balanced silhouette.
The head is slightly larger than the body, giving the character that classic cute amigurumi appearance. The ears extend outward from the sides of the head, while the dark brown antlers rise above it.
The face is one of the most important parts.
The cream muzzle surrounds the black eyes and small brown nose, while tiny pink cheeks add a soft handmade character. Several small white spots on the forehead complete the deer-inspired pattern.
The body remains compact, with short legs and small cream-colored feet.
Keeping these proportions consistent is what gives the finished project its recognizable woodland deer look.
Tips for Making Mini Amigurumi
Small crochet projects can sometimes be more challenging than larger ones because every stitch is visible.
Here are a few techniques that can make the process easier.
Use a Stitch Marker
When crocheting in continuous rounds, it can be easy to lose track of where a round begins.
A stitch marker helps you identify the first stitch and makes counting much easier.
Keep Your Tension Consistent
Try to maintain an even tension throughout the project.
Loose stitches can create visible gaps that allow stuffing to show through. Very tight stitches, on the other hand, can make the fabric difficult to work into.
For amigurumi, slightly firm tension is generally useful because it creates a dense fabric.
Count Your Stitches
Don’t rely on appearance alone.
When a pattern calls for a specific number of stitches, count your round before moving forward. Catching a mistake early is much easier than trying to correct the shape several rounds later.
How to Assemble the Crochet Deer
Once the individual pieces are finished, the project starts to look like a real little woodland character.
The general assembly process is:
1. Shape the Head
Make sure the head is evenly stuffed and has a smooth, rounded shape.
Avoid packing the stuffing too tightly.
2. Add the Face
Position the eyes evenly on both sides of the face.
The cream muzzle should sit centrally beneath the eyes, with the small brown nose placed in the middle.
3. Add the Cheeks
Small pink details can be embroidered or crocheted depending on your preferred technique.
Keep both cheeks at approximately the same height.
4. Attach the Ears
Position the ears symmetrically.
Before sewing them permanently, use pins to test the placement. This gives you an opportunity to adjust the angle.
5. Add the Antlers
The dark brown antlers are an important feature of this particular deer amigurumi.
Make sure both antlers are firmly attached because the keychain may experience more movement than a decorative amigurumi sitting on a shelf.
6. Attach the Body and Legs
The body should remain compact and balanced underneath the head.
Check the positioning from the front before permanently sewing the pieces together.
How to Attach the Keyring Securely
The keyring is what transforms the finished deer from a regular amigurumi into a mini crochet deer keychain.
The attachment point should be strong enough to handle everyday movement.
Rather than attaching the ring to a loose strand of yarn, connect it securely to a reinforced section at the top of the head.
Check the attachment by gently pulling the ring before using the keychain.
If you’re selling the finished item, this is especially important. A beautifully crocheted piece isn’t useful if the hardware comes loose after a few uses.
Common Mistakes to Avoid
Overstuffing the Head
Too much stuffing can stretch the crochet fabric and make the stitches look uneven.
Add small amounts gradually and shape the head as you go.
Uneven Eyes
The eyes have a major effect on the expression.
Before securing them, look at the face from several angles and make sure they are positioned evenly.
Loose Stitches
Large gaps between stitches can expose the stuffing.
If this happens, check your tension and consider using a slightly smaller hook.
Weak Keyring Attachment
The keyring needs to be attached securely because the finished item will move around frequently.
Reinforce the attachment point rather than relying on a single loose loop.
Incorrect Piece Placement
Small changes in ear, leg, or antler placement can noticeably change the character.
Pin pieces in position before sewing them permanently.
Beginner Tips for Better Amigurumi
If you’re new to amigurumi, don’t worry if your first project doesn’t look perfectly symmetrical.
Miniature crochet takes practice.
Start by learning a few basic techniques:
- Working in continuous rounds
- Single crochet
- Increasing
- Decreasing
- Invisible decreases
- Magic ring
- Sewing crochet pieces together
- Embroidering small facial details
Once you are comfortable with these techniques, many small animal patterns become much easier.
Don’t Rush the Face
The face is usually the most noticeable part of an amigurumi.
Take your time when positioning the eyes, muzzle, nose, cheeks, and forehead spots.
A few minutes spent adjusting the placement can make a big difference in the final expression.
Easy Ways to Customize Your Deer
One of the fun things about a woodland amigurumi pattern is that you can change the colors without changing the overall character.
Classic Woodland Deer
Use:
- Caramel brown
- Cream
- White
- Dark brown
- Soft pink
This keeps the warm natural appearance of the reference design.
Winter Deer
Try cooler cream and brown shades with a slightly darker antler color.
Pastel Deer
For a softer nursery-inspired version, replace the tan with muted peach, beige, or dusty pink.
Personalized Gift
You can also add a small embroidered initial or color detail to make the finished piece more personal.
How to Use Your Crochet Deer Keychain
There are plenty of ways to use this little amigurumi.
On a Handbag
Attach it to a canvas or neutral-colored handbag for a subtle handmade accessory.
On a Backpack
A deer charm looks especially cute on a school or everyday backpack.
On Your Keys
The obvious choice is a keyring, but the small size makes it easy to carry without adding much weight.
As a Gift
Add it to a handmade gift basket with crochet accessories, yarn, or a small project bag.
For Craft Fairs
Small woodland animals can make attractive additions to a handmade display because they are colorful, affordable-looking, and easy for shoppers to pick up.
How to Care for a Crochet Keychain
Because a keychain gets handled frequently, it will naturally collect dust and oils over time.
Keep your crochet deer looking fresh by gently cleaning the surface when needed.
Avoid soaking the piece unless the yarn and attached components are specifically suitable for washing.
Instead, use gentle spot cleaning and allow the item to dry completely.
Keep it away from sharp objects that could catch the yarn.
If the keyring becomes loose, repair it before continuing to use the charm.
Is This Crochet Deer Pattern Beginner-Friendly?
A miniature deer can be a good project for a confident beginner, but it may not be the easiest possible first crochet project.
The small size means that stitch counting and assembly need some attention.
If you’re completely new to crochet, practice basic amigurumi techniques on a simple ball or small animal first.
If you already know single crochet, increases, decreases, working in rounds, and basic sewing, you’ll have a much easier time with a project like this.
How Long Does a Mini Crochet Deer Take to Make?
The time depends on your crochet speed, yarn weight, hook size, and experience.
A beginner may need several short sessions, while an experienced amigurumi maker can work considerably faster.
The assembly and facial details can take almost as much attention as crocheting the individual pieces.
Don’t rush the final stage. Proper shaping and neat sewing are what give a small amigurumi its polished appearance.
Frequently Asked Questions
What yarn is best for a crochet deer keychain?
Smooth cotton or cotton-blend yarn is a good choice for miniature amigurumi because it provides clear stitch definition and creates a firm fabric.
Is a crochet deer keychain a good beginner project?
It can be suitable for a confident beginner who already understands basic amigurumi techniques. Complete beginners may find a larger, simpler project easier.
How do you make crochet amigurumi look neat?
Consistent tension, accurate stitch counting, careful stuffing, and neat sewing make the biggest difference.
How do you attach a keyring to crochet?
Use a reinforced attachment point rather than a loose strand of yarn. The connection should be securely sewn and tested before regular use.
Can I use different colors for this deer?
Absolutely. Tan and cream create the classic woodland appearance, but you can experiment with beige, pastel, darker brown, or seasonal colors.
Can I sell finished crochet deer keychains?
If you’re using a purchased crochet pattern, check the designer’s specific terms regarding selling finished items. Pattern copyright and finished-product selling policies can vary.
What makes amigurumi different from regular crochet?
Amigurumi generally refers to small stuffed crocheted or knitted figures. It often uses tight stitches, shaping through increases and decreases, and fiberfill stuffing.
Final Thoughts
A mini crochet deer keychain is a wonderful little project when you want something cute, useful, and satisfying without taking on a large amigurumi.
The warm tan-and-cream color palette, tiny white forehead spots, dark antlers, rosy cheeks, and silver keyring give this woodland deer plenty of personality. It works beautifully as a bag charm, backpack accessory, keychain, handmade gift, or small craft-fair item.
The most important part is taking your time with the details. Keep your stitches consistent, don’t overstuff the pieces, position the facial features carefully, and reinforce the keyring attachment.
Once you’ve finished one, you may find yourself wanting to make an entire little woodland collection.
Ready to bring this tiny woodland friend to life? Save this idea to your crochet inspiration board and keep it handy for your next small amigurumi project.