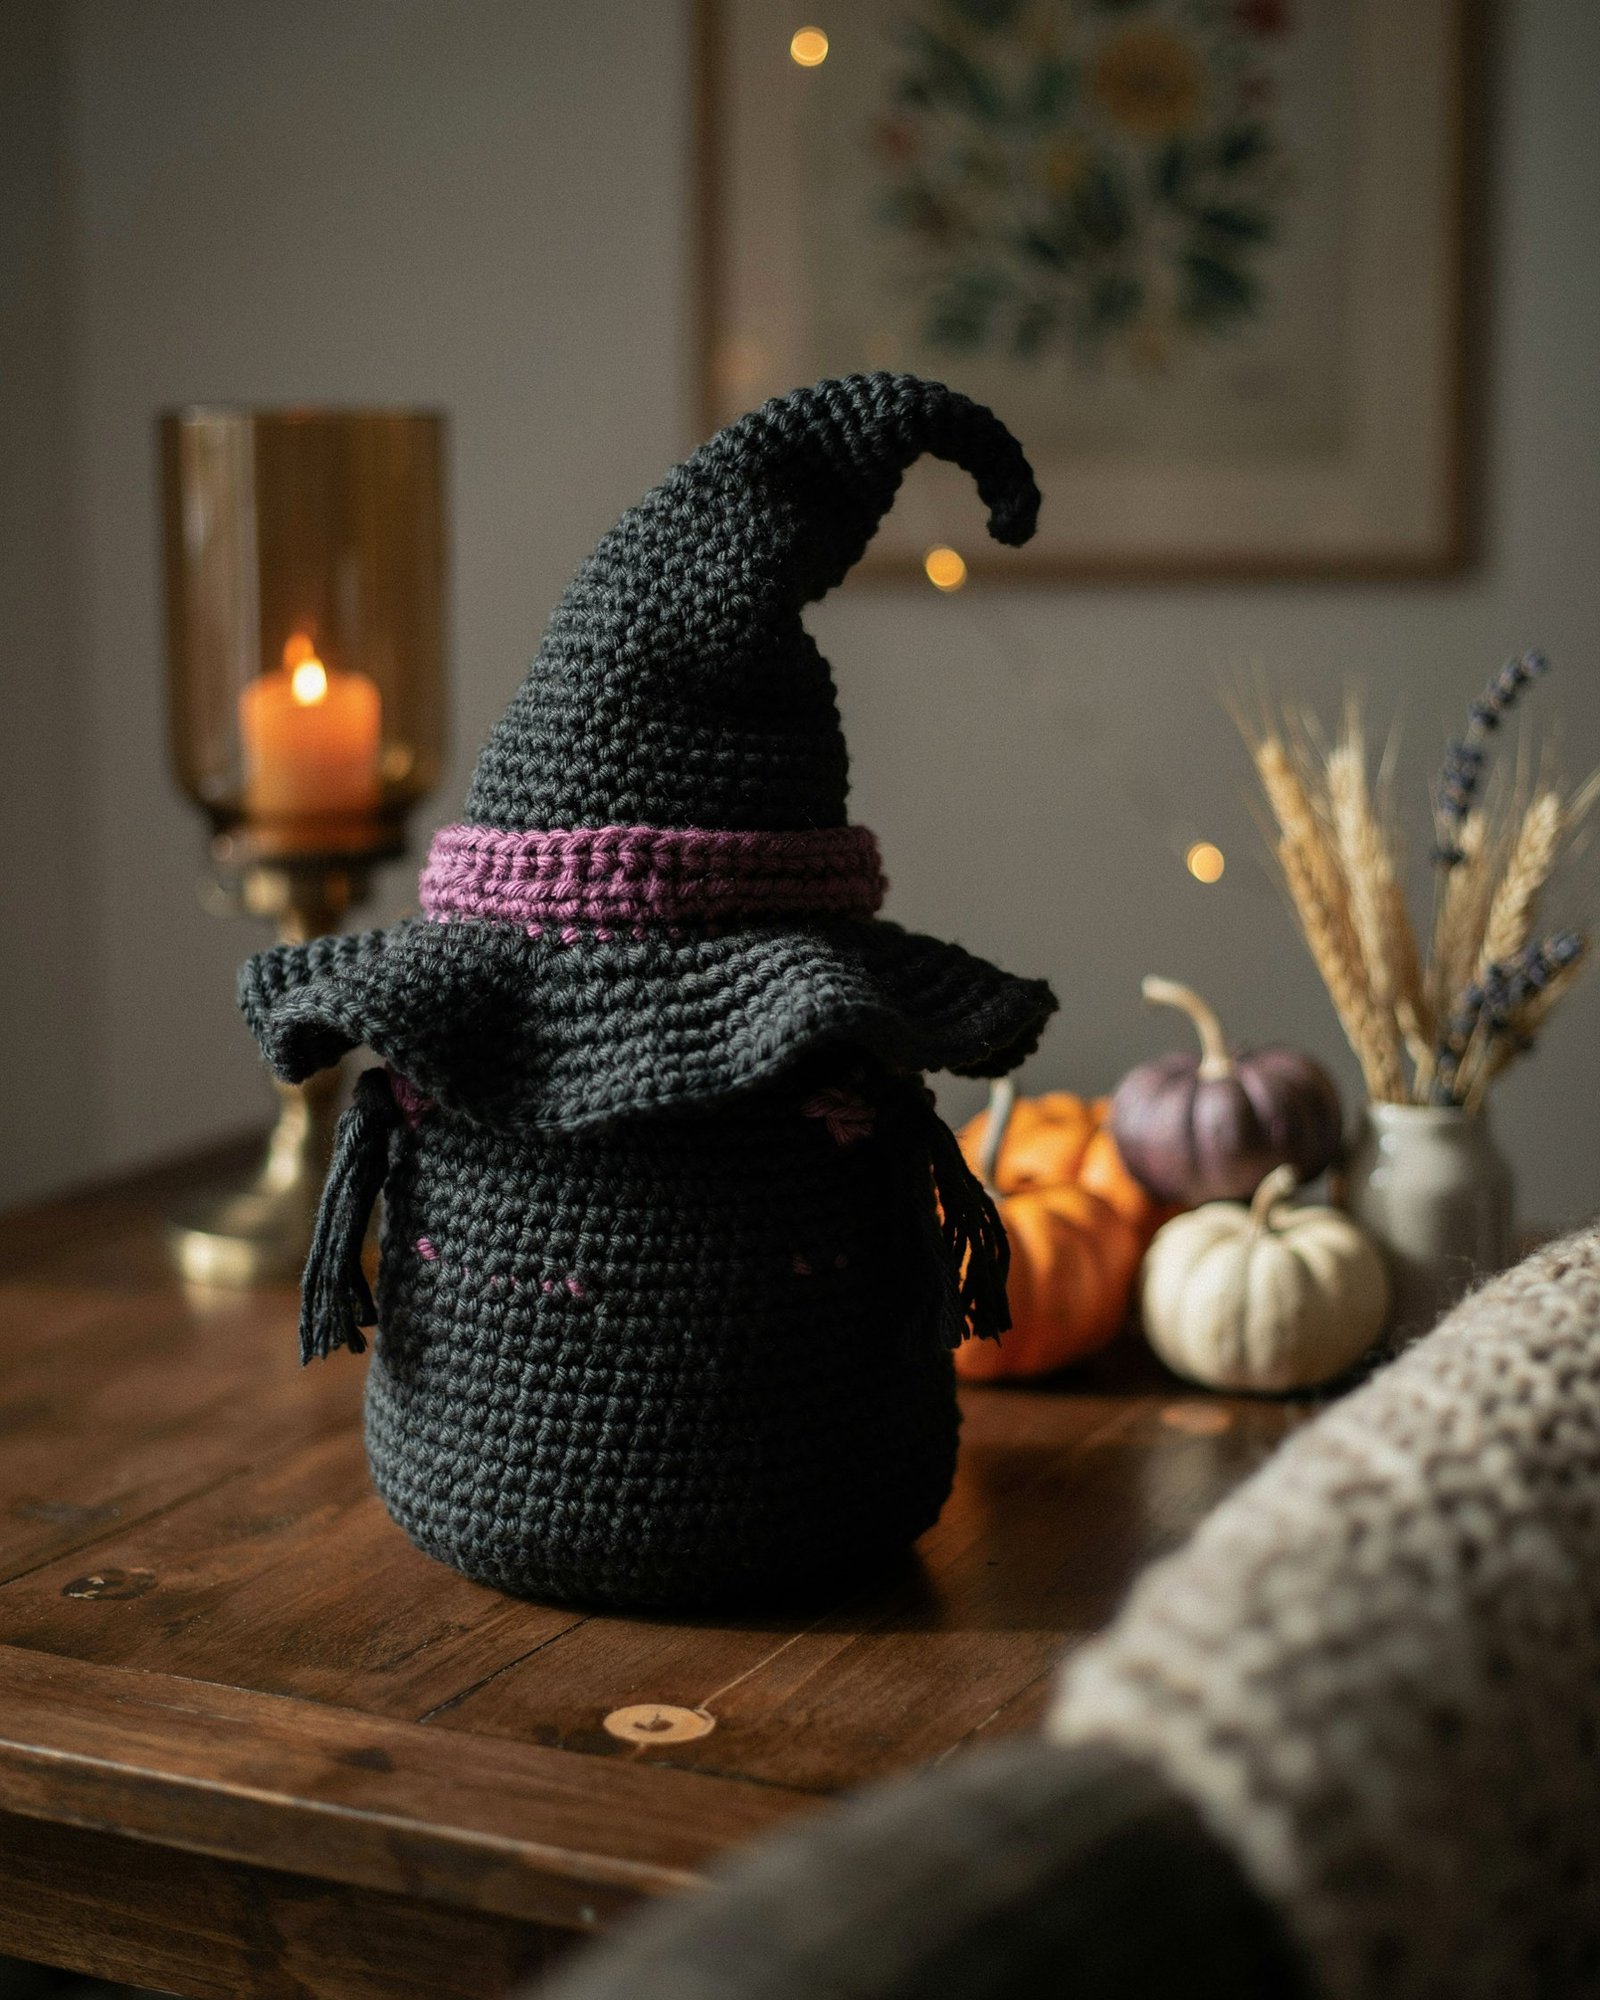
Some Halloween projects are fun for a week and then end up in a box. A witch hat crochet bag is different. It’s practical enough to carry candy, small gifts or your crochet notions, and it looks striking enough to sit on a console table as seasonal décor.
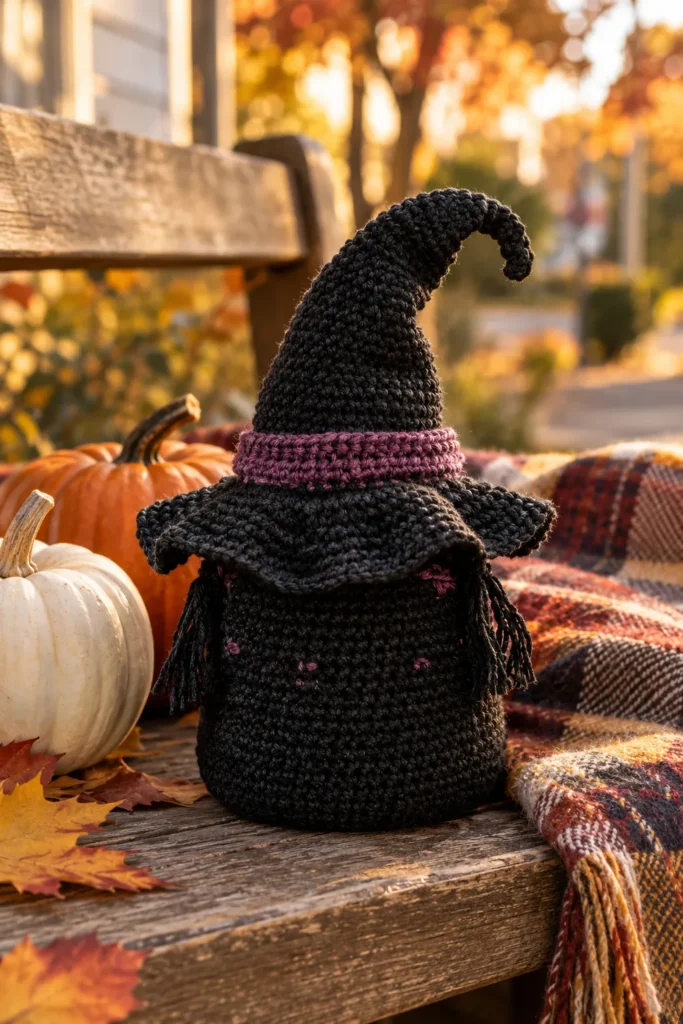
The design in this guide is a rounded black body topped with a tall, curl-tipped witch hat, a ruffled brim, a plum purple band and two little tassels. It reads as spooky but also soft and handmade, which is exactly why it stands out from the plastic costume accessories you see everywhere in October.
This guide covers what you need, how the design goes together, and the mistakes that make witch hat projects droop or look lumpy. It also covers how to style, photograph and care for the finished piece. Whether you’re a confident beginner or an experienced maker, you can use it to plan your own version.
Table of Contents
- Why a Witch Hat Bag Works as a Statement Accessory
- Skill Level and Time Needed
- Materials and Yarn Recommendations
- Choosing Your Size and Yarn Amounts
- Understanding the Construction
- Step-by-Step: Building Your Witch Hat Crochet Bag
- Expert Tips for a Polished Finish
- Common Mistakes and How to Fix Them
- Styling and Gift Ideas
- Care and Storage
- FAQs
- Summary
1. Why a Witch Hat Bag Works as a Statement Accessory
Most Halloween accessories are costume pieces: loud, shiny and only used for one night. This bag is closer to a handmade home accent that also happens to be carryable.
It has a limited palette. Black and plum purple look intentional and grown-up. Instead of competing with the usual orange, it gives your Halloween styling a moodier, more modern edge.
It’s three-dimensional. The tall hat gives it a silhouette people notice across a room. Even without a face or fancy details, the curled tip adds personality.
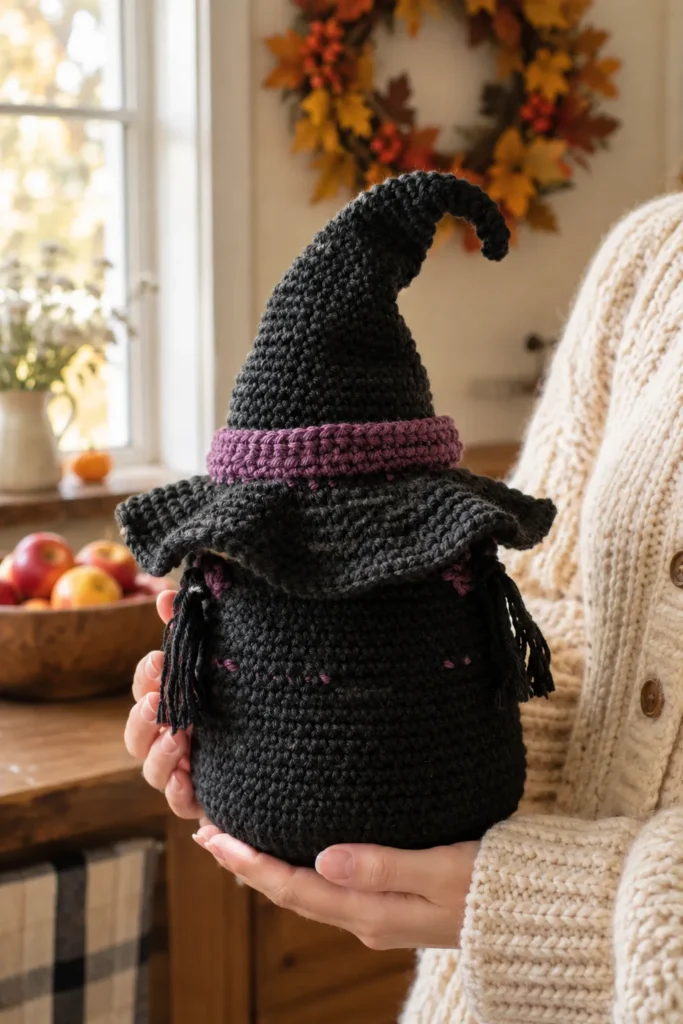
It’s useful. A structured crochet body holds its shape and can carry treats, small gifts, a phone or a crochet kit.
It lasts. Tight single crochet in sturdy yarn survives years of seasonal use, and you can bring it out every October.
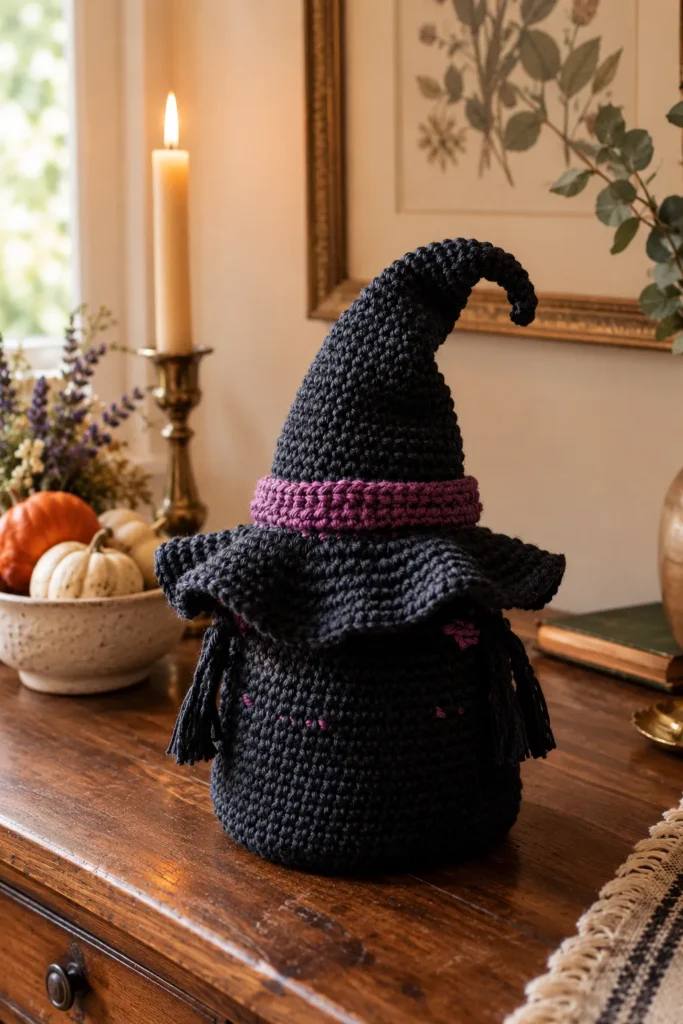
It photographs well. That matters if you sell your work, post it on social media or give it as a gift. Black yarn against warm wood, amber candlelight and pumpkins looks cozy and dramatic at once.
2. Skill Level and Time Needed
Skill level: Advanced beginner to intermediate.
You should be comfortable with:
- Working in the round
- Single crochet, increases and decreases
- Changing colors
- Working in rows for the band
- Sewing pieces together with a yarn needle
Time estimate: Most makers should plan on 6 to 10 hours, depending on size and speed. The hat tip and the brim ruffle take the most attention. Split the project over two or three sittings so your tension stays even.
If you’ve never made a cone shape before, practice a small sample cone first. It takes about twenty minutes and teaches you how the increases control the height.
3. Materials and Yarn Recommendations
Yarn
For a sturdy, dense look, use a smooth, matte medium-weight yarn (worsted, weight 4), or a slightly heavier yarn worked on a smaller hook than the label suggests. Smooth yarn shows stitch definition, which is the hallmark of this style. Fuzzy or heavily textured yarns hide the stitches and make black projects look flat.
Reliable options available in the US:
- Lion Brand Wool-Ease: soft, widely available, with good stitch definition.
- Red Heart Super Saver: budget-friendly and very sturdy, good for items that will be handled a lot.
- Lion Brand 24/7 Cotton or a similar mercerized cotton: firm and with no stretch, so the body holds its shape well.
- A wool blend: best if you want the hat to hold its curves, though it needs gentler care.
You’ll need a main color (black) and a small amount of accent color (plum or orchid purple). The band and the little stitched accents use very little of the purple.
Hook
Go down one or two sizes from the label. For worsted yarn, try a 4.0 to 4.5 mm hook. Tight stitches matter more here than in almost any other project, because loose fabric makes the cone sag and lets the stuffing show.
Other supplies
- Stitch markers (essential for working in the round)
- Yarn needle
- Polyester fiberfill (a small amount for the hat tip)
- Thin craft wire or a pipe cleaner, if you want the curled tip to hold its bend
- Cardboard for making tassels
- Optional: stiff interfacing or plastic canvas for the base
- Optional: cotton fabric for a lining
- Optional: a zipper, snap or drawstring cord, depending on your closure
Closure options
Choose a closure that suits how you’ll use the bag:
- Removable hat lid: the hat sits on top like a cap. It’s easy and charming, and best for décor or light items.
- Drawstring: gathers neatly under the brim and works well for treats.
- Sewn-in zipper or snap: best if you plan to carry the bag often.
4. Choosing Your Size and Yarn Amounts
There’s no single right size, so decide how you’ll use the bag first.
- Décor piece: a taller, slimmer body shows off the hat. It doesn’t need to hold weight.
- Treat bag: make the body wider and the base sturdier so it holds candy without tipping.
- Gift holder: a medium body with a removable hat makes the gift easy to reach.
As a rough guide, a medium bag in worsted weight yarn needs about 250 to 350 yards of black and 30 to 50 yards of purple. Always buy an extra skein of black if you’re unsure, because running out mid-brim is frustrating and dye lots can vary slightly.
Measure your first few rounds against your hand or a small mug to check the scale as you go. It’s much easier to adjust early than after you’ve sewn everything together.
5. Understanding the Construction
Think of this bag as four connected parts:
- The body: a rounded bucket, worked in the round in single crochet.
- The hat cone: a tapered cone with a curled tip.
- The brim: a wide, ruffled circle.
- The finishing details: the purple band, tassels and small purple accents.
Seeing it this way makes the project much less intimidating. Each part is simple on its own, and you can work them in any order as long as you measure them against each other before joining.
6. Step-by-Step: Building Your Witch Hat Crochet Bag
These steps are a general construction guide, not a stitch-by-stitch pattern. They show how the pieces fit together so you can adapt them to your yarn and size.
Step 1: Make the base
Start with a magic ring and work single crochet in a spiral, increasing evenly each round so the circle lies flat. Keep going until the base is as wide as you want your bag.
If the base ruffles or curls, you have too many increases. If it cups like a bowl, you need more.
Step 2: Work the body
Stop increasing and work even rounds straight up. For a slightly rounded profile, add a few gentle increases in the lower third, then a few decreases toward the top.
Work one round through the back loop only at the base if you want a crisp edge where the bottom meets the sides. Place a stitch marker at the start of every round, because spiral crochet drifts if you lose your place.
Step 3: Shape the hat cone
Begin the cone with a magic ring and work in single crochet, increasing slowly, usually 4 to 6 stitches per round. This slow growth is what produces a tall, narrow cone. Fast increases give you a wide, stumpy hat.
Hold the cone against the top of your body from time to time so the base of the hat sits comfortably over the opening.
Step 4: Create the curled tip
This is the signature feature. Work the top portion of the cone with a narrow stitch count and bend it as you go.
For a curl that stays:
- Stuff the tip lightly with fiberfill.
- Insert thin craft wire, folded over at the end so the point can’t poke through.
- Shape the curl before you sew everything together.
- Keep the wire away from the fabric surface, and skip the wire altogether if the item is for a young child.
Step 5: Add the ruffled brim
Work a flat circle for the brim. To get ruffles, increase more aggressively in the final rounds. For example, work two stitches into every stitch for one round. The extra stitches have nowhere to go, so they ripple. Sculpt them with your fingers and lightly steam-block, holding the iron above the fabric rather than pressing.
Step 6: Crochet the purple band
The band looks like a chunky, ribbed strip. Make it by working short rows of single or half double crochet in the back loop only, which gives the ribbed texture.
Make the strip long enough to wrap around the base of the cone, then seam the ends together. Slide it over the hat and sew it in place just above the brim.
Step 7: Make the tassels
Wrap black yarn around a piece of cardboard about 4 inches tall, tie the top, wrap the neck and trim the ends. Attach one tassel to each side under the brim, using a few stitches that go securely through the body fabric.
Step 8: Add the purple accents
A few small purple stitches on the body and under the brim add a lovely detail. Use a yarn needle and a short length of purple yarn. Keep them small and slightly irregular so they feel hand-stitched.
Step 9: Assemble
Attach the brim to the hat cone, then decide on your closure. For a removable hat, finish the brim so it rests on the bag opening. For a permanent hat, sew it securely to the top of the body. Weave in every end carefully, especially on a bag that will be handled often.
7. Expert Tips for a Polished Finish
Keep tension consistent. The dense look depends on it. If your tension varies from session to session, try a smaller hook and work in a calm, well-lit spot.
Use the invisible decrease. Working into the front loops only keeps decreases from creating holes. It’s worth learning for any project in the round.
Block the brim, not the body. Light steam on the brim helps the ruffles settle. Never press the body flat.
Reinforce the base. A circle of plastic canvas or stiff interfacing, covered with fabric, keeps the bag upright when it’s loaded.
Line it for practical use. A simple fabric lining stops small items slipping through the stitches and adds strength.
Check your color match. If you buy two skeins of black at different times, dye lots can vary. Black is forgiving, but not always identical.
Work smart. Make the tassels and band while watching something, and do the body rounds when you can concentrate. Work the brim last so you can decide on its final size once everything else is done.
8. Common Mistakes and How to Fix Them
The hat flops over
This happens with loose tension or yarn that’s too heavy for the cone. Go down a hook size, stuff the tip lightly and add wire if needed.
The brim is flat
You didn’t add enough increases. Pull back a round and add an extra increase round.
The brim is a wavy mess
You added too many increases. Frog a round and reduce the increases slightly.
There are gaps in the body
Your hook is too large. Use a smaller hook and keep your tension snug.
The wire pokes through
The wire end wasn’t capped. Fold the end back on itself and wrap it with yarn before inserting.
The bag sags when full
There’s no base support. Add a plastic canvas or interfacing base.
The rounds look uneven
You lost your marker. Use a locking stitch marker on every round and count your stitches at the end.
9. Styling and Gift Ideas
- Trick-or-treat bag: carry candy in style. Line it to keep treats clean.
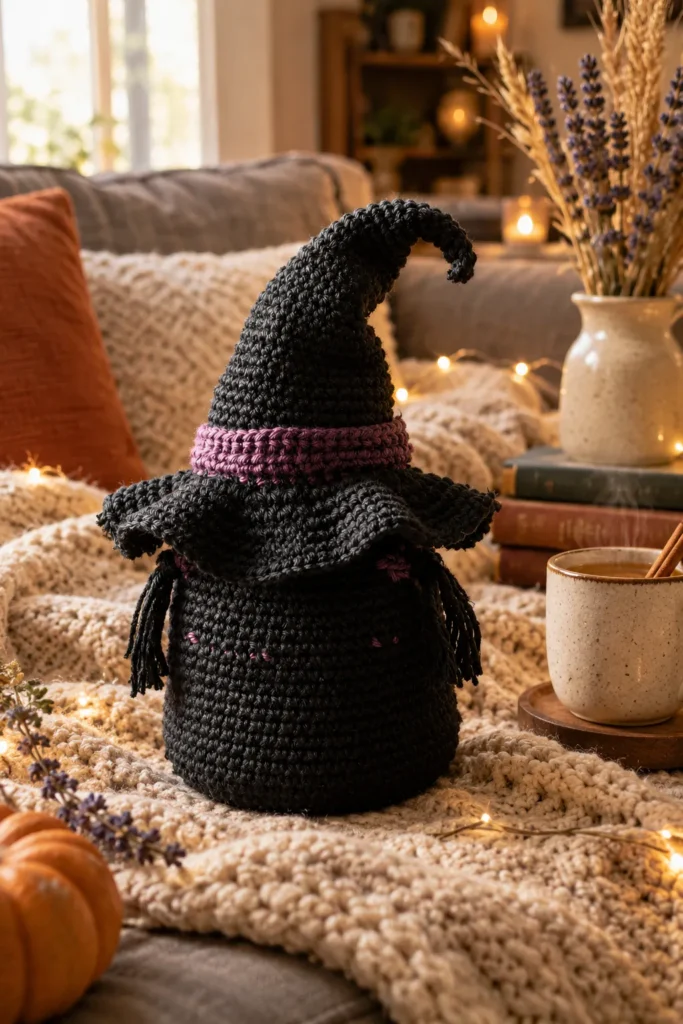
- Halloween table décor: set it on a console beside pumpkins, dried wheat and a candle for a cozy, moody display.
- Gift basket: fill it with tea, chocolates or a small candle for a Halloween host gift.
- Craft stash companion: hold hooks, markers and small notions.
- Party favor holder: a smaller version works well for a Halloween party.
- Shelf styling: it pairs beautifully with brass, amber glass and warm string lights.
For photos, soft window light and a dark wood surface bring out the texture of black yarn. Black is hard to photograph, so use side light rather than front light to show off the stitches.
10. Care and Storage
- Spot clean with a damp cloth and mild soap.
- Hand wash if needed in cool water, then reshape and air dry flat.
- Avoid hot dryers, which can shrink and distort the brim.
- Store the hat upright in a box or on a shelf so the tip doesn’t flatten. Tissue paper inside helps it keep its shape.
- Keep it away from open flames. Yarn is flammable. An LED candle is a safer choice for display and photos, and a real flame should never be left near it.
- Check your yarn label for specific care instructions, since wool and acrylic behave differently.
11. FAQs
Is a witch hat crochet bag beginner friendly?
It suits advanced beginners. If you can crochet in the round and increase and decrease, you can make it. The tip and brim take patience but no special skills.
What yarn is best?
Smooth, matte worsted weight yarn in cotton, acrylic or a wool blend. A firm yarn gives the best structure.
How big should the bag be?
Any size you like. Many makers aim for something about the size of a small bucket. The hat should be tall enough to be dramatic but light enough to stay upright.
How do I make the hat tip curl?
Taper the stitch count, bend the tip as you work, and add thin wire or a pipe cleaner folded at the end. Avoid wire on items for small children.
Can I use it as a real bag?
Yes, for light items. Add a base, lining and secure closure if you plan to carry it often.
Can I sell what I make?
Many crafters do, but check the license terms of any pattern you use before selling items made from it.
Can I change the colors?
Absolutely. Once you know the construction, try deep green with orange, or charcoal with silver.
12. Summary
A witch hat crochet bag is part accessory and part décor. Its tall curled hat, ruffled brim, purple band and tassels make it memorable, and its simple construction makes it achievable.
Use smooth, firm yarn and a small hook. Build the body, cone and brim separately, and take extra care with the tip and the ruffles. Add a base and lining if you plan to use it as a real bag.
Ready to start? Gather your black and purple yarn this weekend and save this guide for when you’re ready to make yours. If you make one, share a photo and tag StitchNestStudio. We’d love to see it.