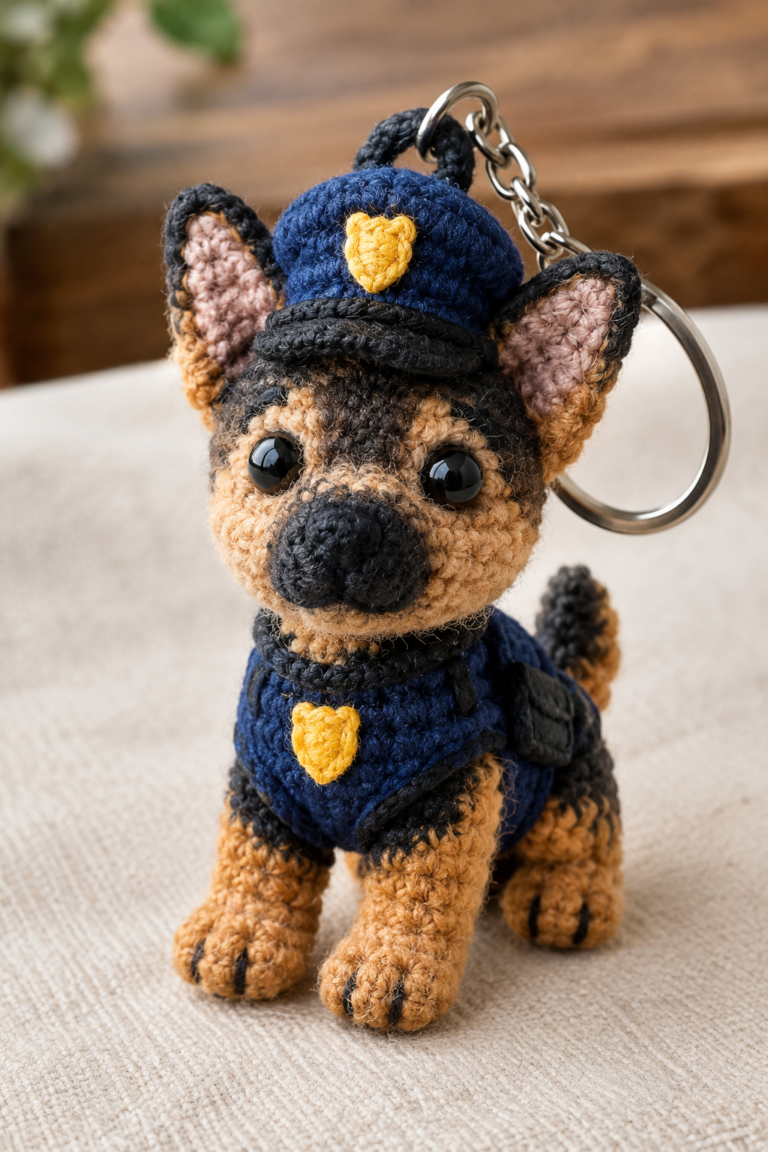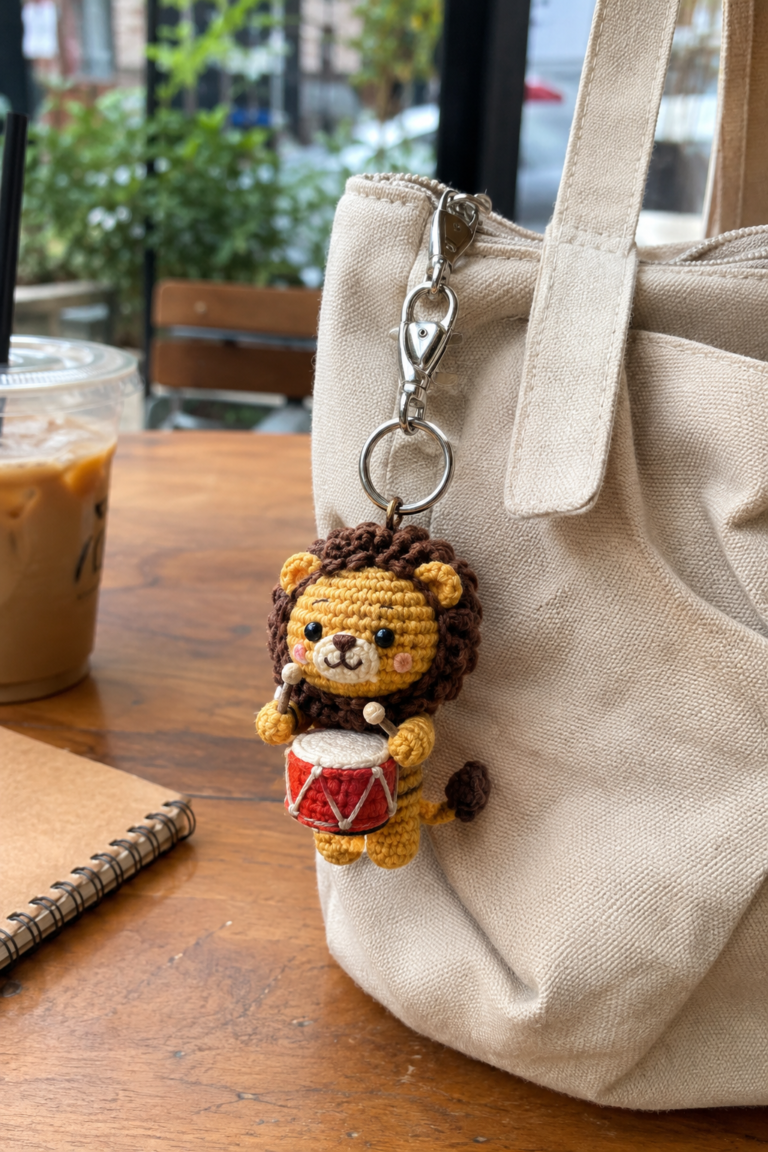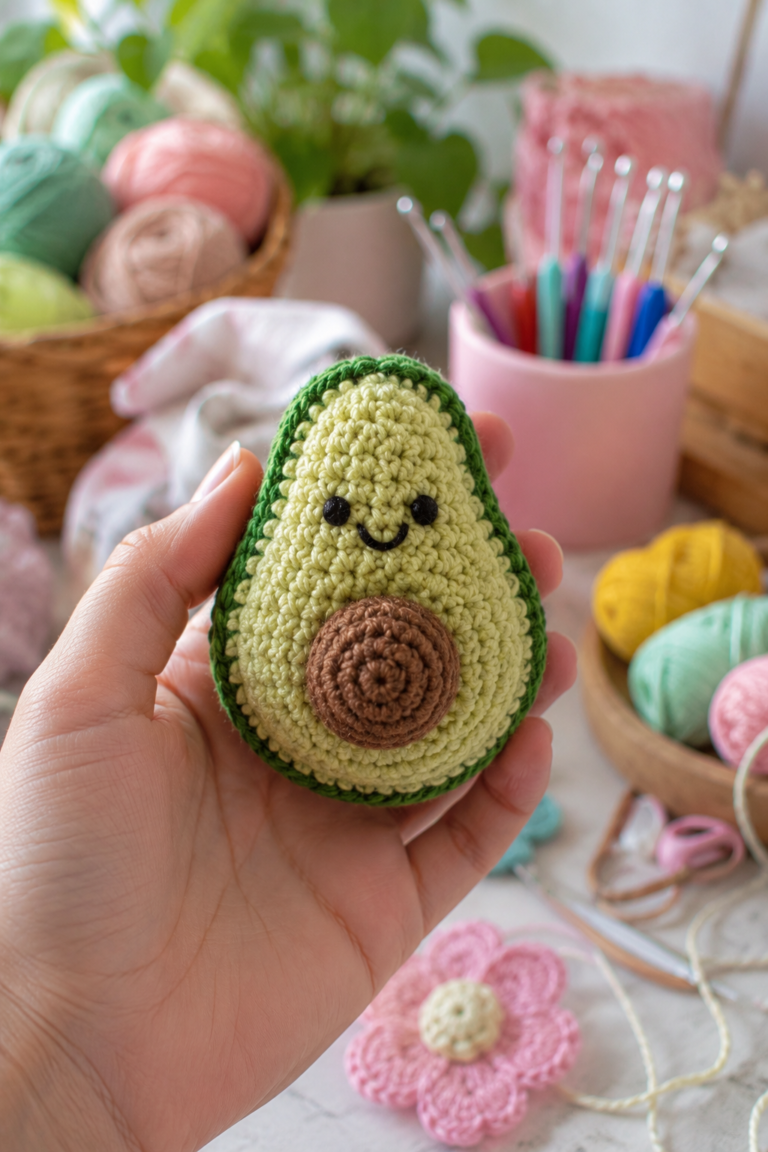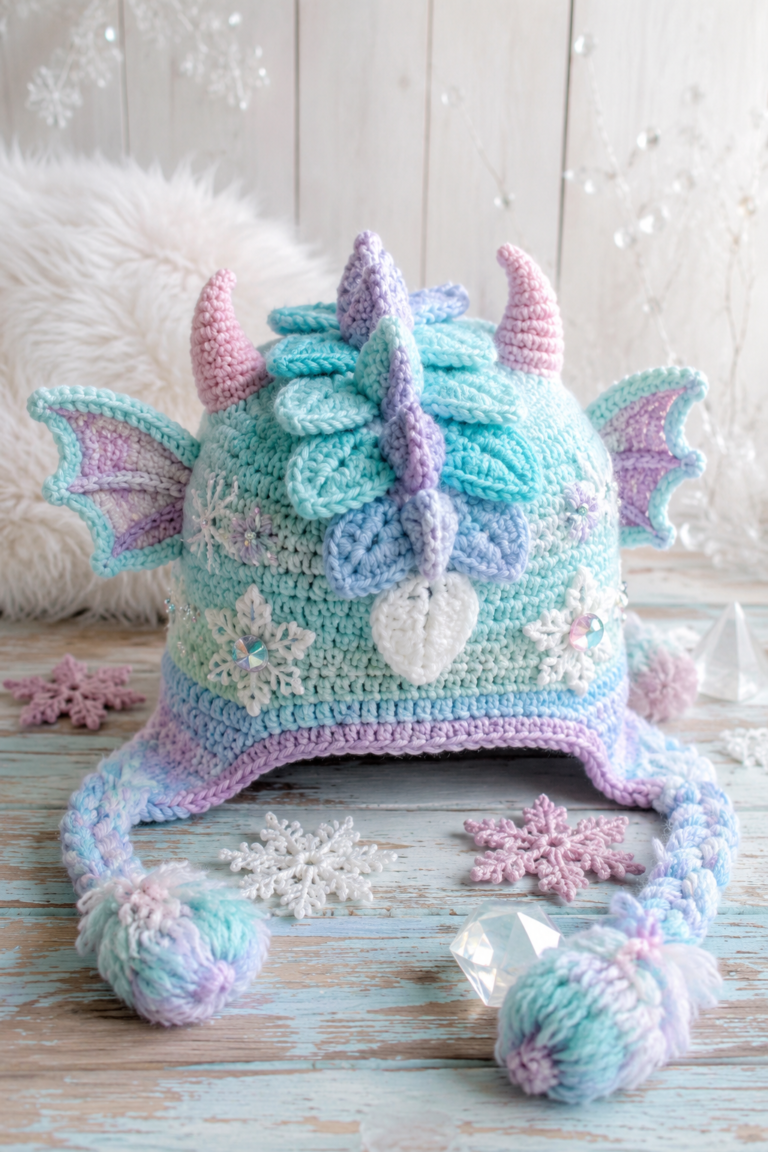
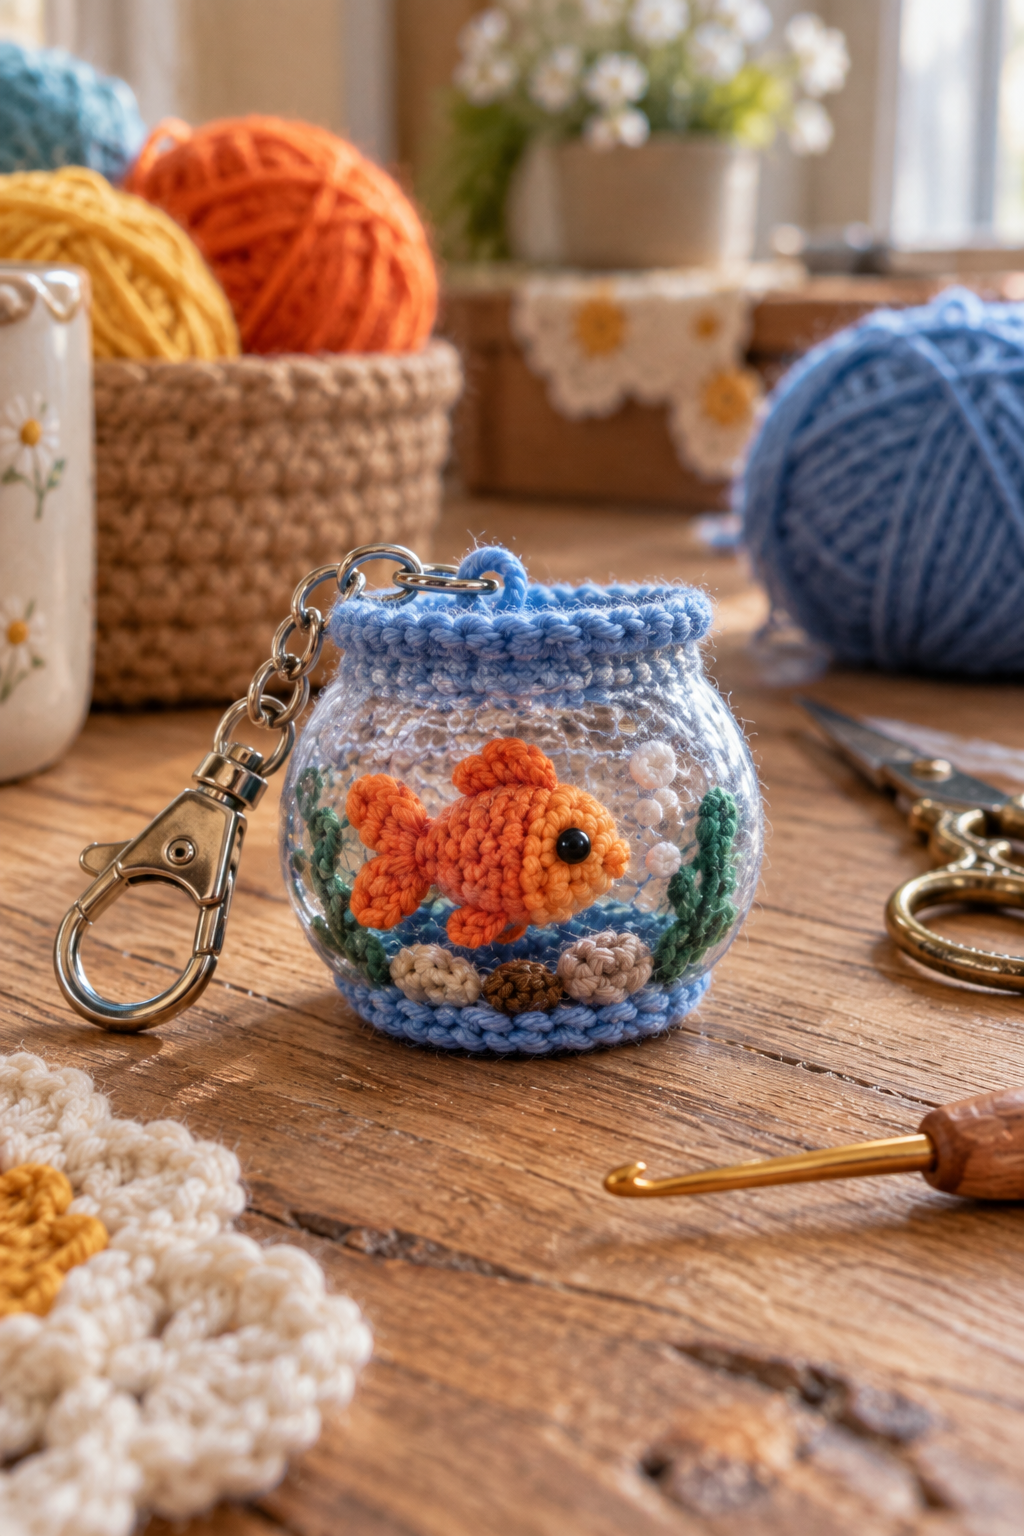
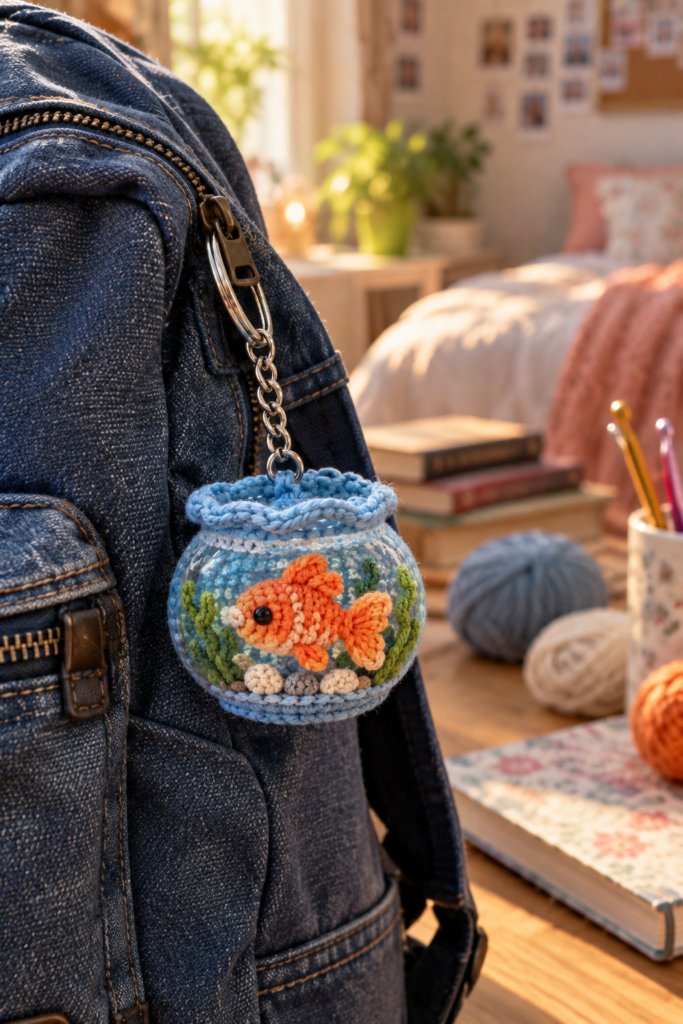
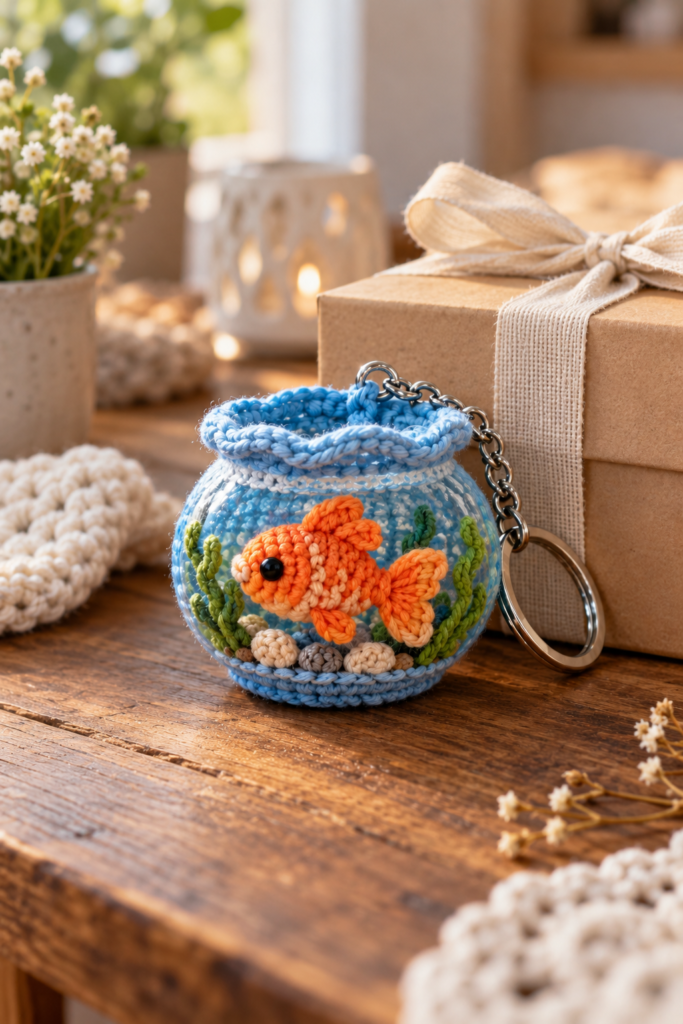
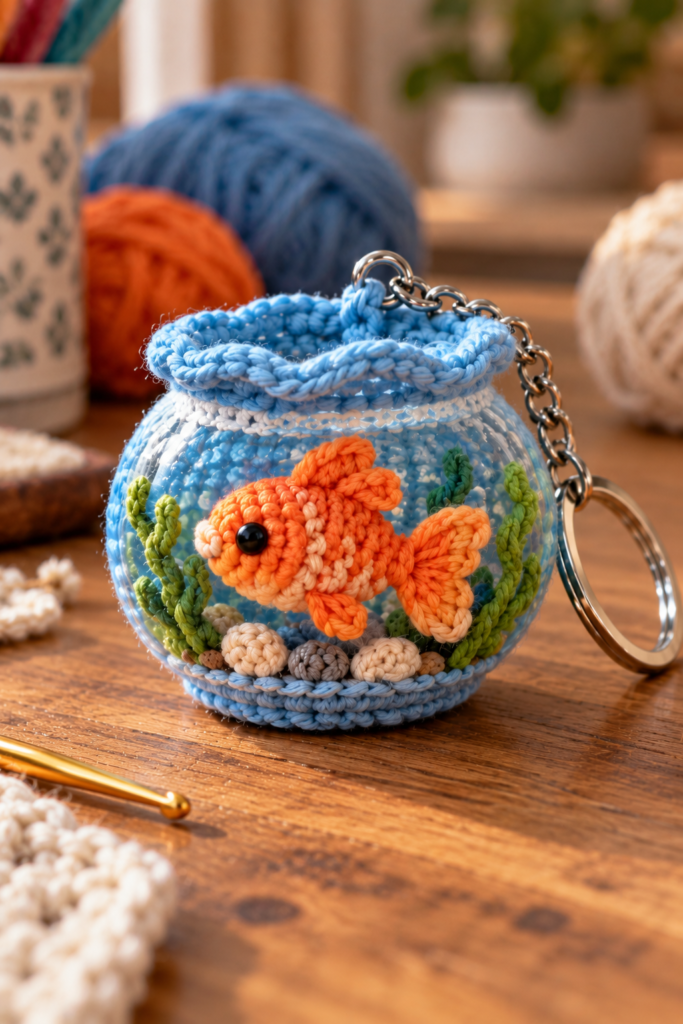
There is something special about miniature crochet projects. They use very little yarn, work up quickly, and make incredibly cute gifts. This Mini Crochet Goldfish Bowl Keychain Free Pattern combines a tiny orange crochet fish with a miniature bowl, little plants, pebbles, and a keychain clasp to create a fun handmade accessory.
This project is especially nice if you enjoy amigurumi but don’t always want to spend several days making a large character. The individual pieces are small, so you can use leftover yarn from other projects. Once you understand the basic shapes, you can also adjust the colors and create your own tiny underwater scenes.
Pattern note: This is a miniature decorative keychain project. Because the finished piece contains small parts and a metal clasp, it is best treated as an accessory or decoration rather than a children’s toy.
What Makes This Mini Goldfish Bowl So Cute?
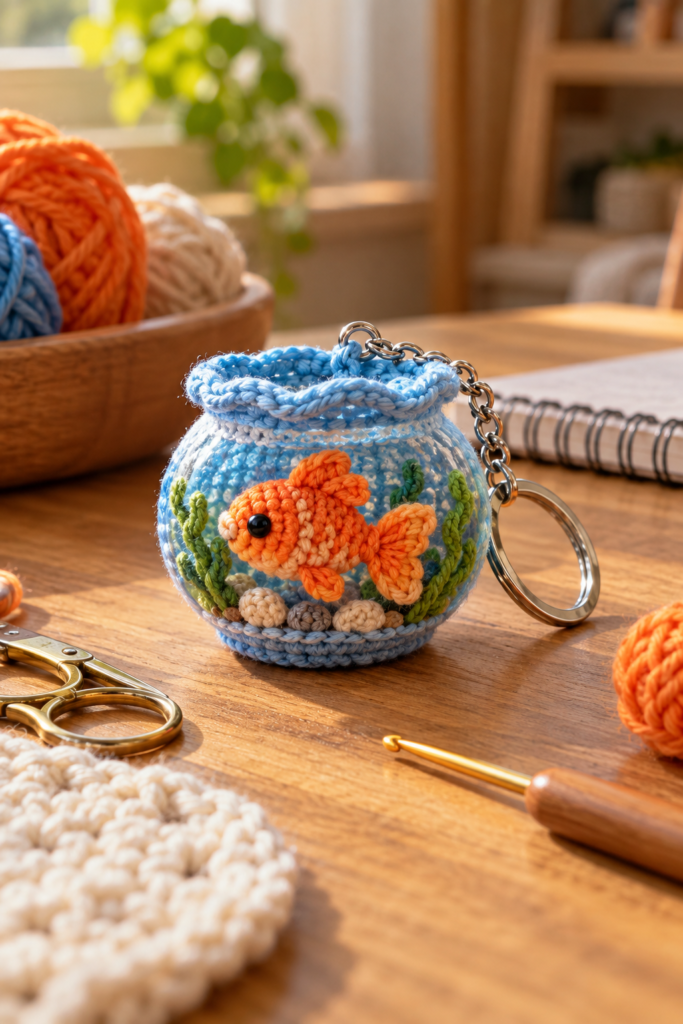
The finished piece is designed to look like a tiny underwater scene inside a little bowl.
The main elements include:
- A small orange crochet goldfish
- A rounded miniature bowl
- Blue crochet edging around the bowl
- Small green underwater plants
- Tiny crochet pebbles
- A metal keychain clasp
- A compact, lightweight finished design
The orange fish is the main focal point. Its simple body, fins, tail, and black eye give it a recognizable goldfish shape without requiring complicated crochet techniques.
The best part is that the project doesn’t require a large amount of yarn. Small leftover pieces can be enough for the fish, plants, and stones.
Materials You Will Need
You don’t need an enormous supply list for this project.
Crochet Materials
For a miniature version, gather:
- Orange crochet yarn for the goldfish
- Blue yarn for the bowl edging
- Green yarn for underwater plants
- Small amounts of beige, tan, gray, or brown yarn for pebbles
- White or cream yarn for small decorative details if desired
- Crochet hook suitable for your yarn
- Black embroidery thread or a small black safety eye
- Yarn needle
- Fiberfill stuffing
- Stitch marker
- Small scissors
Keychain Supplies
You will also need:
- Small metal lobster clasp or keychain clasp
- Small metal ring
- Strong thread or yarn for attaching the clasp
Bowl
For the miniature bowl shown in this style, a small clear plastic or acrylic container can work well.
Choose a lightweight container with a rounded shape and a size that allows the crochet fish to remain clearly visible.
Important: The bowl should be securely attached to the crocheted base. A loose container can make the finished keychain difficult to use.
Choosing the Right Yarn
For miniature amigurumi, yarn thickness makes a surprisingly big difference.
A smooth cotton yarn is usually an excellent choice because the stitches remain easy to see and the finished shapes hold their form.
For the goldfish, orange is the obvious choice, but you could also experiment with:
- Bright orange
- Coral
- Peach
- Yellow-orange
- Golden yellow
For the plants, shades of green work beautifully.
A darker green creates more contrast, while a softer sage green gives the bowl a more muted handmade appearance.
Why Cotton Yarn Works Well
Cotton yarn is particularly useful for small crochet projects because it generally produces defined stitches and doesn’t create an overly fuzzy surface.
You want the stitches to remain visible because tiny amigurumi pieces can quickly lose their shape when made with very fluffy yarn.
Crochet Skill Level
I would consider this project confident beginner to intermediate.
You should be comfortable with:
- Magic ring
- Single crochet
- Increasing
- Decreasing
- Working in continuous rounds
- Basic sewing
- Stuffing small amigurumi pieces
- Attaching crochet pieces securely
The fish itself is relatively simple. The more fiddly part is assembling all of the tiny elements neatly.
If you’re new to amigurumi, don’t worry if your first fish isn’t perfectly symmetrical. Small handmade differences are part of what makes crochet pieces look handmade rather than mass-produced.
Crochet Abbreviations
This pattern uses common US crochet terminology.
- MR — Magic Ring
- sc — Single Crochet
- inc — Increase
- dec — Decrease
- sl st — Slip Stitch
- ch — Chain
- FO — Fasten Off
- st/sts — Stitch/Stitches
When a number appears in parentheses at the end of a round, it represents the approximate stitch count for that round.
How to Crochet the Mini Goldfish
The goldfish is the star of this project, so take your time with its shape.
The body should be small and slightly rounded rather than completely spherical.
Goldfish Body
Using orange yarn:
Round 1
Make a magic ring and crochet 6 sc into the ring.
Round 2
Work 2 sc in each stitch around.
You should now have approximately 12 stitches.
Round 3
Repeat:
1 sc, inc
around the round.
Round 4
Work 1 sc in each stitch around.
Round 5
Repeat:
2 sc, inc
around.
Rounds 6–8
Work 1 sc in each stitch around.
At this stage, the body should start looking like a small rounded fish body.
Round 9
Begin decreasing gradually:
2 sc, dec
around.
Add a small amount of stuffing before the opening becomes too small.
Round 10
Continue with decreases until the body closes.
Fasten off and leave a yarn tail for sewing.
Tip: Don’t overstuff the fish. Too much stuffing can make the body look round like a ball instead of slightly elongated like a fish.
Making the Goldfish Tail
The tail can be made as two small rounded sections.
Using orange yarn:
- Make a small magic ring.
- Crochet several single crochets into the ring.
- Increase around the next round.
- Work a short section without increases.
- Flatten the piece slightly.
- Fasten off.
- Repeat for the second side.
Sew the two tail sections to the back of the fish.
Try to position them symmetrically.
The tail should spread slightly outward rather than pointing straight down.
Adding the Fish Fins
For a tiny fish, you don’t need complicated fins.
Small oval or teardrop-shaped crochet pieces work well.
Make:
- Two side fins
- One top fin if desired
Use orange yarn and keep these pieces relatively thin.
Sew them onto the body using the yarn tail.
A Useful Amigurumi Tip
Before permanently sewing the fins, use pins or small clips to test their position.
Look at the fish from the front, side, and top.
This simple step can prevent one fin from sitting noticeably higher than the other.
Adding the Fish Face
The face is what gives the little fish its personality.
For a miniature project, a tiny black safety eye or embroidered black eye can work.
If the keychain will be handled frequently, embroidery is a good option because it eliminates another loose component.
Add the eye slightly forward of the center of the head.
You can also add a tiny embroidered mouth if you want more expression.
Keep the facial details simple.
At this scale, one small change in eye position can completely change the character’s appearance.
Creating the Mini Crochet Plants
The underwater plants are a great way to add color without making the bowl complicated.
Use green yarn.
A simple plant can be made by crocheting a short chain and working slip stitches or single crochets back along it.
Make several plants in slightly different lengths.
For example:
- One short plant
- One medium plant
- One slightly taller plant
This gives the miniature scene more depth.
You don’t want every plant to be identical.
Small differences make the underwater scene feel more natural.
Making the Tiny Crochet Pebbles
The pebbles are very small, so they are perfect for using scrap yarn.
Choose two or three neutral colors.
Good choices include:
- Beige
- Cream
- Light brown
- Dark brown
- Gray
For each pebble:
- Make a small magic ring.
- Add a few single crochet stitches.
- Increase once or twice.
- Work one short round.
- Decrease.
- Add a tiny amount of stuffing.
- Close the opening.
You can make several different sizes.
Avoid making the stones too large because they can hide the fish inside the bowl.
Creating the Blue Bowl Base
The blue crochet section helps give the miniature bowl its finished look.
Work a small flat circle using blue yarn.
Start with a magic ring and gradually increase until the circle is approximately the size of the bottom of your container.
The exact number of rounds will depend on the bowl you are using.
This is one area where measuring is more reliable than blindly following stitch counts.
Place the bowl on top of the crochet circle.
If the circle is too small, add another increase round.
If it is too large, remove a round.
The crochet base should support the bowl without becoming loose.
Adding the Blue Upper Rim
A matching blue crochet strip can be worked around the top edge of the bowl.
Keep the stitches relatively tight.
The purpose of this section is partly decorative and partly structural.
If you’re using a clear bowl, you want the blue crochet to frame the opening without covering too much of the transparent surface.
This is especially important because the clear section allows the tiny fish and plants to remain visible.
How to Assemble the Miniature Scene
Assembly is where this project really comes together.
Before sewing or attaching anything permanently, place all the components inside or around the bowl and experiment with the arrangement.
A good order is:
- Crochet base
- Green plants
- Pebbles
- Goldfish
- Bowl
- Top edging
- Keychain hardware
Keep the fish toward the center.
Place the plants toward the sides or behind the fish.
Put a few pebbles toward the bottom.
This creates a simple foreground, middle ground, and background.
How to Attach the Fish Securely
Don’t simply glue the fish into position if you expect the keychain to be carried around.
Sewing gives a much more secure attachment.
Use a yarn needle and matching orange or clear thread.
Take several small stitches through the bottom or back of the fish.
Then secure the thread carefully.
If your bowl design requires the fish to remain removable, you can instead construct the interior as a small removable miniature scene.
That option is useful for decorative projects but may be less practical for a keychain that receives regular handling.
Attaching the Keychain Hardware
The keychain hardware needs to be attached to a strong section of the crochet base.
Don’t attach the clasp to a single loose crochet stitch.
Instead, create a small reinforced crochet loop.
Reinforced Loop
Make a short chain loop at the top of the bowl.
Work back across the chain with slip stitches or single crochet.
Then sew the base of the loop into the crochet fabric using several passes of strong yarn or thread.
Attach the metal ring through the reinforced loop.
Finally, connect the lobster clasp.
Give the clasp several gentle pulls before using the finished keychain.
If the loop stretches immediately, reinforce it again.
Common Problems and How to Fix Them
Small crochet projects can be surprisingly tricky. Here are some of the problems you’re most likely to encounter.
The Fish Looks Like a Ball
This usually happens when the body is too round or overstuffed.
Fix
Use slightly less stuffing and make the body a little longer.
You can also gently shape the finished body with your fingers.
The Fish Looks Too Large
Remember that the fish needs to fit visually inside the bowl.
If the fish takes up almost the entire interior, the plants and pebbles will disappear.
Fix
Reduce the yarn weight or use a smaller hook.
You can also remove one or two body rounds.
The Bowl Looks Empty
If the fish is centered but the surrounding space looks bare, add a few more plants or pebbles.
Don’t fill every inch.
A little empty space helps the fish stand out.
The Plants Keep Falling Over
This is usually caused by very soft yarn or insufficient attachment.
Fix
Sew the bottom of each plant firmly into the crochet base.
For very thin plants, you can also crochet around a small piece of suitable flexible support, provided it is safely enclosed and cannot become exposed.
The Keychain Loop Feels Weak
This is one problem you shouldn’t ignore.
The finished piece may look perfect but still fail during everyday use if the clasp is attached to weak stitches.
Fix
Reinforce the loop with multiple passes of strong thread or yarn.
Test it before attaching the keychain to a bag.
How to Make Your Goldfish Bowl More Durable
Because this is a keychain rather than a shelf decoration, durability matters.
Keep the Fish Secure
Loose pieces can eventually detach through repeated movement.
Reinforce the Clasp
The clasp receives more stress than almost any other part.
Avoid Overloading the Keychain
Don’t attach the miniature bowl to a heavy collection of keys.
The extra weight can pull on the crochet loop.
Keep It Away From Water
Even though the design resembles a fish bowl, this is a crochet craft project.
It should not be filled with real water.
Water can damage the yarn, stuffing, metal hardware, and any glued components.
Beginner Tips for Better Mini Amigurumi
If you’re making miniature crochet for the first time, these tips can make a huge difference.
Use a Stitch Marker
With small continuous rounds, it is very easy to lose track of where a round begins.
A stitch marker saves time and prevents shaping mistakes.
Count Every Round
A single missed increase can noticeably change a miniature shape.
Don’t Overstuff
Small amigurumi needs less stuffing than you might expect.
Add tiny amounts at a time.
Check Symmetry
Before sewing anything permanently, compare both sides.
Use a Smaller Hook When Needed
If your stitches are loose and stuffing is visible, try a smaller hook.
Tight stitches are usually better for miniature amigurumi.
How Long Does This Project Take?
The exact time depends on your crochet speed and how detailed you make the bowl.
For an experienced crocheter, the crochet components can be completed relatively quickly.
A beginner may need more time because the tiny pieces require careful counting and assembly.
The assembly stage often takes longer than expected.
That isn’t a bad thing.
With miniature crochet, careful assembly is what turns several small pieces into one polished finished product.
How to Care for Your Crochet Goldfish Bowl Keychain
Treat the finished keychain gently.
Avoid:
- Washing it in a machine
- Soaking it in water
- Pulling the clasp aggressively
- Carrying excessive weight from the clasp
- Leaving it in direct sunlight for long periods
- Allowing loose threads to remain exposed
If the crochet becomes dusty, use a soft dry brush or gently wipe the surface with a barely damp cloth.
Allow it to dry completely if any moisture is used.
Store it somewhere dry when you’re not using it.
Creative Ways to Use Your Mini Goldfish Bowl
This project isn’t limited to a keyring.
You could also use the miniature design as:
- Backpack decoration
- Purse charm
- Handmade gift
- Desk decoration
- Crochet shop sample
- Craft fair item
- Aquarium-themed party favor
- Small birthday gift
- Teacher gift
- Stocking stuffer
You can also create several color variations.
Try a yellow fish, white fish, red fish, or even a fantasy-colored fish while keeping the same basic construction.
Why Mini Crochet Projects Are Great for Scrap Yarn
If you crochet regularly, you probably have a collection of yarn leftovers that are too small for a full project but too useful to throw away.
This project is perfect for those leftovers.
The fish requires only a small amount of orange yarn.
The plants use tiny amounts of green.
The pebbles can be made from almost any neutral scraps.
Instead of storing dozens of tiny yarn balls indefinitely, you can turn them into miniature accessories.
This is one reason small amigurumi projects are so satisfying.
Frequently Asked Questions
Is this Mini Crochet Goldfish Bowl Keychain suitable for beginners?
Yes, especially if you already know basic single crochet, increases, decreases, and simple sewing. The tiny size makes the project more fiddly than a larger amigurumi, but the individual shapes are relatively straightforward.
What yarn should I use?
Smooth cotton yarn is a strong choice for miniature amigurumi because it creates defined stitches. You can also use other yarn types, but remember that changing yarn thickness will change the finished size.
Can I make the goldfish a different color?
Absolutely. Orange gives the classic goldfish appearance, but yellow, red, cream, coral, or even multicolored yarn can create a different look.
Can I make the bowl larger?
Yes. Increase the size of the crochet base and adjust the fish, plants, and other components proportionally.
Can I use real water in the bowl?
No. This is a decorative crochet project. Real water can damage the yarn, stuffing, hardware, and other materials.
Can children use the finished keychain?
Because the project contains small crochet components and metal hardware, it should not be treated as a toy for young children. Small parts can present a choking hazard.
Why is my crochet fish losing its shape?
The most common reasons are overstuffing, loose stitches, or a yarn that is too soft for the miniature scale. Try using a smaller hook and adding less stuffing.
How do I stop the keychain clasp from coming loose?
Attach the clasp through a reinforced crochet loop rather than a single stitch. Sew through the base several times and test the attachment before regular use.
Final Thoughts
The Mini Crochet Goldfish Bowl Keychain Free Pattern is a great example of how a tiny amount of yarn can become something much more interesting than a simple crochet shape.
The fish gives the project its personality, while the plants, pebbles, blue edging, and miniature bowl create the little underwater scene.
If you’re making this for the first time, don’t rush the assembly. Tiny crochet projects reward patience. Take the time to check the fish’s proportions, position the fins carefully, reinforce the keychain loop, and arrange the miniature details before attaching everything permanently.
Once you’ve made one, you’ll probably start thinking of other miniature scenes you could create with the same idea.
And that’s where the fun of amigurumi really begins.
If you make your own miniature goldfish bowl, experiment with colors and small details while keeping the structure secure. A handmade project doesn’t have to be perfectly identical to be beautiful—the little differences are part of what make crochet special.