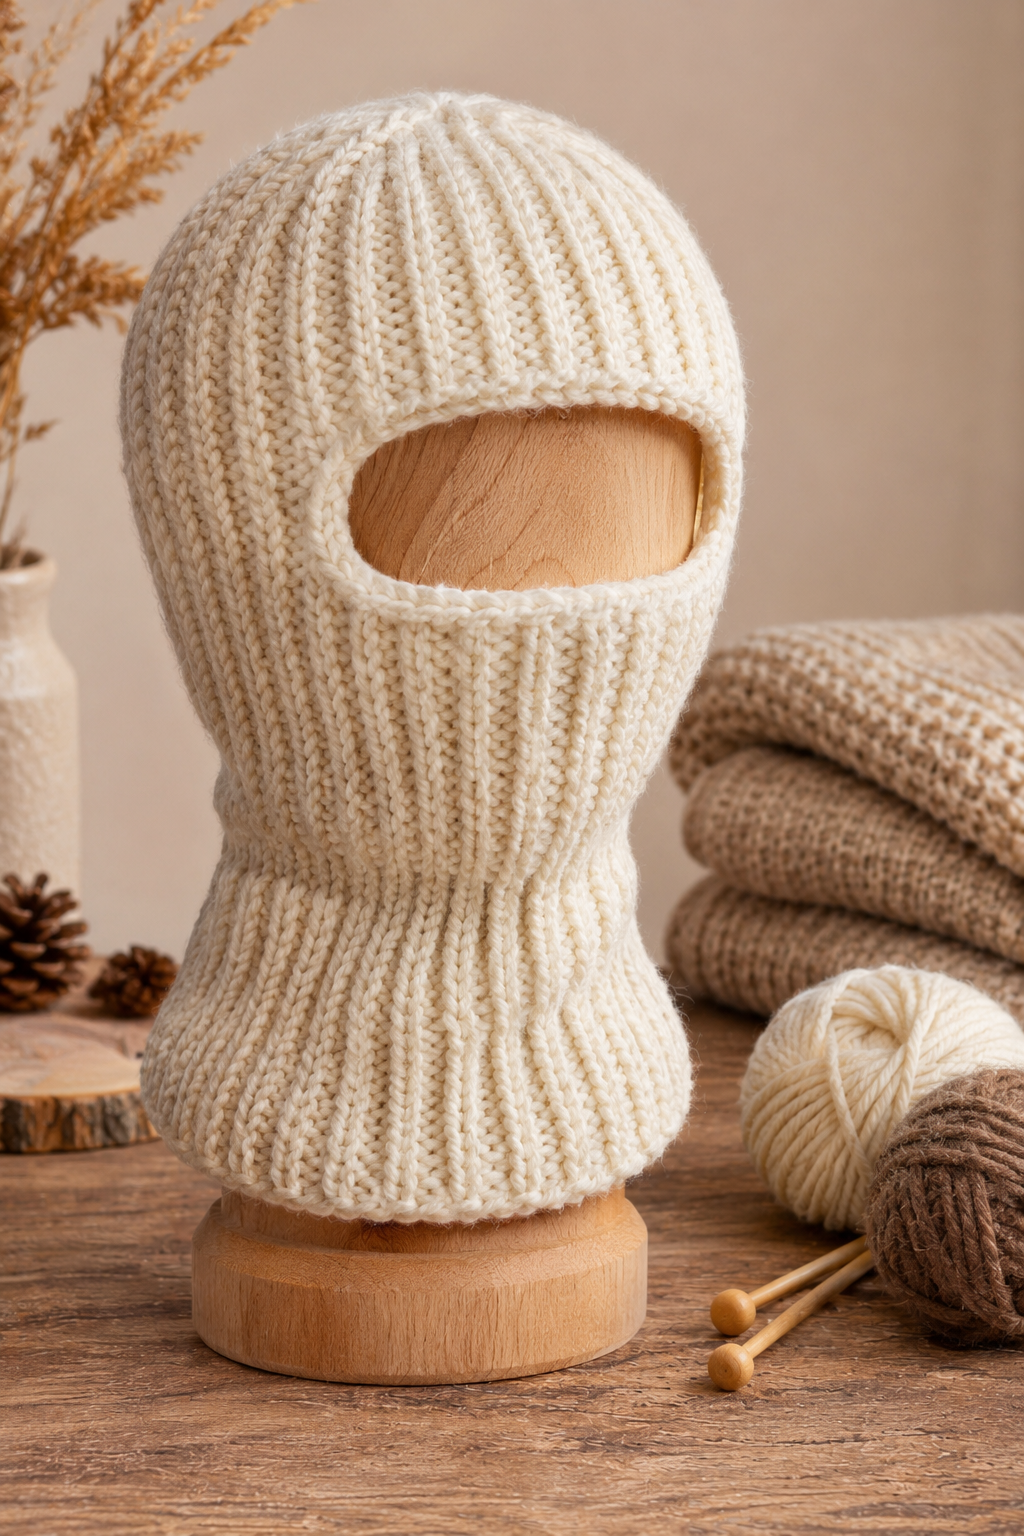
There’s a particular kind of cold that no scarf can fix. It’s the wind that finds the gap between your hat and your collar, the kind that makes your cheeks sting on the chairlift or your ears ache while you shovel the driveway. A knitted ski mask solves that problem in a single piece. It covers your head, ears and neck, and it stays put when you’re moving.
The good news is that a ski mask, also called a balaclava, looks much fancier than it is to make. Underneath, it’s just ribbing, one split for the face opening and a little seaming. If you can knit and purl, you can make this. This guide walks you through every stage, from the first cast-on stitch to the last woven-in end, with measurements, stitch counts and fixes for the problems knitters run into most often.
By the end you’ll have a soft, stretchy, snug-fitting ski mask in a classic cream ribbed texture. It’s warm enough for a winter hike and good-looking enough to give as a gift.
What You’re Actually Making
Before we pick up needles, let’s clear up the terms, because patterns online use them loosely.
A balaclava is a close-fitting hood that covers the head and neck and leaves an opening for the face. A ski mask is the same idea. Some versions have one large oval opening, and others have three small holes for the eyes and mouth. This tutorial focuses on the open-face version shown in the photos, because it’s the most comfortable for everyday wear, easier to fit and easier to pull on and off. A section near the end explains how to adapt the pattern into the three-hole style.
The construction is simple. You knit one rectangle in 2×2 rib, split it partway up to leave the face opening, then close the top with a three-needle bind off and seam the back. Last, you pick up stitches around the opening and add a ribbed border so the edge hugs your face and doesn’t flop.
Materials You’ll Need
- Yarn: about 250 yards (230 m) of worsted weight (#4) yarn. Wool or a wool blend is the best choice. It’s elastic, warm and holds ribbing beautifully. A soft merino or a wool-acrylic blend is gentler on the face and neck than rough wool. Buy a second skein if you plan to make the larger size.
- Needles: US 8 (5 mm) circular needle, 24 to 32 inches long. You’ll knit back and forth on it, and the long cable will later hold your stitches for the crown and the face border. Straight needles work for the main body, but you’ll need a circular for the border.
- Stitch markers: two or three. One marks the center bottom of the face opening.
- Stitch holder or waste yarn: optional, but handy.
- Tapestry needle: for seaming and weaving in ends.
- Scissors and a tape measure.
- A second ball of yarn (or the other end of the same skein) for the face opening step.
Gauge: about 20 stitches and 26 rows over 4 inches (10 cm) in 2×2 rib, gently stretched. Ribbing is forgiving, so gauge isn’t as critical as it is for fitted sweaters. Still, knit a small swatch and check, because a tight swatch means a mask that won’t fit over your head.
Finished size (adult medium): about 18 inches wide unstretched, stretching comfortably to fit a 21 to 23 inch head. Total height from neck edge to crown is about 14.5 inches.
To adjust the size: add or subtract 4 stitches at a time to the cast-on number, keeping the rib pattern intact. Give each side of the face opening 2 more or 2 fewer stitches to keep the opening centered.
Before You Cast On: Pick the Right Yarn
Yarn choice matters more here than in almost any other beginner project, because this garment touches your face and neck.
Pick something soft. Itchy yarn that’s tolerable on a scarf becomes unbearable against your chin. If you’re knitting for a child, or for someone with sensitive skin, a superwash merino or a soft acrylic blend is the safer pick.
Pick something smooth and plied. Fuzzy mohair and bumpy novelty yarns hide your stitches and make the face opening much harder to shape and pick up around. A smooth, round worsted yarn shows off ribbing the way the photos do.
Pick a light, solid color, at least for your first one. Cream, oatmeal and light gray show every stitch clearly, which makes it much easier to spot a mistake before it’s ten rows down.
Step 1: Start With the Ribbing
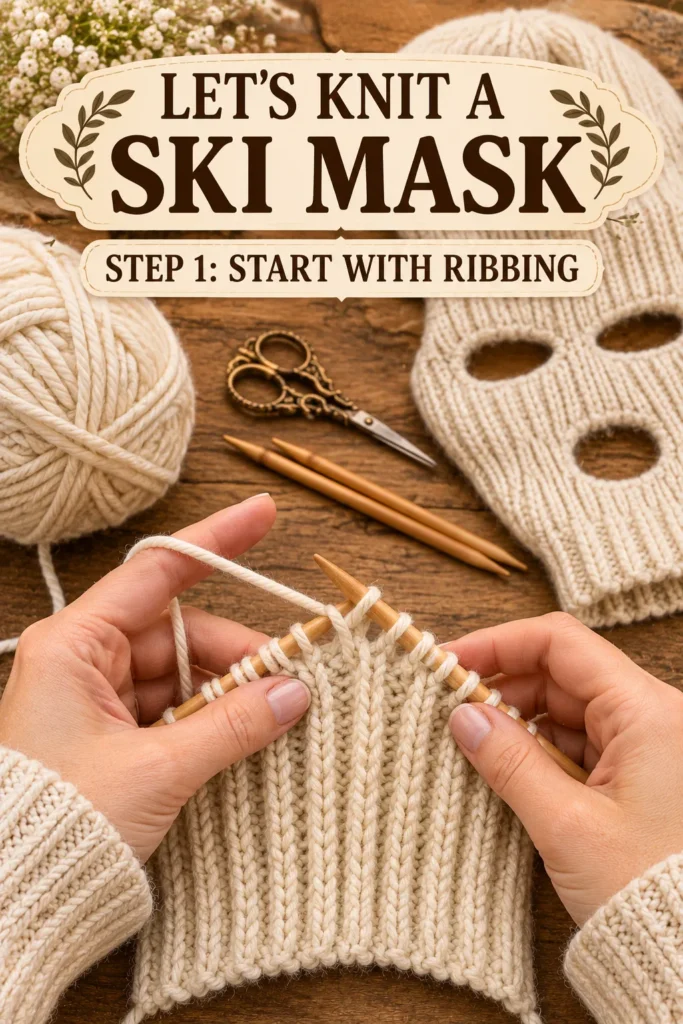
Every great ski mask starts with a good, stretchy bottom edge. This is the neck section, and it has to expand enough to pull over your head, then snap back to hug your neck.
Cast on 90 stitches using a long-tail cast-on. Cast on loosely. This is where most beginners go wrong, because a tight cast-on edge won’t stretch over a head and the whole mask becomes a struggle to put on. If you tend to pull tight, cast on over two needles held together, then pull one out before you begin knitting.
Now set up the ribbing:
Row 1 (right side): K2, *p2, k2; repeat from * to the end.
Row 2 (wrong side): P2, *k2, p2; repeat from * to the end.
That’s it. In plain words, you knit the stitches that look like knits and purl the stitches that look like purls. After a couple of rows, the pattern is easy to read and you’ll find yourself working on autopilot.
Repeat these two rows until the piece measures about 6 inches from the cast-on edge, which is roughly 39 rows. End after a wrong-side row. This 6 inches covers your neck and chin. In the photos, you can see this section looking slightly wider and softer at the bottom, a lovely detail you can make by letting the ribbing relax rather than pulling your yarn tight.
Tip for neat edges: Keep your tension even on the first and last stitch of every row. A loose edge stitch is the number one reason the back seam ends up looking wavy.
Tip for a warmer neck: If you want a cozier neck, work an extra inch or two of ribbing here. The neck section can also be folded over when you wear it, which creates a double thickness that blocks wind well.
Step 2: Build the Hood Section
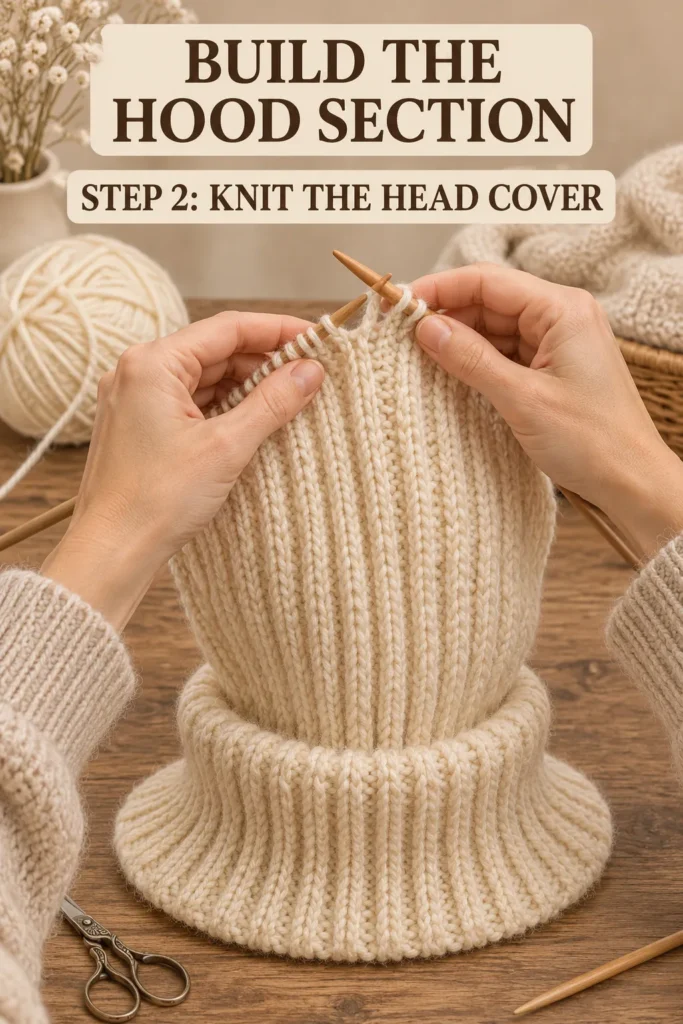
Now the piece starts to look like something wearable. Keep working in the same 2×2 rib, row after row. There are no increases, decreases or fancy stitches to track. The rib pulls inward naturally, so the fabric gently narrows and then expands around the head, which gives the mask its fitted shape.
What changes in this stage is the way you think about the piece. You’re knitting the part that will cover the lower face and the sides of the head. If your hands get comfortable, here’s a good habit: every few inches, lay the work flat and measure from the cast-on edge so you don’t overshoot.
A few practical points as you knit:
- Count your stitches every 10 rows or so. A dropped stitch or an accidental yarn-over throws off the rib, and you’ll want to catch it quickly. You should always have 90.
- Use a row counter or a pencil tally. The face opening step depends on exact heights, and it’s easy to lose count halfway.
- Spread the work out on your needle every so often to let the ribbing relax. Compressed rib looks narrow and tight but opens up after wearing.
When your piece measures exactly 6 inches from the cast-on edge, you’re ready for the most interesting part of the project. If you’ve been ending on a wrong-side row, the next row is a right-side row, which is exactly where we want to start.
Step 3: Shape the Face Opening
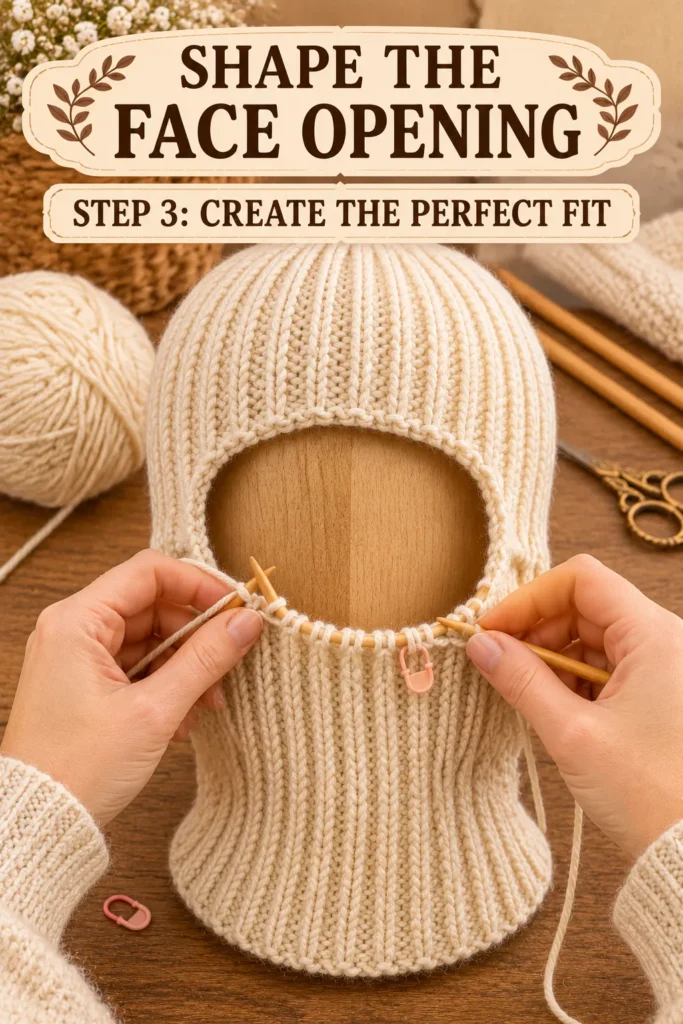
This is the step that makes people nervous, and honestly, it’s easier than it sounds. You’re simply going to work the two sides of the front separately for a while, leaving a gap in the middle for your face.
Row 1 (right side): Work 34 stitches in rib. Bind off the next 22 stitches in pattern (knit the knits, purl the purls as you bind off). Join your second ball of yarn and work the last 34 stitches in rib.
You now have two separate sections on your needle with a gap between them. Both are still attached to the rest of the piece along the sides, which is what keeps the mask in one piece.
Continuing the opening: Now work each side with its own ball of yarn. On right-side rows, work the left 34 stitches with ball A, then the right 34 with ball B. On wrong-side rows, work the right section first with ball B, then the left with ball A. At the gap, twist the two yarns around each other once on every row. This locks the edges together and prevents small holes from forming.
Keep going until the face opening measures 6 inches from the bound-off row, roughly 38 rows. End after a wrong-side row.
Closing the top of the opening: On the next right-side row, work 34 stitches with ball A, then cast on 22 stitches using the cable cast-on, and continue across the last 34 stitches. The new stitches join the two sides, and the opening is now closed at the top. Cut ball B and leave a 6-inch tail.
Continue the rib pattern across the cast-on stitches as it faces you. If you’ve lined everything up correctly, the ribs flow straight up through the cast-on stitches without a break. If they look off, check which stitch is a knit and which is a purl and adjust as you cast on.
Check your fit: Hold the piece against your face. The opening should frame your eyes, nose and mouth with a little room to spare. Ribbing will stretch, so slightly snug is fine. If it looks small, you can add stitches to the opening in the next one you make.
Step 4: Finish the Crown
With the opening closed, keep working in 2×2 rib across all 90 stitches until the entire piece measures 14.5 inches from the cast-on edge. That’s about 16 more rows after the cast-on row, and you should end after a wrong-side row.
Do not bind off yet. Leave the 90 stitches live on your circular needle. We’ll close the top with a three-needle bind off, which makes a flat, comfortable seam that doesn’t dig into your head.
Step 5: Seam the Back and Close the Top
Now the flat rectangle becomes a hood.
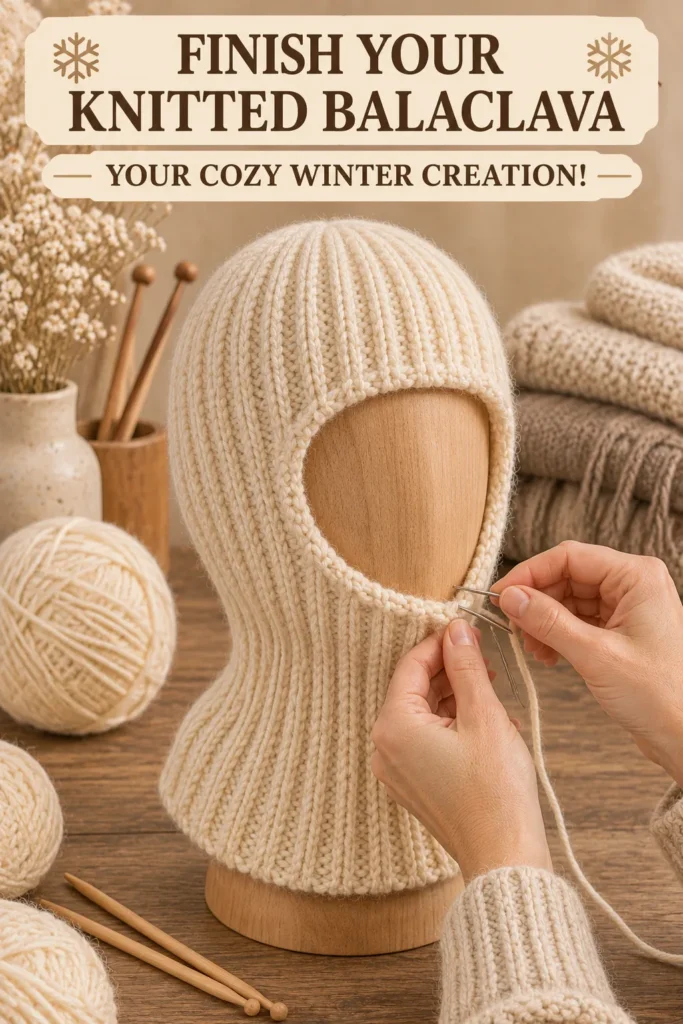
Seam the back. Fold the piece in half so the two side edges meet at the back, with the right sides of the fabric facing out. Thread your tapestry needle with a long tail of yarn and use mattress stitch to join the edges. Pick up the bar between the first and second stitch on each side, alternating from one edge to the other and gently tightening every few stitches. This tucks the edge stitch inside the seam and leaves the ribbing looking continuous and unbroken.
Work from the bottom up. Go slowly for the first inch, because this is the part everyone sees. Stop to check after a few stitches. If the ribs line up, you’re doing it right.
Close the crown. Flatten the tube so the back seam sits in the middle of the back panel. You should have 45 stitches on the front layer and 45 on the back. Slip each set onto its own needle (or hold them parallel on your circular needle). With the right sides facing each other, use a third needle to do a three-needle bind off across all stitches. This forms a neat, flat seam from ear to ear.
If you prefer a seamless look, graft the stitches together using Kitchener stitch. It takes longer, but the result is invisible.
Step 6: Pick Up and Knit the Face Border
A raw bound-off edge around the face can curl or stretch out, so we finish with a ribbed border. This is the step that makes the mask look professionally made.
Using your circular needle and the right side facing, start at the bottom center of the opening and place a marker. Pick up and knit stitches evenly around the entire opening:
- Along the bottom bound-off edge: 1 stitch for every stitch.
- Along the vertical sides: about 3 stitches for every 4 rows.
- Along the top cast-on edge: 1 stitch for every stitch.
You should end up with roughly 100 stitches. Adjust slightly so your total is a multiple of 4, which keeps the rib pattern even. If you’re a few stitches off, fix it in the first round by working a knit-two-together or a make-one.
Place a marker, join to work in the round, and work k2, p2 rib for 5 rounds, about 1 inch. Then bind off loosely in pattern. For the stretchiest edge, use a stretchy bind-off, or simply bind off with a needle one size larger.
Finishing and Blocking
Weave in all your loose ends with your tapestry needle, running them diagonally along the wrong side of the work for several inches so they don’t pop out. Pay extra attention to the ends where you joined the second ball at the face opening.
Then block your mask. Soak it in lukewarm water with a drop of wool wash for 15 minutes, press out the water in a towel (never wring it), and lay it flat to dry. You can shape it over a rounded form, like a bowl or a foam head, so the crown dries nicely. Blocking evens out stitches, relaxes the ribbing and gives the seams a smooth finish.
Troubleshooting: Common Problems and Easy Fixes
My ski mask is too tight. Ribbing stretches, but it can only do so much. Next time, cast on 94 stitches, use a larger needle, or work more loosely. For the one you’ve already made, blocking can add up to an inch. Steam blocking a wool piece can also help.
My mask is too loose. Go down a needle size, or cast on 86 stitches. A synthetic blend with lower elasticity will also stay looser, so try a wool-rich yarn instead.
There’s a hole where the two sides of the face opening meet. That’s from not twisting the yarns at the gap. Fix it by using your tail to close up the hole on the wrong side after weaving in. Next time, twist the yarns on every single row.
The ribs don’t line up after casting on the top of the opening. You probably started the cast-on stitches on the wrong stitch. Pull back one row, count the knits and purls on either side, and cast on so the pattern continues.
The back seam looks bumpy. This usually means you pulled the seam too tight. Seaming should be snug but not tugged. Unpick a few inches and redo it with more relaxed tension, pulling gently after every four or five stitches.
The face border flares out. Pick up fewer stitches, or go down one needle size for the border. If it’s already done, run a strand of clear elastic thread through the back of the ribbing.
The mask feels itchy. The yarn is probably too coarse. Wearing a thin cotton or silk balaclava underneath is a quick fix. For next time, switch to merino or a soft blend.
Make It Your Own: Fun Variations
The three-hole ski mask. For the classic look with separate eye and mouth holes, skip the large face opening. Instead, work plain rib until you reach the eye height and make small holes by binding off 6 stitches on one row, then casting them back on in the next. Ribbing stretches, so even a one-row gap opens wider than you’d expect. Test on your swatch first, and pick up stitches around each hole with a small needle for a tidy edge.
Add color. Work stripes of 2 to 4 rows in a contrasting yarn for a sporty look. Fair Isle patterns across the crown also look stunning, though you’ll need to adjust your stitch count for the thicker fabric.
A longer neck. Add 3 to 4 inches of ribbing before the face opening and wear the neck folded or tucked into your coat.
A thicker mask. Switch to bulky yarn and US 10.5 needles, and cast on 70 stitches. Knit the same way, and expect a snugger fit and a faster finish.
Make it a set. Knit a matching hat or fingerless mitts in the same rib. A coordinated set makes a thoughtful gift.
How to Care for Your Knitted Ski Mask
Wool is naturally odor-resistant, so you don’t need to wash it often. When you do, hand wash in cool water with a gentle wool wash, press out the water without wringing, and dry flat. Avoid hanging it, because the weight of the wet wool will stretch the ribbing. If you used superwash yarn, check the label before machine washing, and always use a gentle, cold cycle in a mesh bag.
Frequently Asked Questions
Is this ski mask pattern good for beginners?
Yes. If you can cast on, knit, purl and bind off, you have all the skills you need. The face opening looks advanced, but you’re only working two small sections of rib side by side.
How long does it take to knit a ski mask?
Most knitters finish in 10 to 15 hours, depending on speed. That’s a few relaxing evenings or one long weekend.
Can I knit a balaclava in the round?
You can knit the neck and hood in the round, but you’ll still need to work the face opening flat, since the two sides of the gap have to be separated. Many knitters prefer working flat from the start because it makes the opening step more straightforward.
What’s the best yarn for a knitted balaclava?
Soft merino or a merino blend. It’s warm, stretchy and gentle on the skin. For kids, a washable wool blend is practical.
How much yarn do I need?
About 250 yards of worsted weight for an adult medium. Buy a little extra if you want to make the mask larger or add a longer neck.
Can I make this for a child?
Absolutely. Cast on 70 to 74 stitches, shorten the neck by an inch, and make the face opening about 18 stitches wide. Use soft, washable yarn and keep the border snug but comfortable.
Is the mask warm enough for skiing?
Wool ribbing is very warm and breathable. For extreme cold, line the mask with a thin fleece layer or choose a thicker yarn.
Your Cozy Winter Creation Is Ready
Knitting a ski mask feels like a big project when you read the pattern, but once you break it into steps, it’s really just a rib, a split and a seam. You cast on, knit a tidy neck, shape a face opening, close the crown and finish the border. Each stage builds on the last, and by the time you weave in that final end, you’ll have a piece you can wear all winter.
Swatch before you start, take your time with the seams, and don’t be afraid to try again if something doesn’t look right. Knitting is forgiving, and a ripped-back row teaches you more than a perfect one ever will.
If you make this ski mask, I’d love to see it. Share a photo, tell us what yarn you chose, and let us know how the fit turned out. Happy knitting, and stay warm!