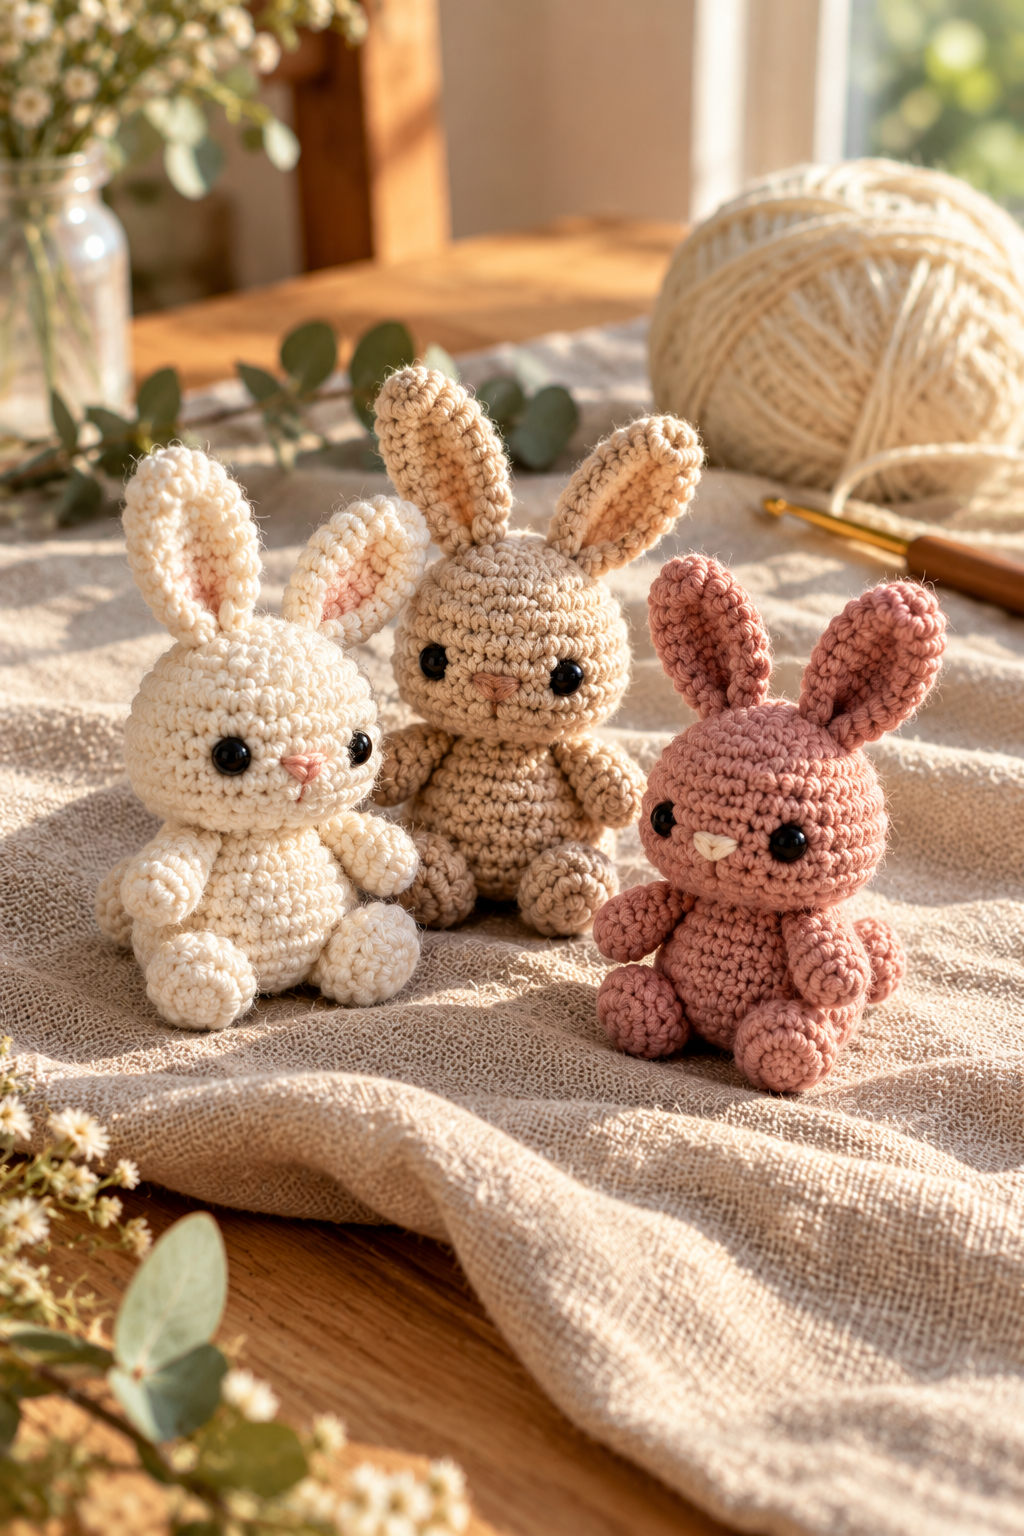
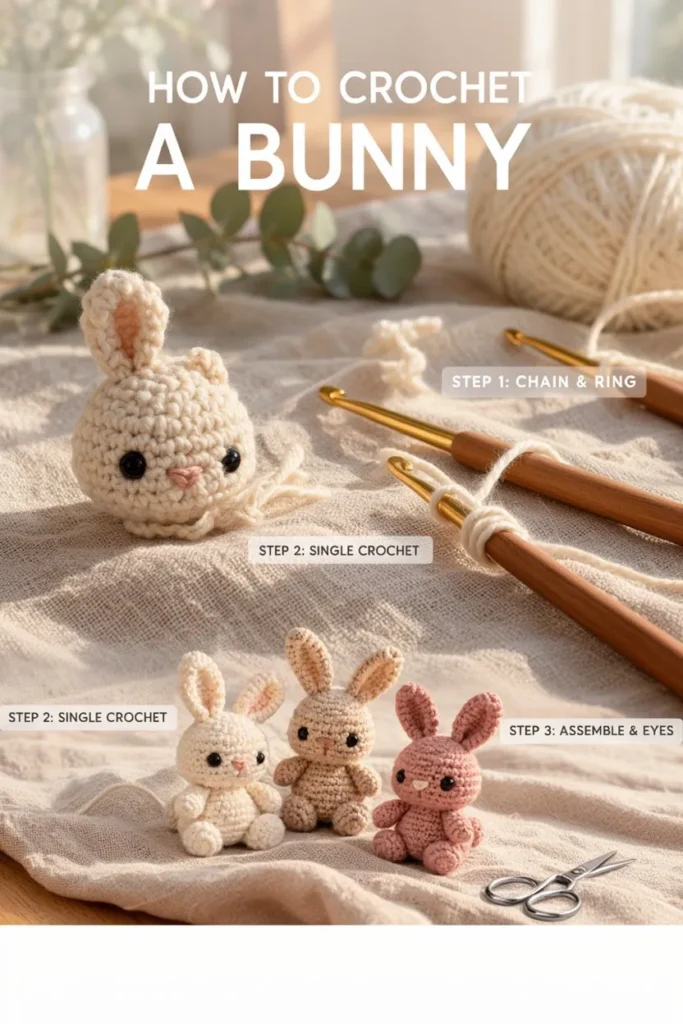
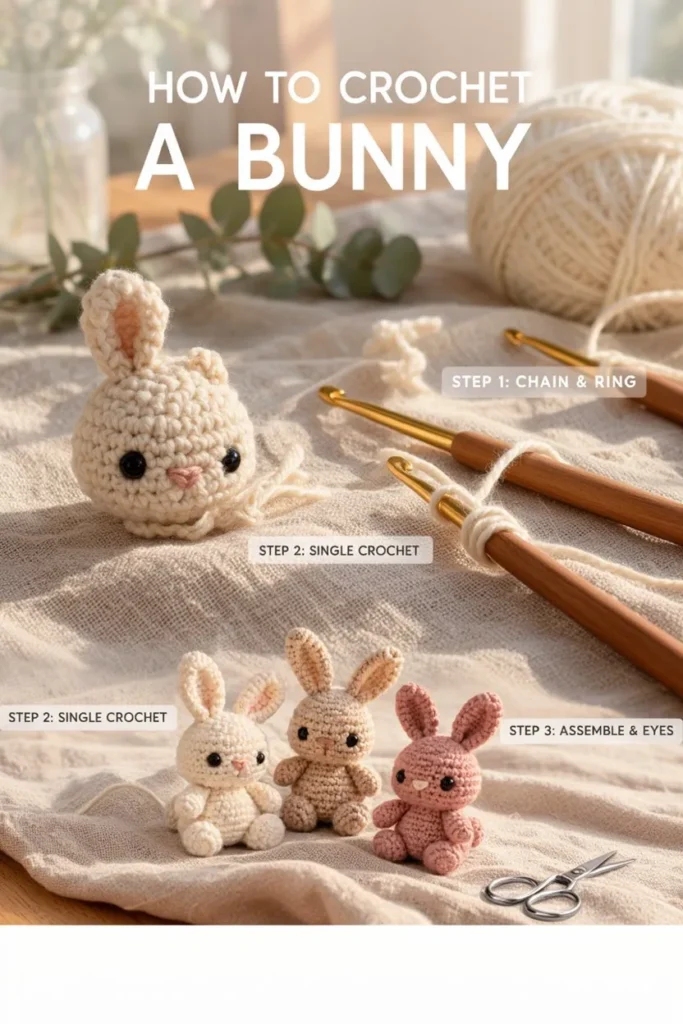
There’s a particular kind of project that you start “just to try” and finish at midnight with three bunnies lined up on the table. This is that project. These little sitting rabbits are small enough to fit in your palm, quick enough to finish in an evening, and cute enough that you’ll want to make a whole family of them.
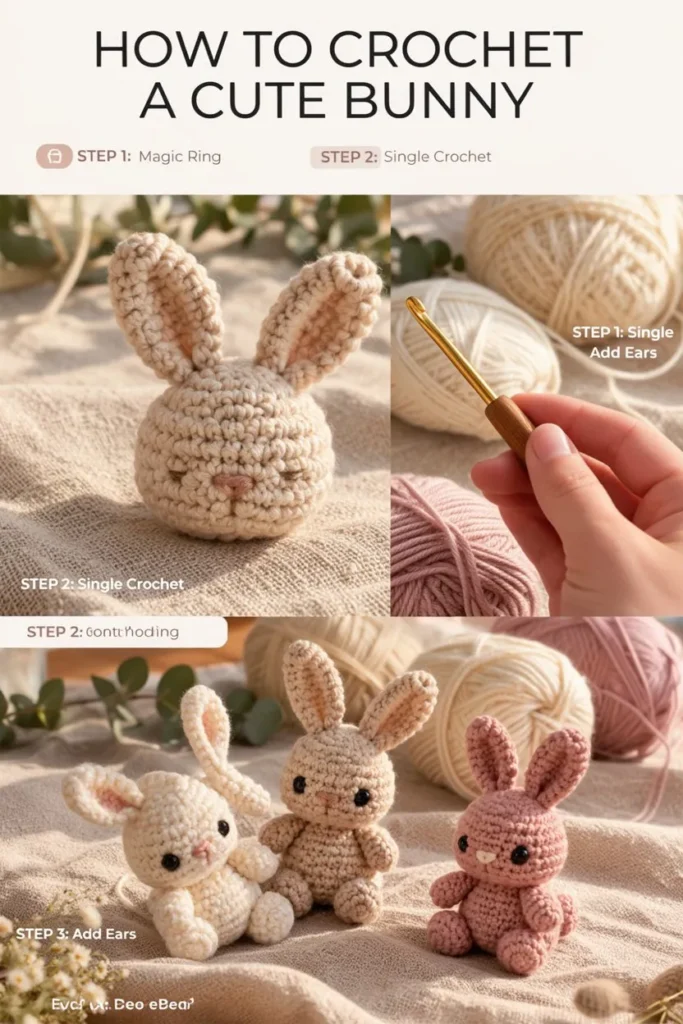
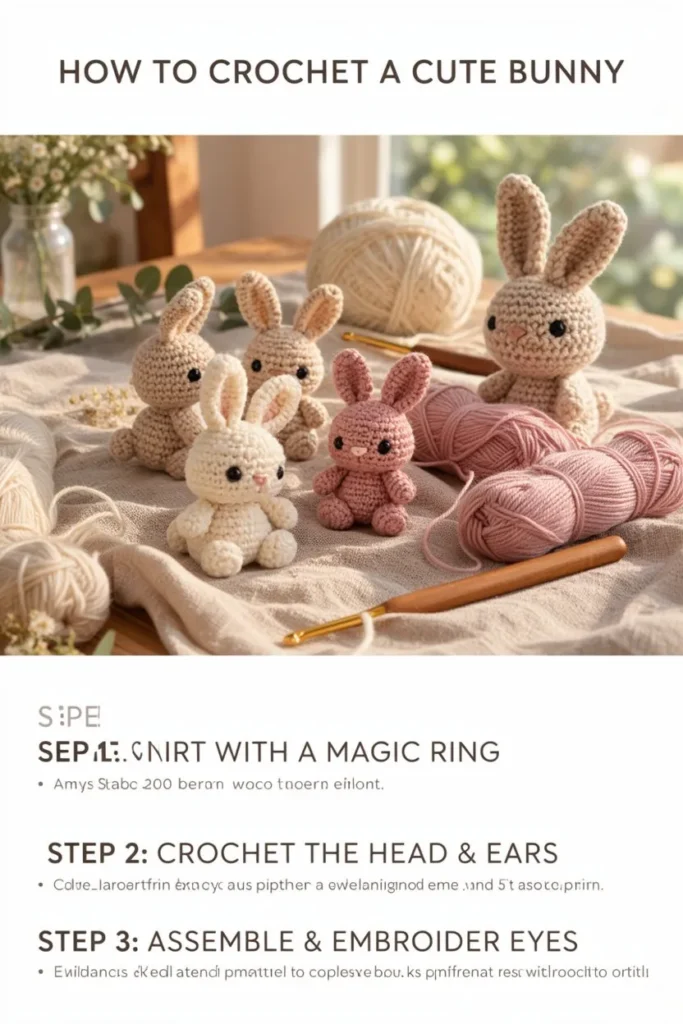
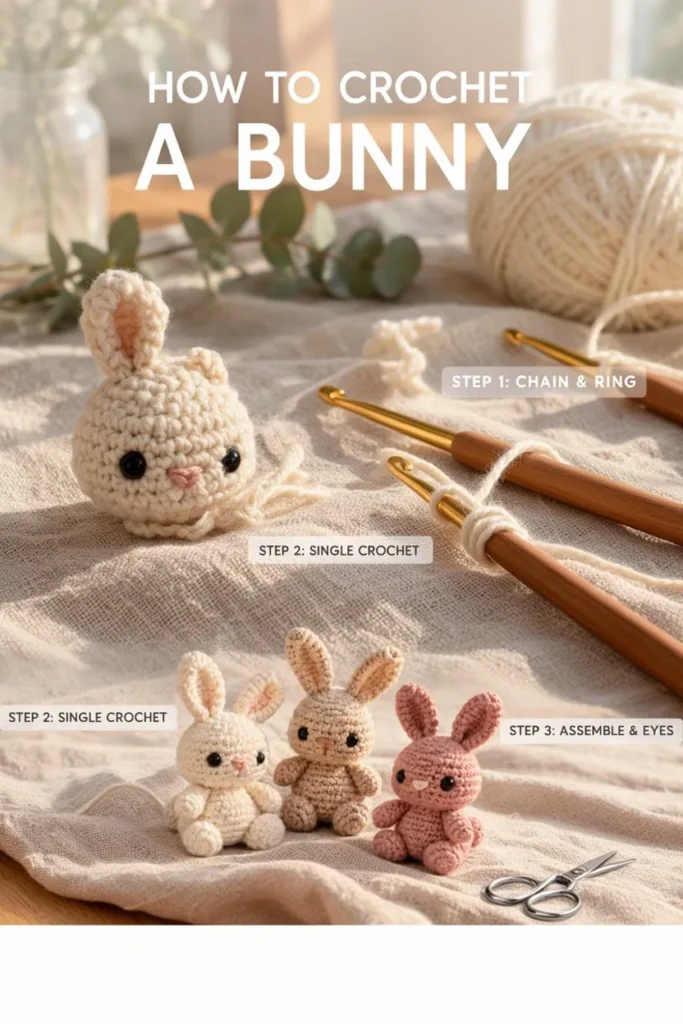
The pattern below makes one bunny at a time. Make it in cream, oatmeal and dusty rose and you get the soft little trio you can see in the photos. Change the colors and you get a completely different family. The construction is the same every time: a round head, a small body, two long ears, tiny arms, round feet and a puff of a tail.
If you’ve crocheted a few amigurumi before, this will feel easy. If you haven’t, it’s still a good first toy, because every piece is a simple tube or ball and nothing is more than a few rounds long.
Why Tiny Amigurumi Are So Addictive
Big stuffed animals take a long time, and they eat yarn. A miniature takes under 10 grams. You finish it before you’ve had time to get bored, and you get the small thrill of a completed project almost immediately. That’s a big part of why mini amigurumi sell so well and get gifted so often.
They’re also forgiving in a way people don’t expect. A lopsided ear on a large toy is obvious. On a bunny the size of a plum, it just looks like personality. Tiny stitches hide a lot of small mistakes, and you can pick the whole thing apart and start over in twenty minutes if something goes wrong.
There’s a practical side too. Miniatures are a good way to use up leftover yarn, and you can make several at once without a big commitment. Keep a little bag with a hook, a pair of eyes and some stuffing, and you’ve got a project you can work on in a waiting room or on the sofa.
And a bunny family gives you a reason to keep going. One bunny is a toy. Three bunnies sitting together are a scene.
What You’ll Be Making
Each bunny sits upright with its legs stretched forward, a rounded head, and two ears that stand tall. Worked in sport weight yarn with a 2.0 mm hook, the finished bunny is about 7 cm (just under 3 inches) tall including the ears. The head is roughly 3 cm across.
Your size will depend on your tension and your yarn. If you crochet loosely, you’ll end up with a slightly bigger rabbit. If you want a larger family, go up to DK or worsted yarn and a bigger hook and the same pattern will work, just chunkier.
The pieces are:
- 1 head
- 1 body
- 2 ears (plus 2 optional pink inner ears)
- 2 arms
- 2 legs
- 1 tail
Materials
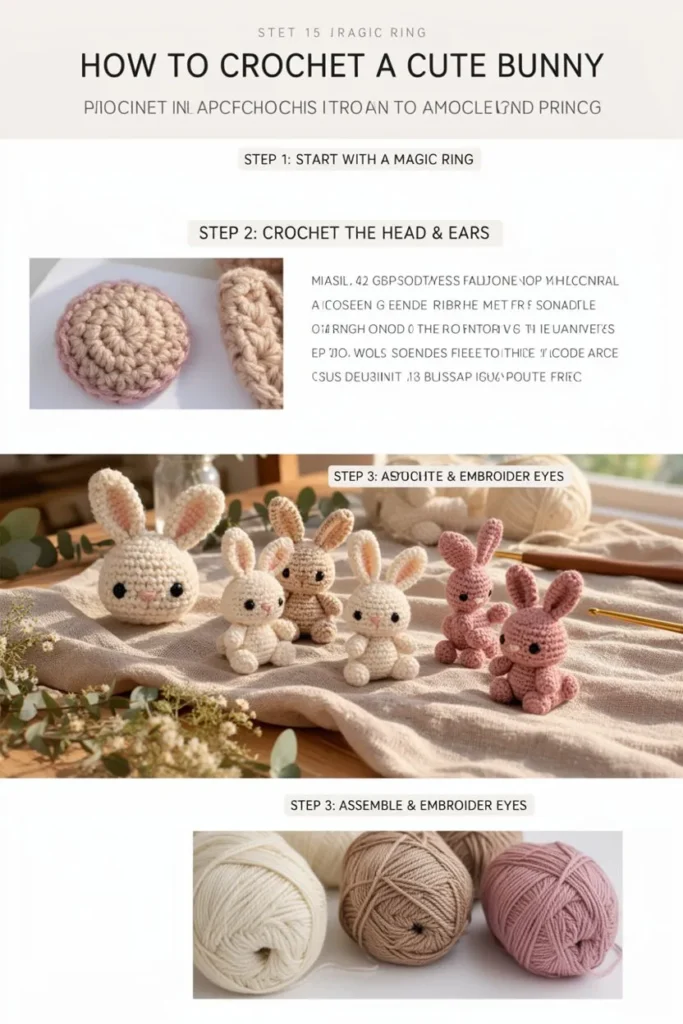
Yarn. Sport weight (#2) or light DK yarn. Cotton gives the sharpest stitch definition and holds its shape well. A cotton blend or soft acrylic works too. You need roughly 8 to 10 grams per bunny, so one small ball covers two bunnies with a bit left over.
For the family in the photos, you’ll want three shades:
- a creamy off-white
- a warm oatmeal or light tan
- a dusty rose
Keep a tiny scrap of pink for the noses and inner ears.
Hook. 2.0 mm. This is smaller than the label on the yarn will suggest, and that’s on purpose. A tight fabric keeps the stuffing from showing through the stitches, which matters a lot on something this small.
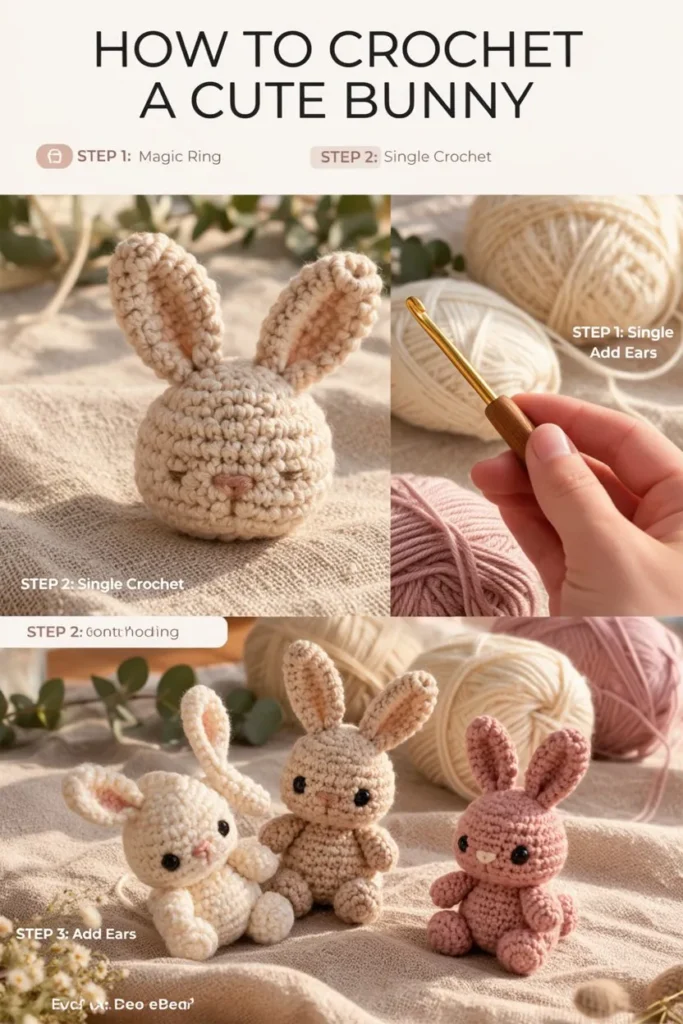
[IMAGE 5 | File: 1.jpg | Crop: right side ki photo (haath mein golden hook) | Alt: hand holding a small gold crochet hook next to cream and pink yarn]
Eyes. 3 mm black safety eyes or small black beads. If you’re making these for a baby or small child, skip the hardware completely and embroider the eyes with black thread. A closed, sleepy pair of eyes (just two little curved stitches) is lovely and looks very sweet.
Stuffing. Polyester fiberfill. Small amounts only.
Other tools. A tapestry needle, a stitch marker, small sharp scissors, and a little pink embroidery thread or yarn for the nose.
A Few Basics Before You Start
All pieces are worked in continuous rounds. That means you don’t join at the end of each round, you just keep going in a spiral. Put your stitch marker in the first stitch of the round and move it up each time you finish a round. When the pattern says “(12)”, that’s the number of stitches you should have at the end of that round. Count every time at first. It saves a lot of frustration.
Abbreviations (US terms)
- MR: magic ring
- sc: single crochet
- inc: increase, 2 sc in the same stitch
- dec: invisible decrease, working a single crochet through the front loops of the next 2 stitches
- sl st: slip stitch
- ×: repeat the instructions inside the brackets that many times
- ( ): your stitch count at the end of the round
If you’re not comfortable with the magic ring, practice it a few times with scrap yarn. It’s honestly the only mildly fiddly part of this whole pattern. The idea is to make a loop, work your first round of stitches into that loop, then pull the tail to close the center completely. Done well, there’s no hole at all, which is exactly what you want on a head this small.
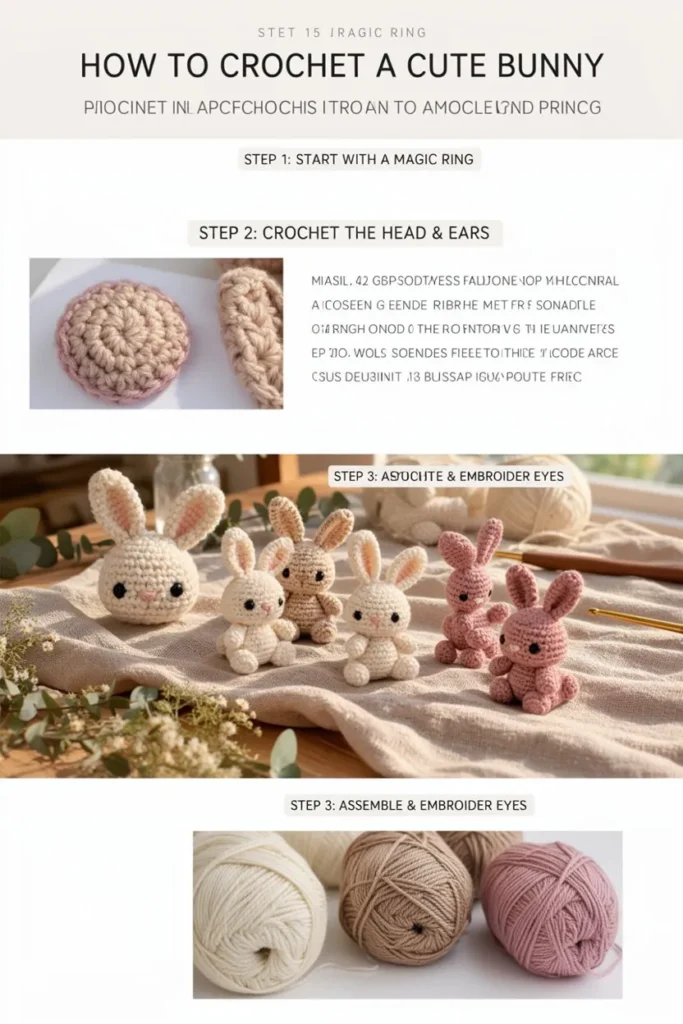
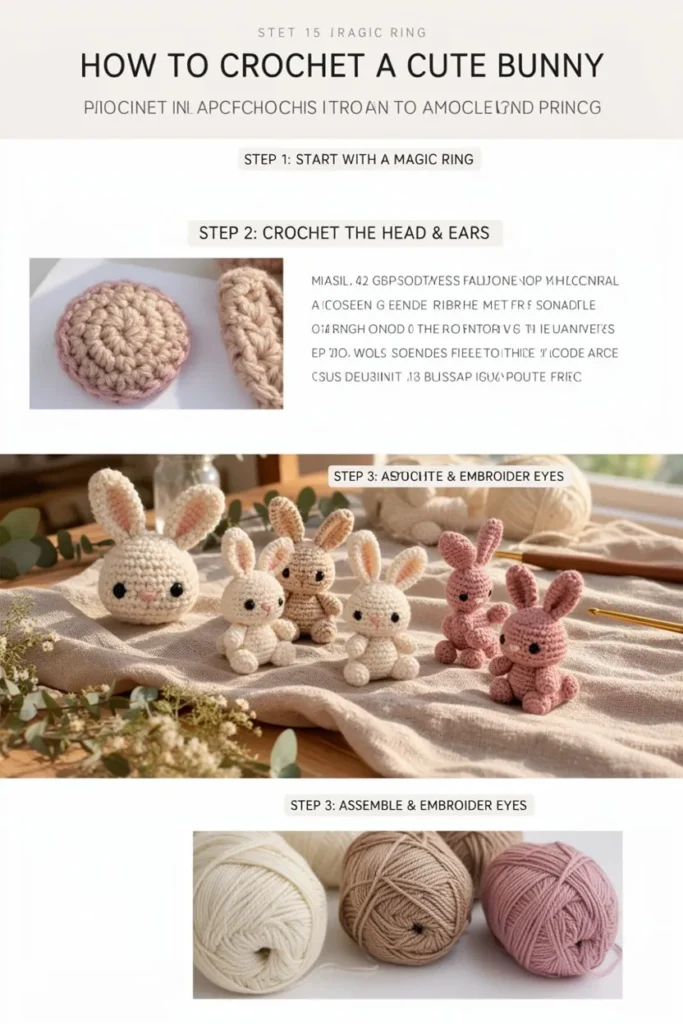
Step 1: Start With a Magic Ring and Crochet the Head
Use your main body color. The head is worked from the top down, so the magic ring becomes the very top of the head.
Head
- Rnd 1: 6 sc into a magic ring. (6)
- Rnd 2: inc around. (12)
- Rnd 3: [sc, inc] × 6. (18)
- Rnd 4: [sc 2, inc] × 6. (24)
- Rnd 5–9: sc around. (24)
That’s five plain rounds at 24 stitches. This is where the head gets its height and its round, slightly cheeky shape.
Now it’s time for eyes. If you’re using safety eyes, place them between rounds 7 and 8, with about 6 stitches between them. Rounds 7 and 8 sit around the middle of the face, and keeping the eyes low and wide-set gives the rabbit that baby-animal look. Try them in a few spots before you commit. Push the post through, hold the head up and see how it looks, then snap on the backs.
Continue:
- Rnd 10: [sc 2, dec] × 6. (18)
- Rnd 11: [sc, dec] × 6. (12)
Stuff the head now. Do it in small pinches and push the stuffing right up into the top before adding more. A tight, round head looks much better than a squishy one.
- Rnd 12: dec around. (6)
Fasten off and use your needle to close the last 6 stitches. Pull the yarn through the front loops of each one, tighten, and weave the end into the head.
Step 2: Crochet the Ears
The ears are what make it a bunny, so spend a little time on them. They’re long, narrow and slightly cupped, and you work them as flat tubes with no stuffing.
Ears (make 2)
- Rnd 1: 6 sc into a magic ring. (6)
- Rnd 2: [sc, inc] × 3. (9)
- Rnd 3: [sc 2, inc] × 3. (12)
- Rnd 4–8: sc around. (12)
- Rnd 9: [sc 2, dec] × 3. (9)
- Rnd 10: sc around. (9)
Fasten off, leaving a tail about 15 cm long for sewing. Don’t stuff the ears. Just pinch the open end flat so the ear folds in on itself, and the tail will hold it.
Inner ears (optional, make 2, in pink)
- Rnd 1: 6 sc into a magic ring. (6)
- Rnd 2: [sc, inc] × 3. (9)
Fasten off, leaving a tail. Sew each little circle onto the front of an ear, a little above the base. In the photos the inner ear is a soft pink, and it’s what gives the rabbit that gentle look. If you don’t want to crochet them, a few straight stitches of pink thread down the middle of the ear will do the same job.
One small tip. Make your two ears one after the other without a long break, so they come out the same length. If you let a day go by between them, they won’t match, and you’ll end up redoing one.
Step 3: Body, Arms, Legs and Tail
Body
The body is worked from the bottom up. Use the same color as the head.
- Rnd 1: 6 sc into a magic ring. (6)
- Rnd 2: inc around. (12)
- Rnd 3: [sc, inc] × 6. (18)
- Rnd 4–7: sc around. (18)
- Rnd 8: [sc, dec] × 6. (12)
- Rnd 9: sc around. (12)
Stuff the body firmly. It has to hold the head up, so be generous here. Fasten off, leaving a long tail, and leave the top open. You’ll sew it straight onto the head later.
Arms (make 2)
- Rnd 1: 6 sc into a magic ring. (6)
- Rnd 2–5: sc around. (6)
Fasten off with a long tail. These are so small that most people don’t stuff them. A tiny wisp is enough if you want them a bit rounder.
Legs (make 2)
The legs are round feet that stick out in front of the body, like the sitting bunnies in the photos.
- Rnd 1: 6 sc into a magic ring. (6)
- Rnd 2: inc around. (12)
- Rnd 3–4: sc around. (12)
- Rnd 5: dec around. (6)
Stuff lightly before you close the last round, then fasten off and leave a tail.
Tail
- Rnd 1: 6 sc into a magic ring. (6)
- Rnd 2: inc around. (12)
- Rnd 3: sc around. (12)
- Rnd 4: dec around. (6)
Stuff it into a little puff and close it up. If you want the tail extra fluffy, use a slightly fuzzy yarn in the same color, or brush the surface gently with a pet comb. That trick works well on any amigurumi.
Step 4: Assemble Your Bunny
Pin everything before you sew. It takes two minutes and saves you from sewing a leg on crooked.
- Head to body. Line up the open edge of the body with the base of the head, so the head sits slightly forward. Pin it and sew all the way around with small, tight stitches. Tilt the head a little as you go if you want a more curious expression.
- Ears. Place the ears on top of the head, about 4 stitches apart at the base, and angle them slightly outward. Count the rounds so both sit at the same height. Sew each ear on through the folded edge, making a few passes so it doesn’t flop.
- Arms. Attach the arms to the sides of the body, just under the head. Sew them on at the top only and let them hang loosely, or tack them forward so the bunny looks like it’s holding something.
- Legs. Put the feet at the front of the body’s base, pointing forward and slightly out. They should be roughly level with each other. Sew them on through the stitch rounds at the body bottom.
- Tail. Sew it to the back, low down, centered.
Sit the bunny on a flat surface and check it. If it tips forward, move the legs back a little. If it leans backward, check your tail.
Embroider the Face
This is the step that gives your bunny a personality, so take your time.
Use a short length of pink thread for the nose, centered just below the eyes and about one round down. Make a small, tidy triangle: two or three stitches stacked, slightly wider at the top. A tiny nose looks sweeter than a large one. Pull the thread down gently so the nose sinks into the surface instead of sitting on top.
For an optional mouth, add a very short vertical line below the nose and two small curves, like a tiny “w”. You can also leave the mouth off. Most of the bunnies in the photos have no mouth and still look wonderful.
If you went with embroidered eyes, use black thread and make two small curved stitches for a sleeping face, or two small round satin stitch dots for open eyes. Check the position against the other side before you cut anything.
Hide your ends by pulling the thread out a few stitches away and snipping it close, so the tail disappears inside.
Making a Whole Bunny Family
The pattern stays the same, and the family comes from small changes:
- Colors. Cream, oatmeal and dusty rose give you the soft neutral set from the photos. For something brighter, try lilac, mint and butter yellow. For Easter, use pastels. For a woodland group, try brown, grey and a rusty orange.
- Sizes. To make a bigger “parent” bunny, use DK yarn and a 2.5 mm hook. To make a baby, go down to a fingering weight yarn and a 1.75 mm hook. The pattern doesn’t change at all.
- Faces. Give one bunny open eyes, another sleepy eyes, and a third a blushing cheek made with a bit of pink floss.
- Ears. Fold one ear over, tilt one, or leave one standing straight. It gives the family a bit of individuality. A floppy ear is made by simply sewing it on lower and to the side.
- Little extras. A tiny bow, a scarf or a small flower tucked behind one ear. Keep extras small so they don’t overpower such a little animal.
When the bunnies are done, put them on a windowsill, in a basket, or on a shelf next to a few small plants. They look best grouped together, with different poses, like a little scene.
Troubleshooting Common Problems
The head looks flat. You probably didn’t stuff enough, or you stuffed unevenly. Open up the last round before you close it and add a little more, packing it into the top and sides.
There’s a gap showing between stitches. Go down a hook size. On miniatures, a hook that’s even slightly too large lets white stuffing peek through. Also, work with firm tension and don’t pull the yarn tight at the beginning of each round.
The ears flop over. It usually means they’re too long or they’re sewn on too loosely. Add a couple of extra stitches around the base, and try sewing them on closer to the middle of the head. Cotton yarn holds an upright ear better than soft acrylic.
The bunny won’t sit up. Make sure the legs are sewn onto the front of the body rather than the sides, and that the body is stuffed firmly enough. Add a little extra stuffing in the lower part of the body to give the bunny a weighted base.
My magic ring keeps opening up. Pull the tail very tight after the first round, then tug each stitch’s neighbor so the loop closes. If you can’t get it to stay, start with a chain 2 and work 6 sc into the second chain instead.
The eyes are uneven. It’s very easy to do, and the fix is to place them with pins first. Take a photo of the bunny’s face and compare the two sides before you lock the eyes on.
Finishing Touches and Gifting
Once you’re happy with the shape, give each bunny a light squeeze all over to settle the stuffing. Trim any stray ends, and if the fabric looks fuzzy, snip loose fibers with small scissors.
These bunnies make lovely little gifts. Put one in an Easter basket, pop one in a card, or hang a small one from a bag using a loop of yarn. A set of three in a small box with a hand-written note goes down very well. And if you sell your finished work, a family of three in coordinated colors is a nice way to present them.
For safety around young children, use embroidered eyes and make sure every piece is sewn on firmly. Give each bunny a gentle tug before you hand it over.
To clean them, spot-wash with a damp cloth and a bit of mild soap. Let them air-dry completely.
Final Thoughts
A miniature crochet bunny is one of those patterns you come back to again and again. It’s quick, it uses scraps, and it’s easy to change. Once you’ve got the head, ears and body in your fingers, you’ll find you can make one without looking at the pattern.
Start with cream, then make your oatmeal one, then the rose. By the time the third one is sitting next to the others, you’ll have a whole tiny family and probably a plan for more. Happy stitching.