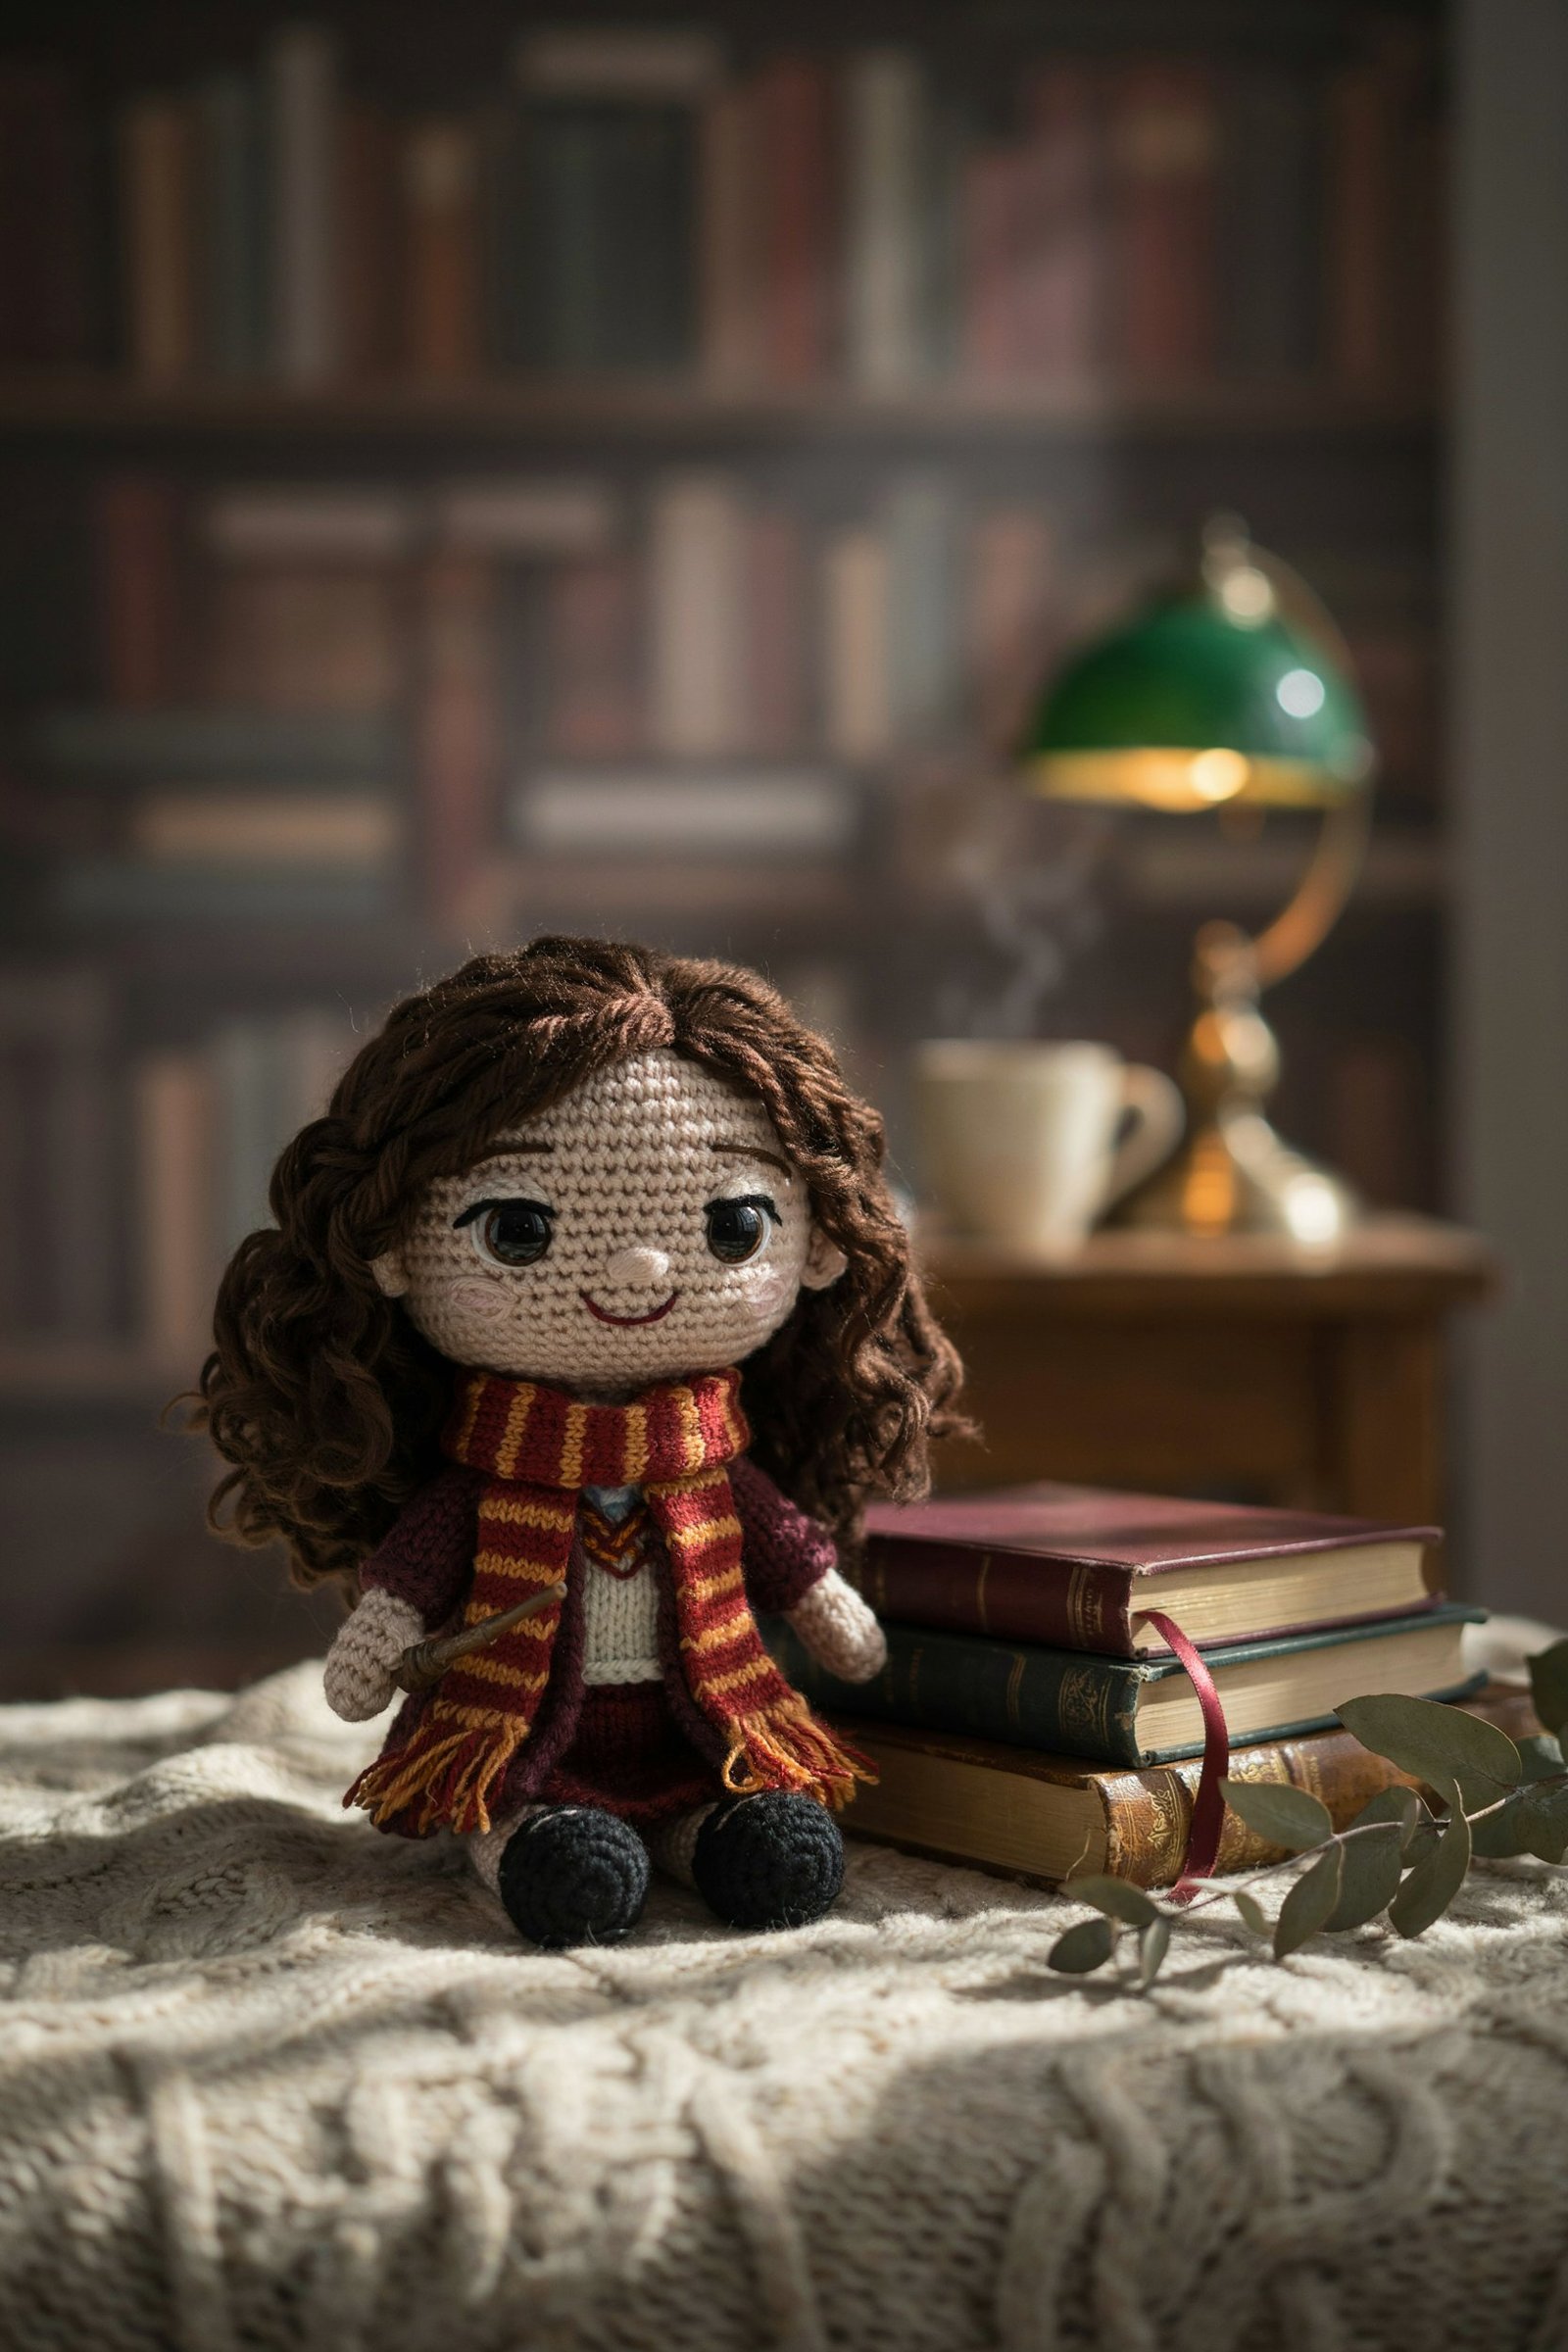
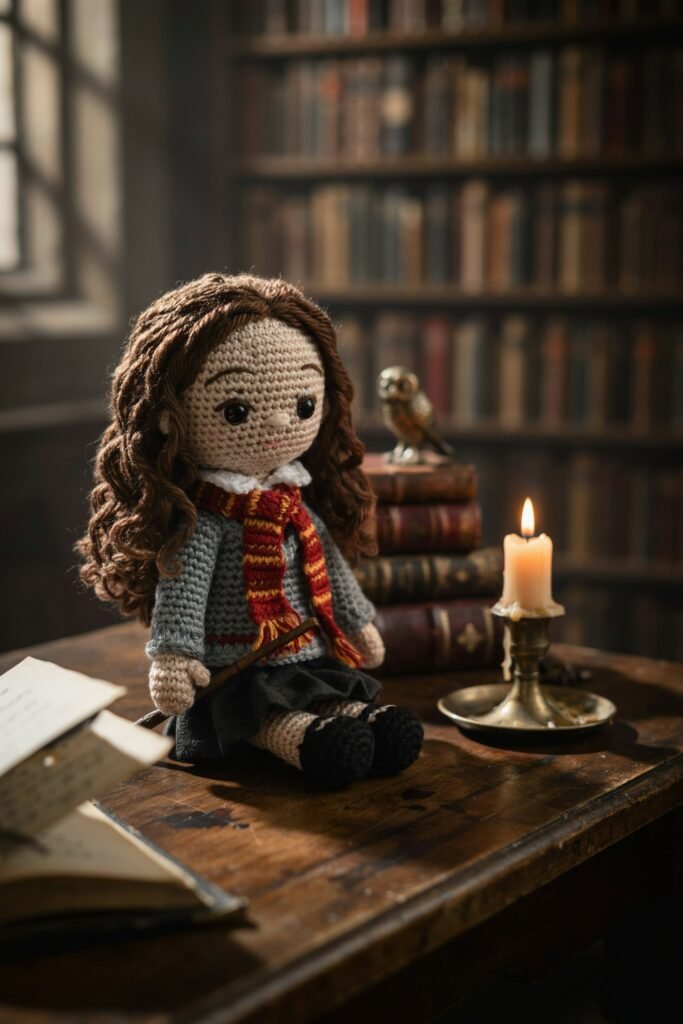
Some projects make you smile the moment you picture them, and a little bookworm witch with bushy curls, a striped scarf and a tiny wand is one of them. If you love the wizarding world, or you want a handmade gift for a young reader in your life, this cute Hermione Granger crochet doll pattern is a great place to start.
This guide is written for real crocheters, including people who have never made an amigurumi doll before. You will find the materials, the full pattern in US terms, and a section on the problems most people run into, such as wobbly heads, uneven faces and hair that looks more like a bird’s nest than a curly mane. Take it one section at a time.
A quick note: this is a fan-made, Hermione-inspired pattern for personal and gift use. It is not affiliated with or endorsed by the official brand. Please don’t sell finished dolls using official names or logos.
Why This Doll Is Worth Making
Character dolls are popular because they carry a story. A plain doll is sweet, but a doll with a scarf, a wand and a head full of curls tells people who it is before they say a word. Kids know her instantly, and adults who grew up with the books get a little rush of nostalgia.
This doll is also a good teaching project. It uses only basic stitches, and you can finish it in a weekend or in a few evenings. Each part is small, so you never feel stuck on one long piece. If you make a mistake, you only redo a small piece rather than the whole doll.
The finished doll stands about 9 inches (23 cm) tall. It is soft enough to cuddle and sturdy enough to sit on a shelf, and it makes a lovely gift for birthdays, holidays or a back-to-school present.
Skill Level and Time
This pattern suits confident beginners and above. If you can make a magic ring, single crochet, increase and decrease, you have everything you need. Most people finish the doll in 8 to 12 hours, depending on how fussy they get with the hair and face.
Materials You Will Need
Choose yarn that is smooth and easy to work with tight stitches. Cotton or a cotton blend in DK weight gives a clean, neat finish, but acrylic works too.
- DK weight yarn in these colors: skin tone, dark brown (hair and shoes), black (robe and body), white (shirt collar), burgundy red, and golden yellow
- Small amount of dark brown or black yarn for embroidery, or 8 mm safety eyes
- 3.0 mm crochet hook (go down to 2.75 mm if your stitches look loose)
- Polyester fiberfill stuffing
- Yarn needle
- Stitch markers
- Scissors
- Pink embroidery thread or yarn for the cheeks
- Optional: two small black buttons for the cape, and a little extra stuffing for firm limbs
If you are making this for a small child, skip the safety eyes and embroider the eyes instead. Safety eyes are secure, but handmade toys for babies and toddlers are always safest with no hard parts at all.
Abbreviations (US Terms)
- MR: magic ring
- sc: single crochet
- inc: two single crochets in the same stitch
- dec: single crochet two stitches together (invisible decrease works best)
- ch: chain
- sl st: slip stitch
- ( ) at the end of a round shows your stitch count
All parts are worked in continuous rounds unless the pattern says otherwise. Use a stitch marker at the start of every round so you never lose your place.
Before You Start: Three Tips That Save Hours
First, crochet tightly. Amigurumi needs dense stitches so that stuffing does not peek through. If you can see white fluff between your stitches, go down a hook size.
Second, stuff as you go. Do not wait until the end. Add stuffing a little at a time, and push it into the corners with the end of your hook. Firm stuffing keeps the head from flopping.
Third, take notes. When you finish a piece, write down any change you made, such as an extra round on the legs. That way the second leg or arm will match the first.
The Pattern
Head (skin tone)
Start with skin tone yarn.
- Round 1: MR, 6 sc (6)
- Round 2: inc in each stitch (12)
- Round 3: (sc, inc) repeat 6 times (18)
- Round 4: (2 sc, inc) repeat 6 times (24)
- Round 5: (3 sc, inc) repeat 6 times (30)
- Round 6: (4 sc, inc) repeat 6 times (36)
- Rounds 7 to 13: sc in each stitch (36)
If you are using safety eyes, insert them now between rounds 9 and 10, about 6 stitches apart. Add the cheeks later with embroidery.
- Round 14: (4 sc, dec) repeat 6 times (30)
- Round 15: (3 sc, dec) repeat 6 times (24)
- Round 16: (2 sc, dec) repeat 6 times (18)
Stuff the head firmly now.
- Round 17: (sc, dec) repeat 6 times (12)
- Round 18: dec 6 times (6)
Fasten off, leaving a long tail. Weave the tail through the front loops of the last 6 stitches and pull tight to close.
Body (black and white)
Start with black yarn.
- Round 1: MR, 6 sc (6)
- Round 2: inc in each stitch (12)
- Round 3: (sc, inc) repeat 6 times (18)
- Round 4: (2 sc, inc) repeat 6 times (24)
- Rounds 5 to 8: sc in each stitch (24)
- Round 9: (2 sc, dec) repeat 6 times (18)
Change to white yarn.
- Rounds 10 to 12: sc in each stitch (18)
- Round 13: (sc, dec) repeat 6 times (12)
Stuff the body firmly. Fasten off, leaving a long tail for sewing the head on later. The white rounds make the shirt collar, which peeks out from under the scarf.
Legs (make 2)
Start with dark brown yarn for the shoes.
- Round 1: MR, 6 sc (6)
- Round 2: inc in each stitch (12)
- Rounds 3 to 4: sc in each stitch (12)
Change to black yarn.
- Rounds 5 to 11: sc in each stitch (12)
Stuff lightly, but keep the foot area a little firmer so the doll can sit well. Flatten the top of the leg, and sc across the 6 stitches to close it. Fasten off, leaving a tail for sewing.
Arms (make 2)
Start with skin tone yarn for the hands.
- Round 1: MR, 6 sc (6)
- Rounds 2 to 4: sc in each stitch (6)
Change to black yarn.
- Round 5: (inc, 2 sc) repeat 2 times (8)
- Rounds 6 to 12: sc in each stitch (8)
Stuff lightly. Do not overstuff the arms, or the doll will look stiff. Fasten off, leaving a tail for sewing.
Hair (dark brown)
The hair is what makes the doll look like Hermione, so give it time. We make a cap first and then add curls on top.
Hair cap
- Round 1: MR, 6 sc (6)
- Round 2: inc in each stitch (12)
- Round 3: (sc, inc) repeat 6 times (18)
- Round 4: (2 sc, inc) repeat 6 times (24)
- Round 5: (3 sc, inc) repeat 6 times (30)
- Round 6: (4 sc, inc) repeat 6 times (36)
- Round 7: (5 sc, inc) repeat 6 times (42)
- Rounds 8 to 12: sc in each stitch (42)
Sl st in the next stitch and fasten off.
Curl strands (make about 30)
- Ch 12
- Starting in the 2nd chain from the hook, work 2 sc in each chain across
- Fasten off, leaving a tail for sewing
Each strand will naturally twist into a spiral curl. Make a few at ch 9 for the front, and a few at ch 15 for the back, so the hair has different lengths. This is what gives that bushy, natural look.
Scarf (burgundy and gold)
- Ch 6
- Row 1: sc in 2nd ch from hook and in each across (5), ch 1, turn
- Rows 2 to 36: sc in each stitch (5), ch 1, turn
Change color every 2 rows, alternating burgundy and gold. Fasten off. Add small fringe pieces at each end if you like.
Cape (black, optional)
- Ch 21
- Row 1: sc in 2nd ch from hook and across (20), ch 1, turn
- Rows 2 to 16: sc in each stitch (20), ch 1, turn
Fasten off. Sew two small buttons at the top corners, or tie it loosely with a short chain of yarn.
Wand (brown)
- Ch 10
- Row 1: sc in 2nd ch from hook and across (9), ch 1, turn
- Row 2: sc in each stitch (9)
Fasten off. Fold in half lengthwise, whipstitch the long edge closed, and add a tiny bit of stuffing. If you want a stiffer wand, a short piece of wire inside works for older children, but skip it for toddlers.
Assembly: Putting Hermione Together
Take your time here. Good assembly is what separates a homemade look from a handmade look.
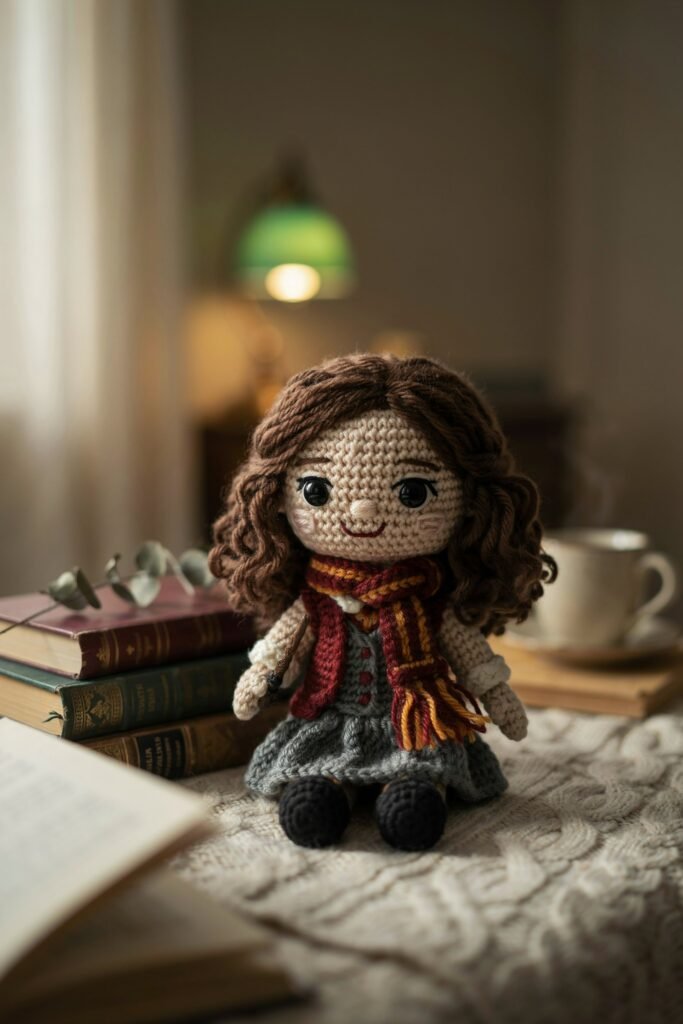
- Sew the head to the body. Pin the head on first and check it from the front and the side. Use the long tail and sew around the neck at least twice, going through both pieces, so the head stays upright.
- Attach the legs. Place the legs at the bottom of the body, about 3 stitches apart. Sew them on flat, so the doll can sit without tipping.
- Attach the arms. Sew them at the sides, just under the collar. Angle them slightly forward so the doll looks like it is about to wave.
- Add the face details. Embroider the eyebrows with dark brown yarn, a small smile with a single curved stitch, and the cheeks with a few straight stitches in pink.
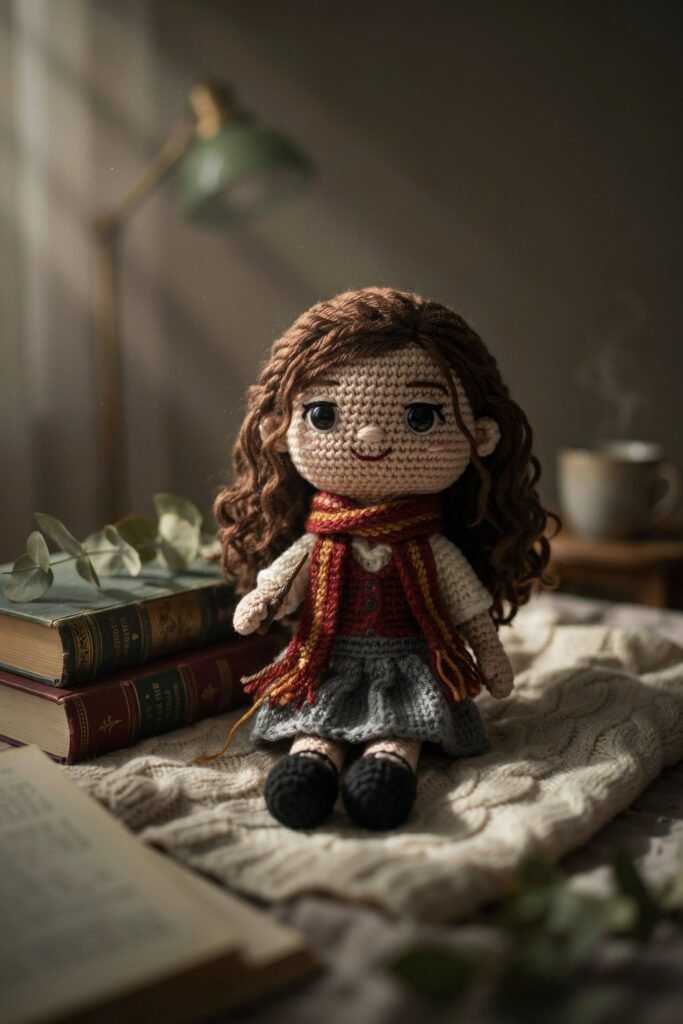
- Sew the hair. Pin the hair cap on the head and sew it around the edge. Then sew the curl strands, starting at the back and working up to the front. Layer them so no skin shows through.
- Finish with the scarf and cape. Wrap the scarf loosely around the neck and tack it in place with a few stitches. Put the cape on, and place the wand in her hand.
Common Problems and How to Fix Them
This is the section most people skip, and it is the one that saves projects.
Problem: The head flops forward.
This almost always means the head is under-stuffed or the neck sewing is too loose. Open a few stitches at the base, add more stuffing, and re-sew with a tighter stitch. Going through the body twice helps a lot.
Problem: The eyes look uneven.
Pin your eyes in place and look at the doll in a mirror before fixing them. A mirror shows crooked eyes immediately. If you are using embroidered eyes, mark the spots with pins first.
Problem: Stuffing shows through the stitches.
Your tension is too loose. Go down a hook size, or work the pieces with the stitches pulled a little tighter. You can also place a layer of fabric-colored felt inside, but a smaller hook is the cleaner fix.
Problem: The hair looks too thin.
Add more curl strands, and put the extra ones in the center and the back. If you have already sewn everything, you can attach new strands over the top. Nobody will notice.
Problem: The doll will not sit up.
The legs may be too soft or attached too high. Add a little more stuffing to the lower body, and sew the legs a bit more forward. Pellets in a small fabric pouch inside the base can add weight, but only if the doll is for decoration.
Problem: The colors look dull.
Choose a true burgundy and a warm gold for the scarf. Pale or muted colors can look washed out against black. Test the yarn next to each other before you start.
Problem: Your pieces come out different sizes.
That usually means different tension on different days. Try to make matching pieces, such as both legs and both arms, in one sitting.
Make It Your Own
Once you know the basic pattern, it is easy to adapt. Here are a few ideas.
Try a different skin tone to match a child or a favorite character design. Change the hair color or curl length for another character. Add a tiny crocheted book, a mini satchel or a small pair of round glasses made from wire for a different look. You could also make a house-colored pocket scarf for a gift set.
If you love doll patterns, you can turn this into a small collection. A set of friends with different scarf colors looks wonderful on a shelf and makes a special gift for a group of siblings or classmates.
Care Tips
Spot clean with a damp cloth and mild soap. If the doll needs a full wash, put it in a mesh laundry bag and use the gentle cycle, then air dry. Reshape the hair with your fingers once it is dry. Keep the doll away from direct sunlight, which can fade the burgundy and gold over time.
Final Thoughts
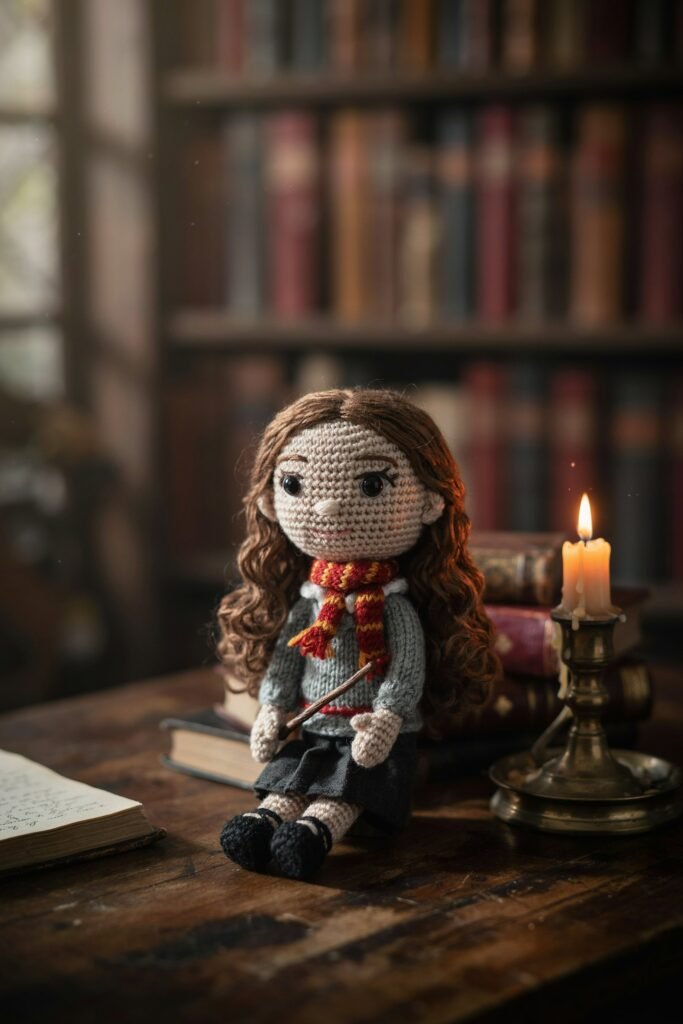
A good crochet doll is part patience and part personality. With a bit of care in the stuffing, the sewing and the hair, this cute Hermione-inspired doll turns out sweet, sturdy and full of charm. Don’t worry if your first attempt is a little wonky. Every handmade doll has its own character, and that is exactly what makes it special.
Grab your yarn, put on your favorite audiobook, and enjoy the process. When you finish, share a photo and tag your doll. We would love to see your version of this little bookworm witch.