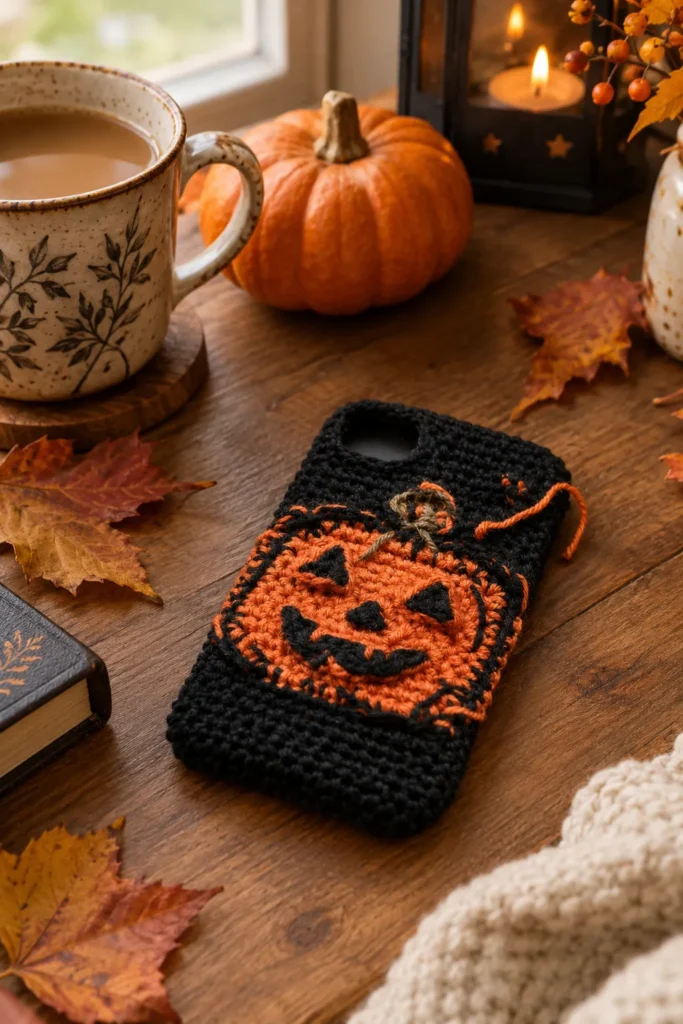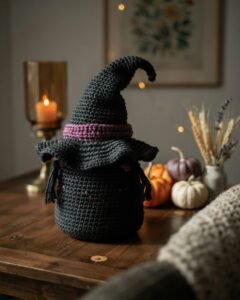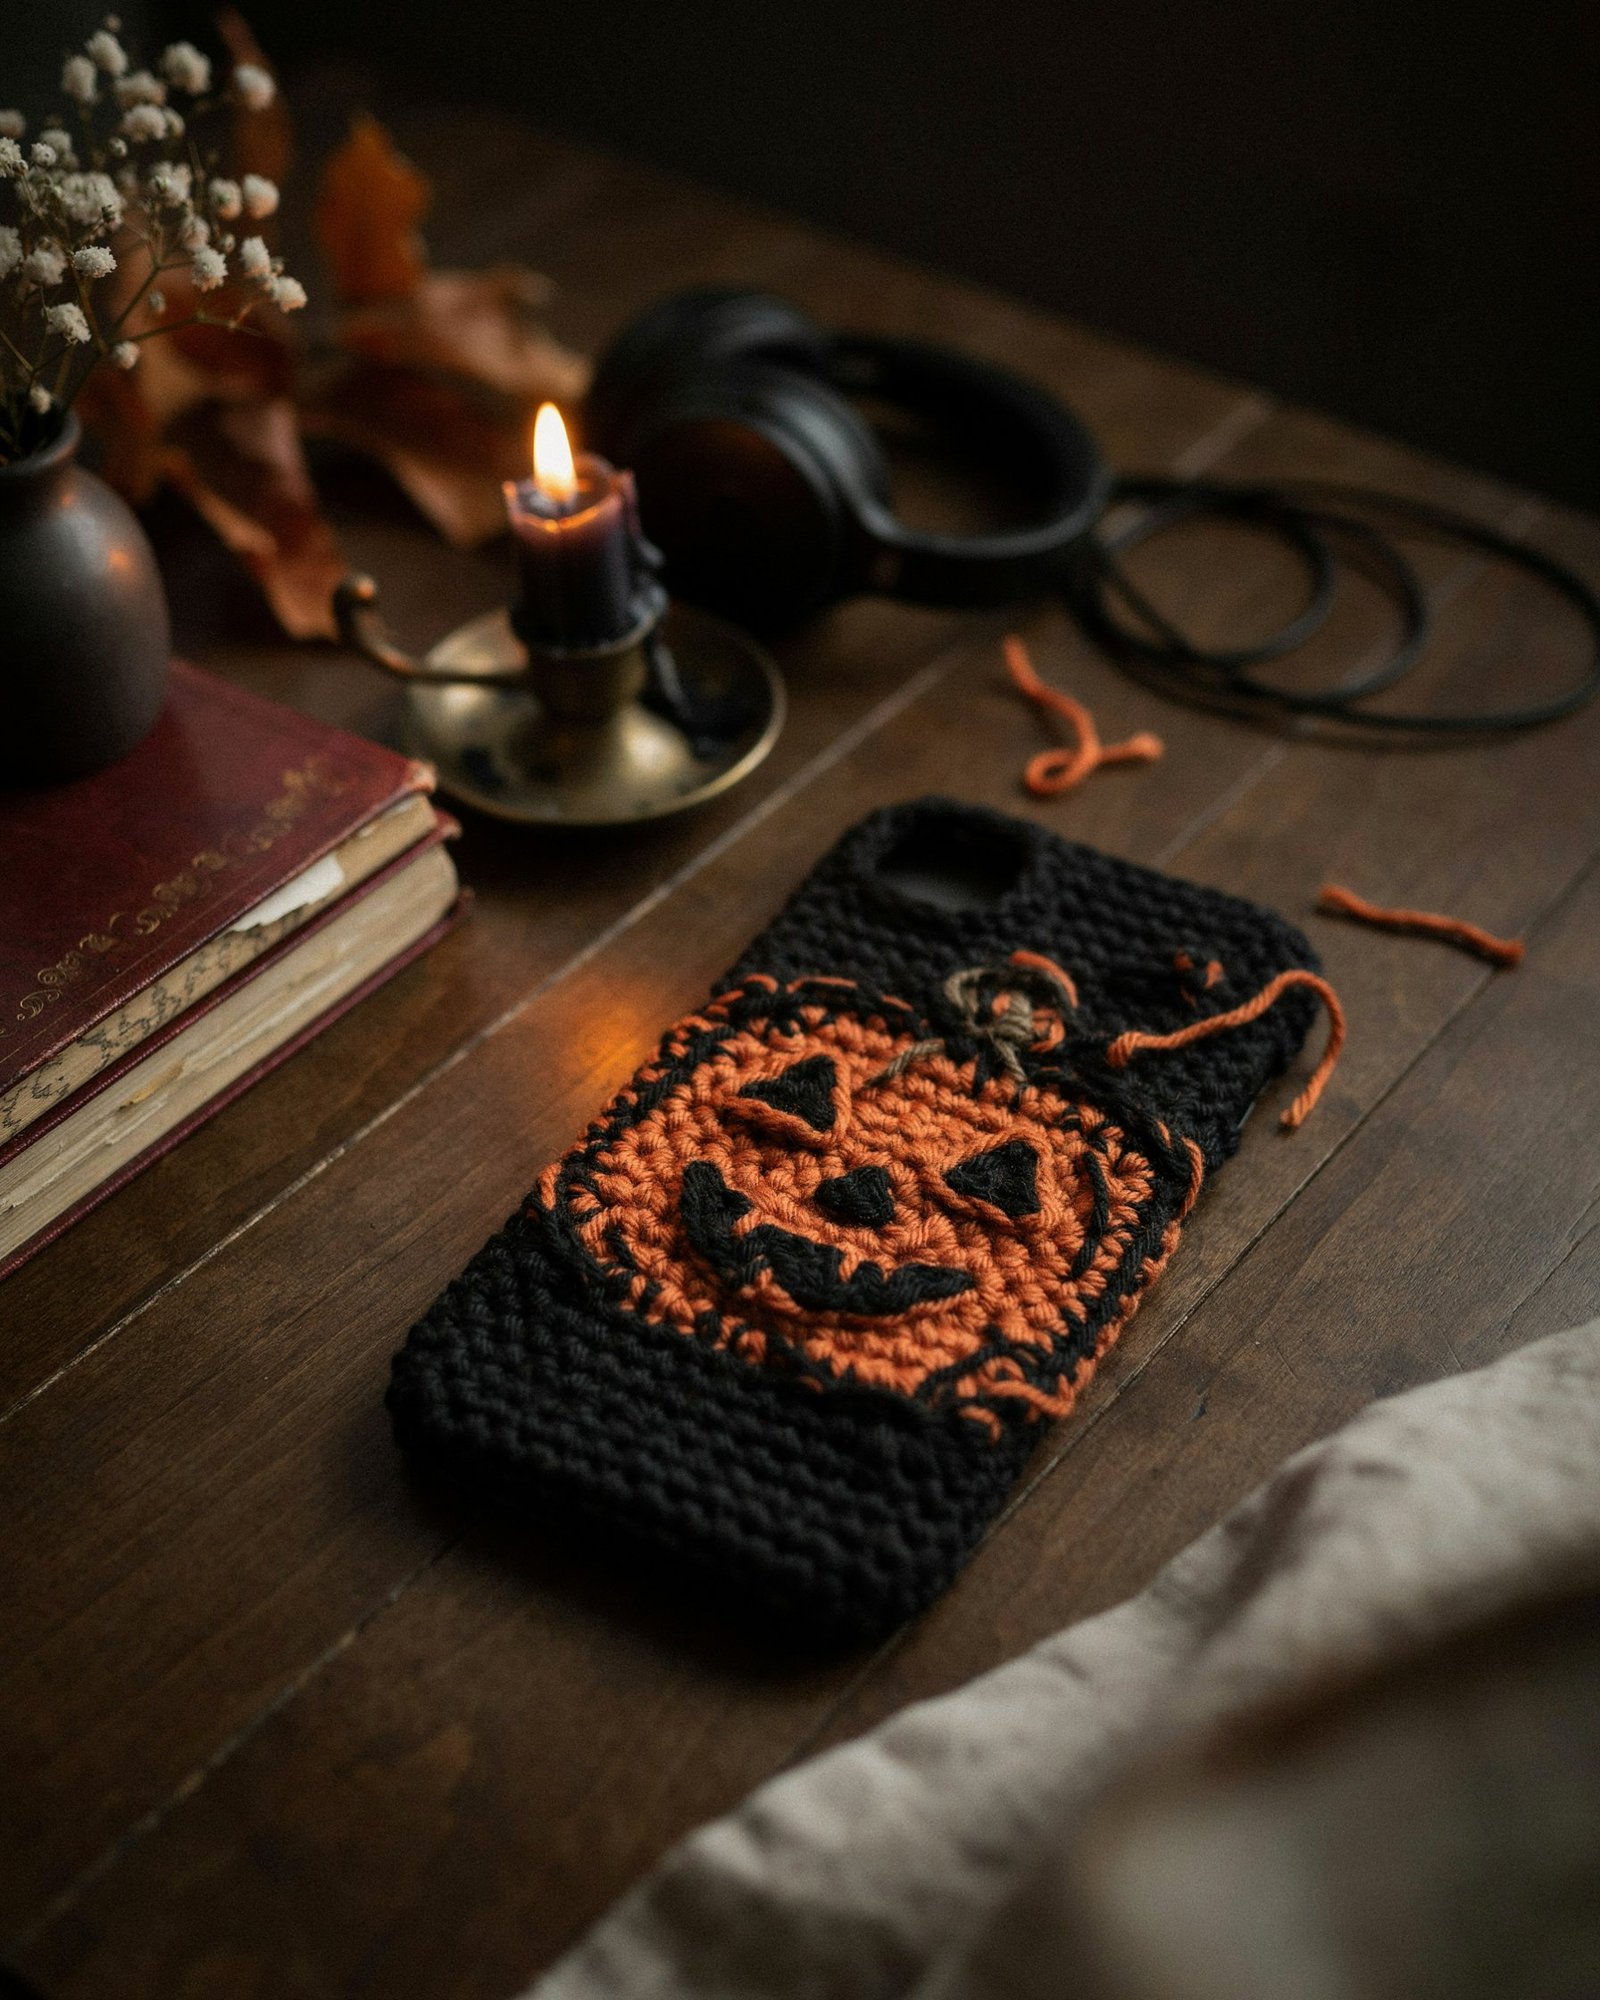
Every October, the craft table fills up with pumpkins, ghosts and tiny black cats. But most of those projects end up on a shelf. A Halloween crochet phone case is different, because you use it every single day, and every time you pull your phone out, someone asks where you got it.
It’s also one of the friendliest small projects you can make. It uses very little yarn, works up in an evening or two, and gives you a chance to play with spooky details without committing to a giant amigurumi. If you’ve been looking for a quick, cute and slightly spooky DIY accessory, this is a great place to start.
This guide walks you through everything: what a crochet phone case really is (and isn’t), how to measure your phone so it fits, which yarn and hook to choose, how the construction works, and how to decorate it with ghosts, pumpkins, bats and more. You’ll also find fixes for the most common problems, care tips and answers to the questions people ask most.
Table of Contents
- What a Crochet Phone Case Really Is
- Skill Level and Time Needed
- Materials You’ll Need
- Best Yarn for a Halloween Crochet Phone Case
- How to Measure Your Phone for a Perfect Fit
- Basic Construction: Two Easy Styles
- Spooky Design Ideas
- Step-by-Step: A Simple Sleeve Case
- Adding a Strap or Wrist Loop
- Expert Tips for a Neat Finish
- Common Mistakes and How to Fix Them
- Care and Cleaning
- Gift and Selling Ideas
- FAQs
- Summary
1. What a Crochet Phone Case Really Is
Before you start, let’s be honest about what to expect. A crochet phone case is a soft, decorative cover. It adds style, grip and a little cushioning against everyday bumps and scratches, but it isn’t a replacement for a rugged protective case.
There are two common ways to use one:
- A sleeve over an existing case. You slip a crocheted cover over a thin hard case or a basic clear case. This gives you real protection plus handmade style, and it’s the safest option for a new, expensive phone.
- A pouch or crossbody bag. Instead of fitting snugly, the crochet piece holds the phone inside like a small bag, often with a strap. It’s very popular for festivals, trick-or-treating and costume parties.
Both are great for Halloween. Choose based on how you’ll use the phone. If you’ll be carrying it around on a night out, a pouch with a strap keeps your hands free. If you want a daily cover for the month of October, a sleeve is simpler and slimmer.
2. Skill Level and Time Needed
Skill level: Beginner to advanced beginner.
You’ll need to know how to:
- Make a magic ring or a chain-based starting circle
- Work single crochet in rounds
- Make basic increases and decreases
- Change colors (for stripes or details)
- Sew with a yarn needle
Time needed: Plan on 2 to 4 hours for a simple sleeve, and 4 to 6 hours if you add embroidery, appliqués or a strap. A first attempt usually takes longer because you’ll test the fit. That’s normal and worth the time.
3. Materials You’ll Need
Here’s a basic shopping list. Everything is inexpensive and most items are probably in your stash already.
- Yarn: a small amount of main color plus scraps for details
- Crochet hook: usually 3.0 to 4.0 mm, depending on your yarn
- Stitch markers: at least one, to mark the start of each round
- Yarn needle: for weaving in ends and sewing on details
- Scissors
- A tape measure or ruler
- Your phone (or a thin case) to test the fit as you go
- Optional: safety eyes or black embroidery thread, small buttons, felt scraps, a snap or button closure, a lanyard clip or keyring, fabric for lining
If you plan to give the case to a child or a teen, skip tiny buttons and any parts that could come loose. Embroider the face details instead.
4. Best Yarn for a Halloween Crochet Phone Case
The yarn you choose changes how the case looks, fits and wears. A phone case needs to be firm, smooth and durable.
Cotton or cotton blends. These are firm, don’t stretch much and show stitches clearly. They’re an excellent choice for a sleeve because they keep their shape over time. Mercerized cotton has a lovely slight sheen, and it’s lovely for pumpkin oranges and ghost whites.
Acrylic. Affordable and available in every Halloween color, from black to bright orange to deep purple. It has a little more stretch, which can help with fit but may loosen over months of use.
Wool or wool blends. Warm and springy, but fuzzy and not always ideal for something that sits in pockets and bags. If you choose wool, pick a smooth, tightly spun one and avoid very fuzzy types.
Avoid very thick, chunky yarn. It makes the case bulky and can interfere with wireless charging. Light worsted or DK weight is the sweet spot for most phones.
For colors, classic Halloween combinations never fail: black with orange, black with purple, white with black, or deep green with orange. If you want a softer, cozier look, try cream with dusty pumpkin and sage green.
5. How to Measure Your Phone for a Perfect Fit
Fit is the most important part of a phone case. A case that’s too loose slides off, and one that’s too tight stretches and distorts.
Take three measurements
- Height: from the top edge to the bottom edge
- Width: across the widest part of the screen
- Thickness: across the side, including any case you’ll keep on it
Make a gauge swatch
Crochet a small square in your chosen yarn and hook, in single crochet. Measure how many stitches fit in one inch. This tells you how many stitches you need to cast on.
Work out your stitch count
Here’s a simple example. It’s an illustration of how the math works, not a rule for every phone.
- Phone width: 3 inches
- Phone thickness: 0.4 inches
- Distance around the phone: (3 + 0.4) × 2 = 6.8 inches
- Subtract about 0.5 inch so the crochet stretches snugly around it: 6.3 inches
- If your gauge is 4 stitches per inch: 6.3 × 4 = about 25 stitches
- Round to an even number: 24 stitches
Use your own measurements and gauge for the real thing. If you’re between two numbers, go with the smaller one and test the fit. Crochet stretches, but it rarely shrinks back.
6. Basic Construction: Two Easy Styles
Style 1: The sleeve (worked in the round)
You make a flat oval for the base, then work straight up the sides to form a tube that hugs the phone. The top is left open so you can slide the phone in. This is the quickest and most beginner-friendly method.
Style 2: The pouch (worked flat and seamed, or in the round with a flap)
You make a slightly larger tube, add a flap or closure at the top and attach a strap. This gives you a small crossbody bag for your phone.
For both styles, remember to plan the openings. The charging port, speaker, camera and buttons all need access. A good rule is to keep the bottom of the sleeve open, or to crochet a small gap there, and to leave a hole for the camera.
7. Spooky Design Ideas
Once you’ve got the basic shape, the decoration is where your Halloween personality shows up. Here are ideas that work especially well on a small surface.
Ghost
White or cream yarn with two small black eyes embroidered on the back. For a cute wavy hem, work a scalloped edge at the opening. It’s the simplest design and still looks charming.
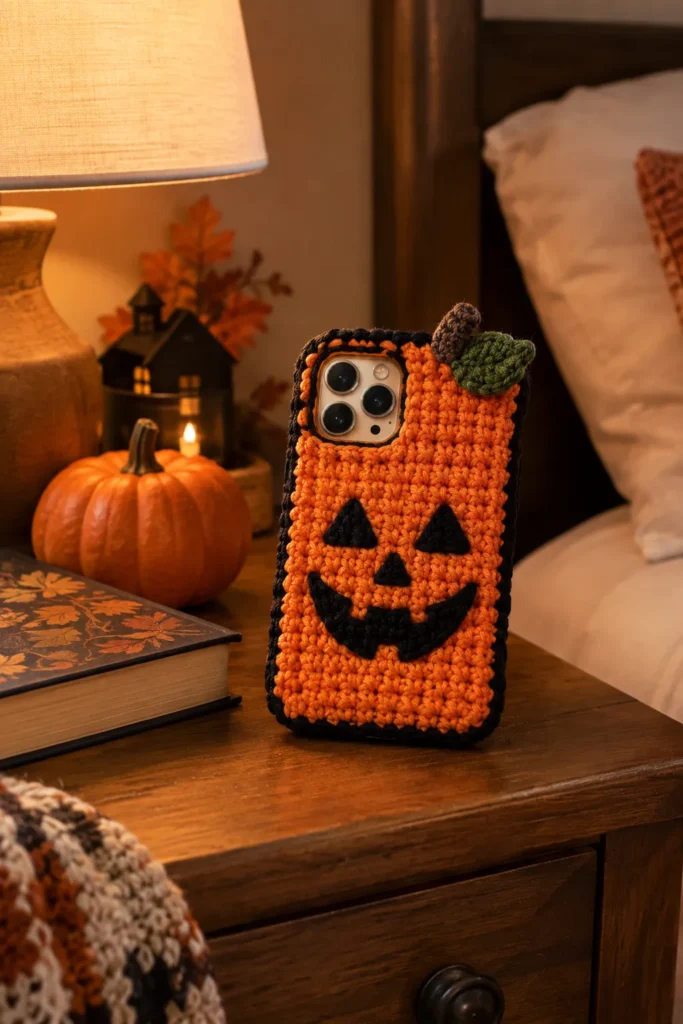
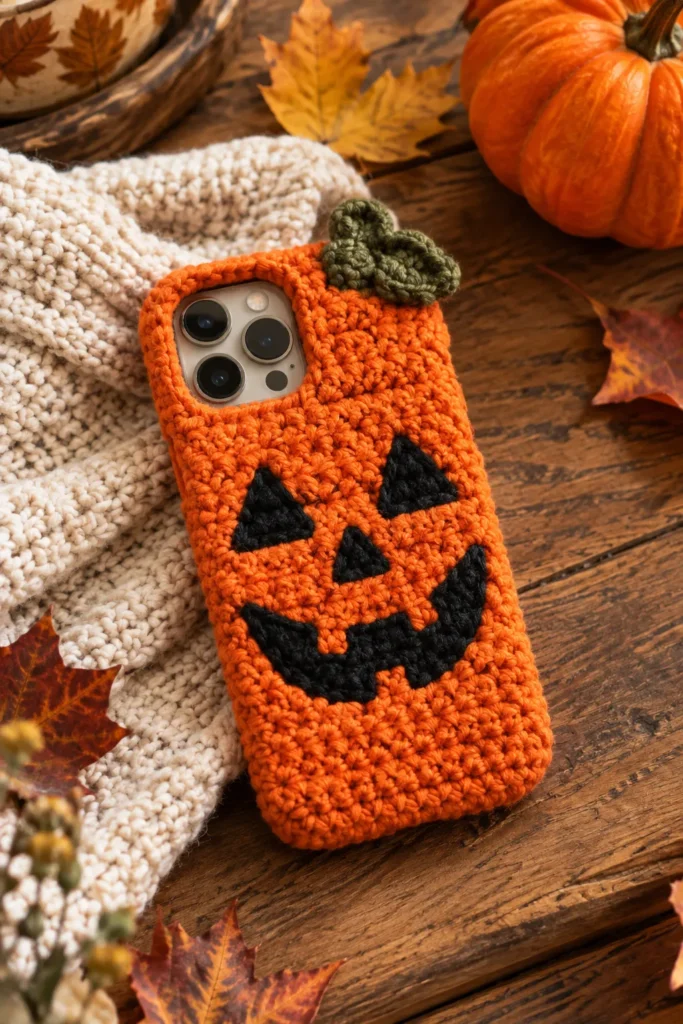
Pumpkin
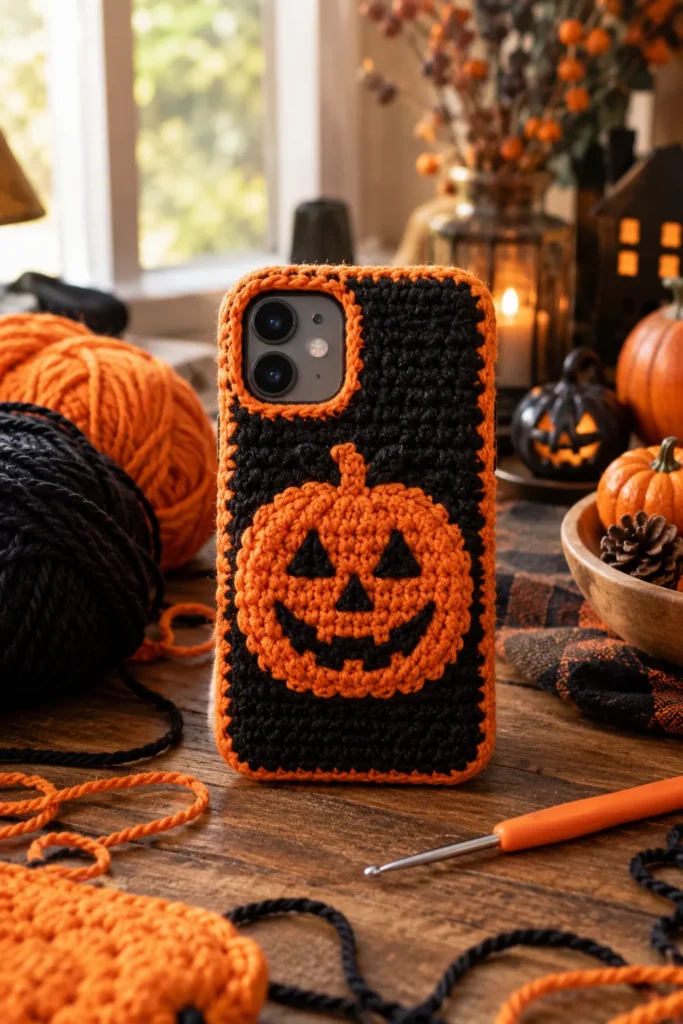
Orange yarn with a small green stem and a curly vine in the corner. Add vertical lines with a single contrasting stitch, or use the post stitches to create ridges that look like the segments of a pumpkin.
Bat
Black yarn with a small crocheted bat appliqué on the back. Two little wings and a tiny body are enough. Bats look especially good on purple or deep gray.
Spider web
Use white thread to stitch web lines on a black case, then add a tiny crocheted spider. It’s a good way to practice surface embroidery.
Witch hat
A mini hat appliqué with a purple band on a black case. A small curl at the tip adds personality.
Black cat
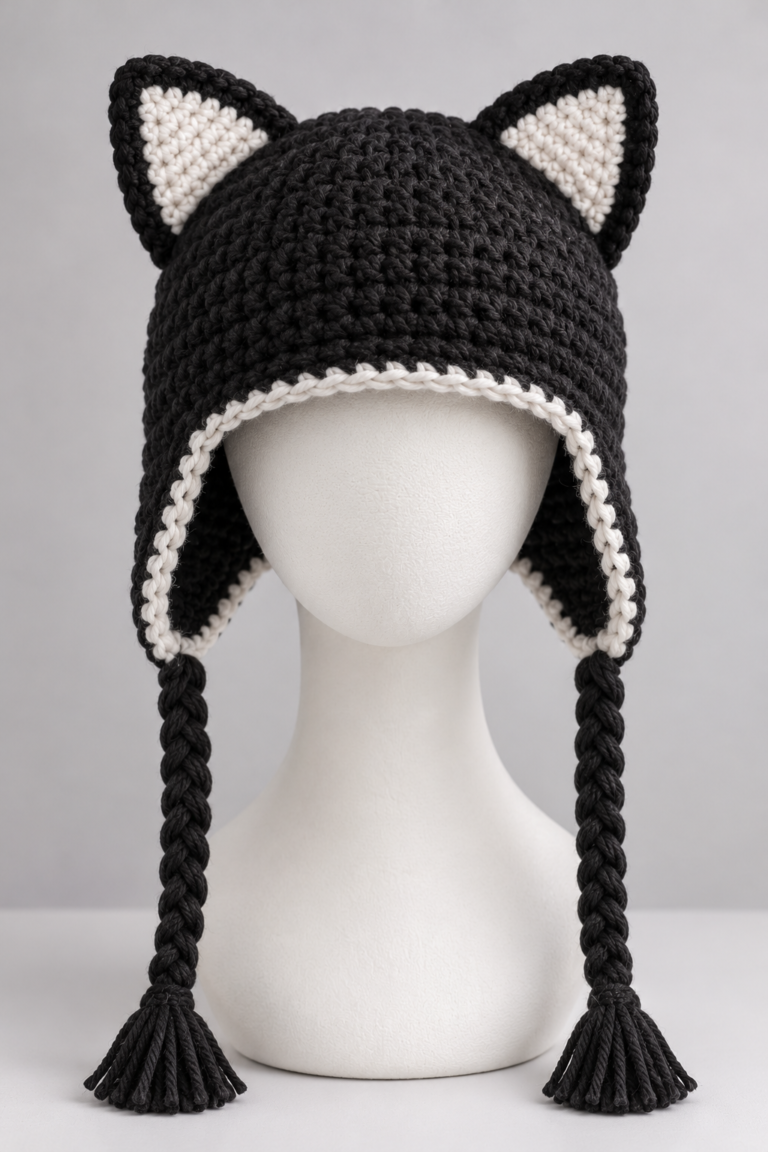
A black case with a cat face on the back, or little ears sewn on top of the opening so the cat appears to peek over.
Candy corn
Rows of yellow, orange and white make a striped design that’s easy to work in the round. Use color changes at the start of rounds to keep the stripes neat.
Mummy
Strips of cream yarn stitched across a grey base, with two eyes peeking through the gap.
Keep your designs simple. A phone case is a small canvas that gets handled constantly, so bold shapes work better than tiny details.
8. Step-by-Step: A Simple Sleeve Case
This is a general method, not a fixed pattern. Use the stitch count you worked out in your measuring step.
Step 1: Make the base
Chain enough stitches to match the width of your phone minus about an inch, then work single crochet along one side of the chain, around the end and back along the other side to form an oval. Place a marker at the start of the round.
Increase at the two ends of the oval in each round until the base is the same size as the bottom of your phone. Test it by holding it against the phone. It should lie flat and be slightly smaller than the phone.
Step 2: Work the sides
Stop increasing and work single crochet in each stitch around. Use your stitch marker at the end of each round to avoid losing your place. Keep going until the case covers the phone up to your chosen height.
Stop and try it on the phone every few rounds. If it feels too loose, switch to a smaller hook for the next few rounds. If it’s too tight, go up a hook size.
Step 3: Make the camera opening
When the sleeve reaches the height of the camera, plan a gap. One easy method is to work a few chain stitches over the camera area in one round, skip the same number of stitches below, and continue. On the next round, work stitches into the chains to make a clean hole.
If your phone has a large camera bump, make the hole slightly bigger than you think you need. You can always tighten it with a round of single crochet.
Step 4: Shape the top edge
Finish with one round of slip stitch or reverse single crochet for a firm, neat edge. If you want the ghost scalloped edge, work shells or picots in the last round instead.
Step 5: Add the face or design
Embroider the details with yarn or embroidery thread. Use a backstitch for outlines, french knots for eyes and straight stitches for small details.
If you’re attaching an appliqué, make it separately, then sew it on with small, tidy stitches.
Step 6: Weave in the ends
Weave in every end carefully. Because the case is handled constantly, loose ends will pop out quickly. Go through at least three directions and trim them close.
9. Adding a Strap or Wrist Loop
A strap changes your case from a cover to a wearable accessory.
Wrist loop. Chain about 8 to 10 inches, work single crochet back along the chain, and sew the ends to the side of the case. Stitch through several rounds so the loop doesn’t pull out.
Crossbody strap. Make a long strip in single crochet, about 1 inch wide. Test the length against your body before attaching it. Sew both ends securely, and reinforce the area with a small piece of felt on the inside.
Clip or ring. Sew a small metal ring to the top corner and attach a lanyard clip. This is the quickest option and easy to remove.
If a child will use the case, choose a breakaway clip rather than a fixed loop, so it can’t catch on anything.
10. Expert Tips for a Neat Finish
Use a smaller hook than you think. A tight fabric makes the case sturdier and keeps small items from catching in the gaps.
Try the fit often. A phone case is one of the few crochet projects you can test at every stage. Take advantage of that.
Block lightly. Dampen the finished case, slide your phone (wrapped in a plastic bag) inside and let it dry in shape. It sets the stitches and smooths the fabric.
Keep stitches even. The surface is small, so uneven tension shows more. Take a break when you feel yourself tightening.
Pick one focal point. One strong design on the back, with a plain sleeve around it, looks more polished than several small decorations.
Plan for the lens. Don’t let yarn or appliqués cover the camera, even partly. It can blur photos.
Add a lining if needed. A thin cotton lining stops the phone from rubbing through the stitches and helps hold the shape.
11. Common Mistakes and How to Fix Them
The case is too loose
This usually means your stitch count is too high or your hook is too large. Frog back and reduce the number of stitches, or switch to a smaller hook for the sides.
The case is too tight and won’t go on
You’ve gone below the phone’s size or your tension is very firm. Add a few stitches next time, or work a looser final few rounds at the top.
The base is wavy or cupped
Too many increases make the base ruffle, and too few make it cup. Work the increases at the ends of the oval only and check against the phone as you go.
The camera hole is crooked
Mark the exact position with a removable marker before you start the opening. Hold the case against the phone to check alignment.
The design looks fuzzy
Fuzzy yarn hides the details. Use smooth yarn for the case and keep any fluffy yarn for small accents.
The case stretches over time
Acrylic can relax with use. Use a firm cotton or add a thin lining to hold the shape.
It blocks wireless charging
Thick fabric can reduce charging efficiency, especially with magnetic chargers. Remove the case before charging or use thin yarn.
12. Care and Cleaning
A crochet case lives in your hand, your pocket and your bag, so it needs a little care.
- Spot clean with a damp cloth and mild soap.
- Hand wash in cool water when needed. Remove the phone first, of course.
- Reshape while damp and air dry flat, away from direct heat.
- Avoid the dryer. Heat can distort the shape and shrink cotton.
- Check regularly for loose threads and re-stitch them early.
- Keep it away from open flames. Yarn is flammable, especially around Halloween candles and pumpkin lights. LED lights are a safer choice.
Check your yarn label for specific care instructions, since cotton, acrylic and wool behave differently.
13. Gift and Selling Ideas
This is a very giftable project because it’s small, personal and easy to make in multiples.
- Teacher or coworker gifts: a simple ghost or pumpkin case in a small gift bag.
- Party favors: make mini pouches for Halloween parties.
- Matching sets: a case plus a coordinating keychain or hair scrunchie.
- Craft fair items: it’s a good seasonal product because it’s quick to make and takes little storage.
If you sell your work, ask which phone sizes your customers have, because fit matters. Offer a few popular sizes or make custom orders. If you’re using someone else’s pattern, check its license before selling.
14. FAQs
Is a crochet phone case beginner friendly?
Yes. A simple sleeve uses basic stitches and gives you a small, quick project. The measuring step is the part that takes the most care.
Will a crochet case protect my phone?
It offers light cushioning and scratch protection, but not drop protection. For a more protective setup, use it over a sturdy hard case.
What yarn should I use?
A smooth cotton or cotton blend in light worsted or DK weight is a great choice. It keeps its shape and shows stitches clearly.
How do I make the case fit my phone model?
Measure the phone, make a gauge swatch, calculate your stitch count and test the fit as you go. Phone sizes differ, so avoid copying a stitch count from someone else without checking it.
How long does it take?
A simple sleeve usually takes 2 to 4 hours. Decorations and straps add more time.
Can I use a crochet phone case with wireless charging?
Often yes, but thick fabric can reduce charging speed. If you notice problems, remove the case while charging.
Can I wash it?
Yes. Hand wash gently, reshape while damp and air dry. Check your yarn label first.
How do I add a face without safety eyes?
Embroider the eyes with black yarn or thread. It’s safer, especially for children’s items, and looks soft and cute.
15. Summary
A Halloween crochet phone case is a quick, affordable and wonderfully personal project. It gives you a daily dose of spooky charm, and it’s small enough to finish in a weekend.
Remember the essentials. Measure your phone and make a gauge swatch, choose a smooth, firm yarn, and test the fit as you work. Keep the decoration simple and bold, plan the openings for the camera and ports, and finish with secure ends. If you want extra function, add a wrist loop or a strap.
Ready to start? Pick your favorite spooky design, grab your yarn and hook, and make one tonight. When it’s done, share a photo and tag StitchNestStudio. We’d love to see your ghosts, pumpkins and bats.