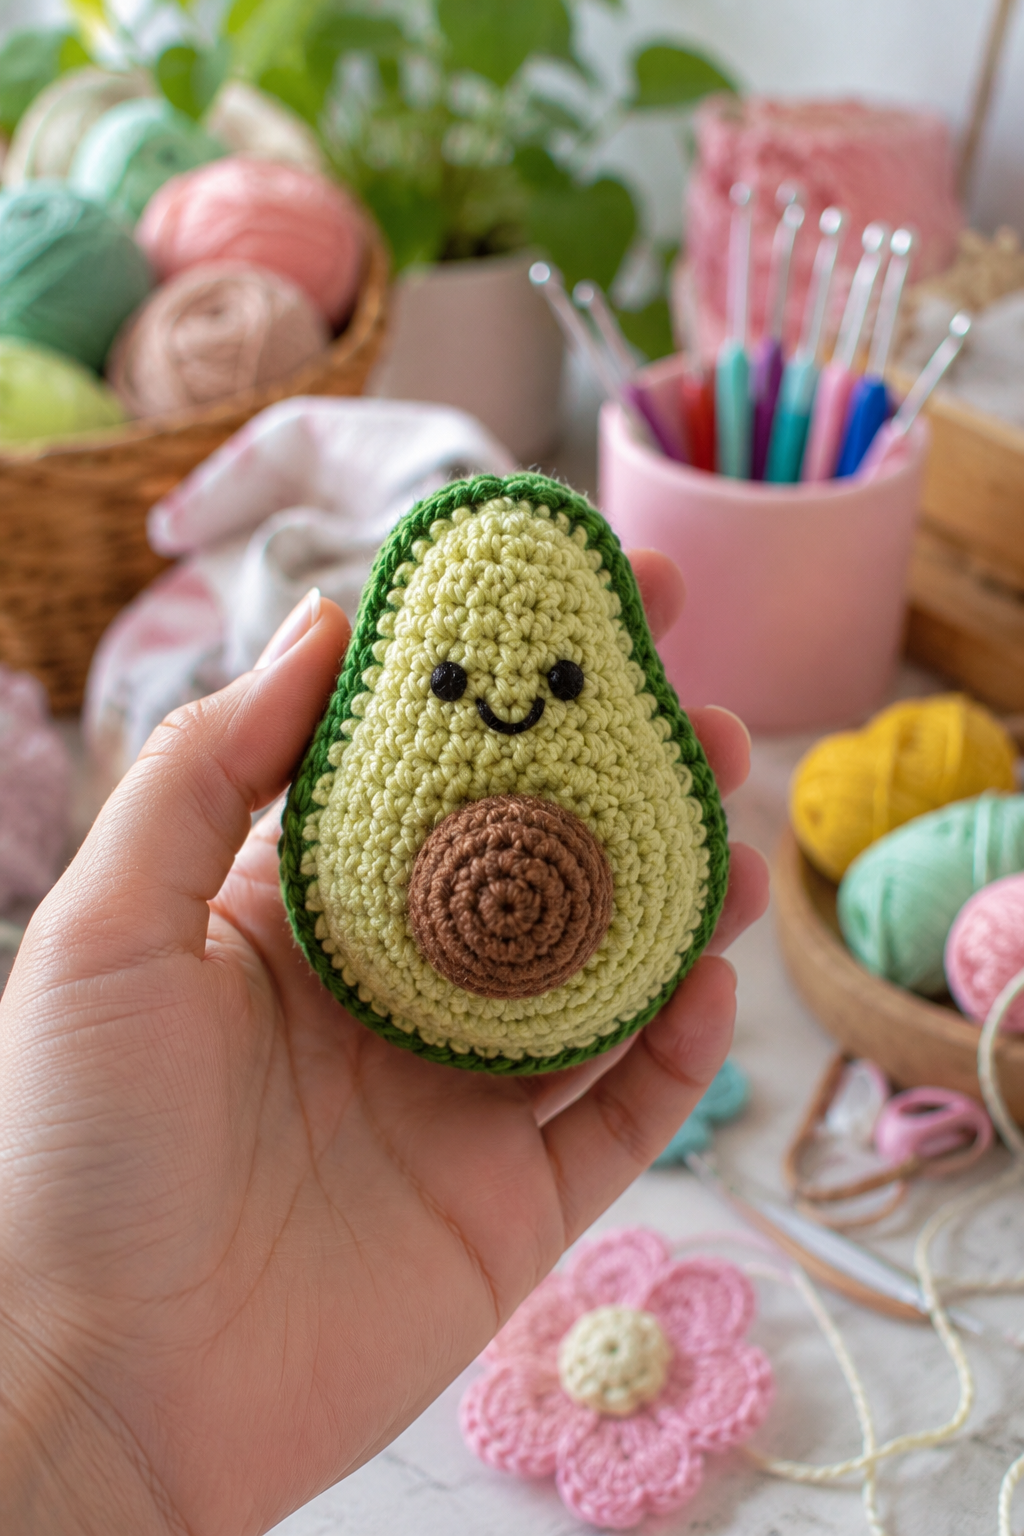
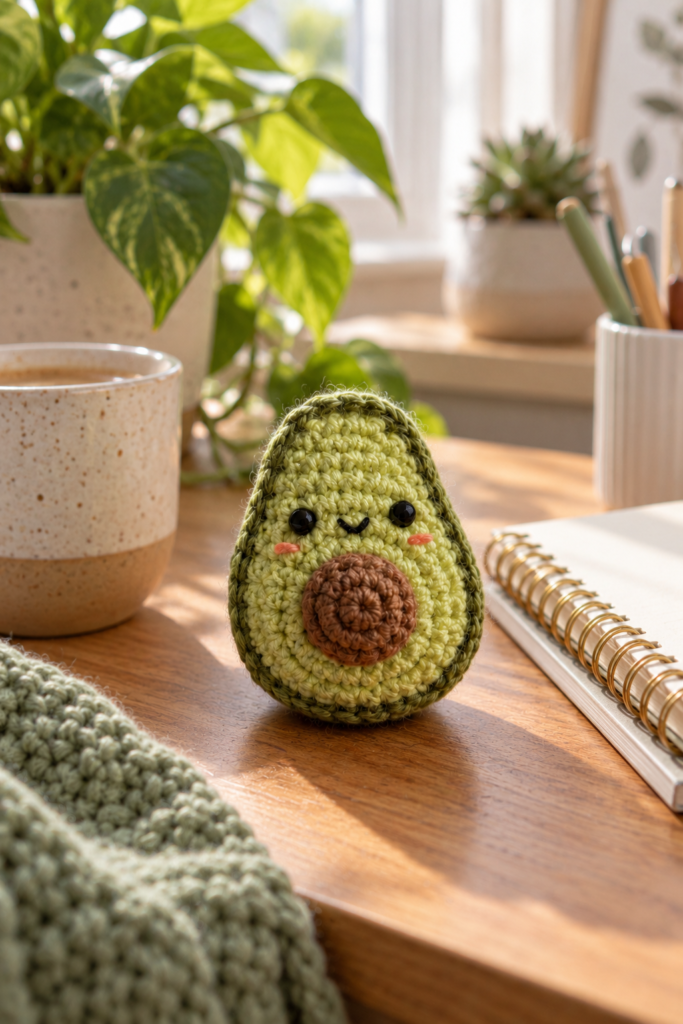
There’s something extra adorable about turning an everyday food into a tiny crochet character, and this Cute Mini Crochet Avocado Amigurumi Pattern does exactly that. With its soft avocado shape, sweet kawaii face, rosy cheeks, and chunky crocheted pit, this little project is full of personality.
The finished avocado is small, lightweight, and easy to display on a desk, shelf, or crochet collection. It also makes a fun handmade gift for avocado lovers, food-themed crochet fans, or anyone who enjoys cute amigurumi. Along the way, you’ll get to practice tight amigurumi stitches, simple shaping, color changes, embroidery, and small decorative details.
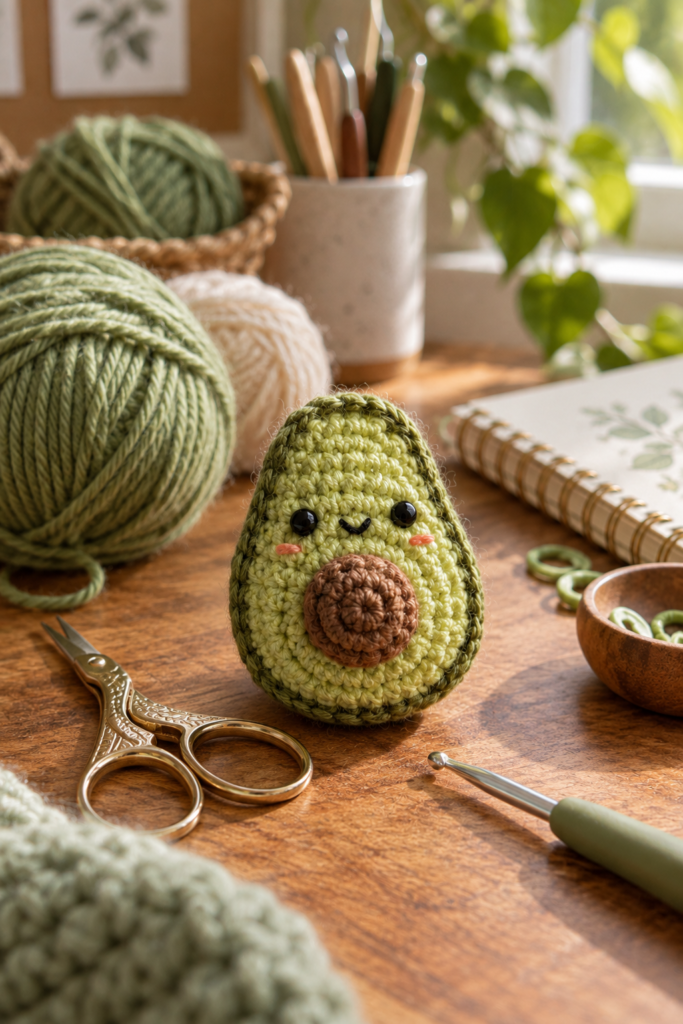
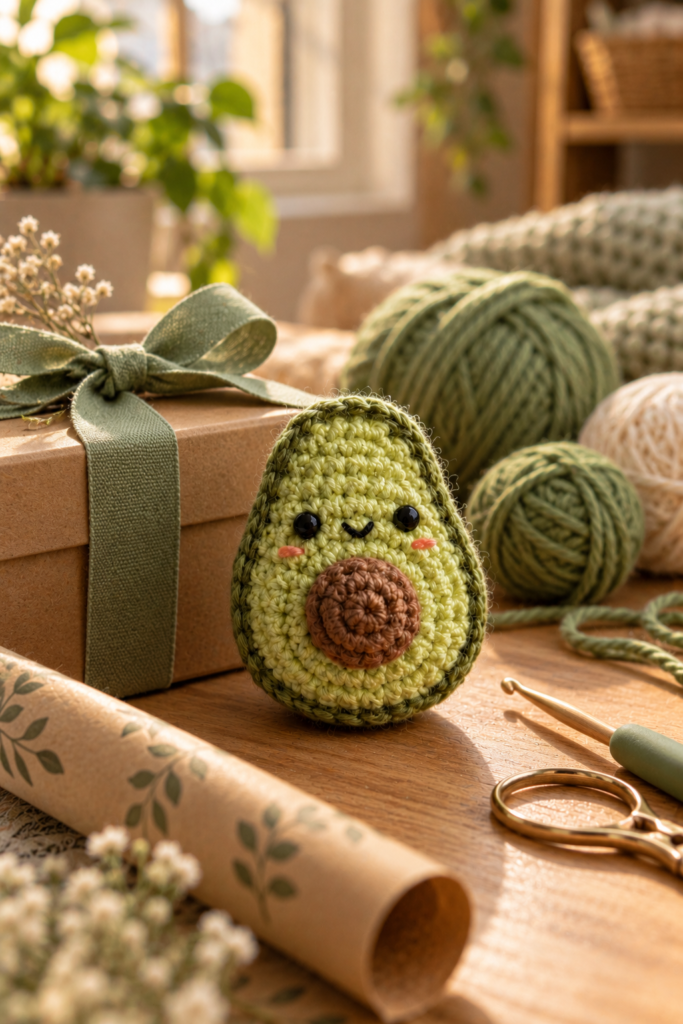
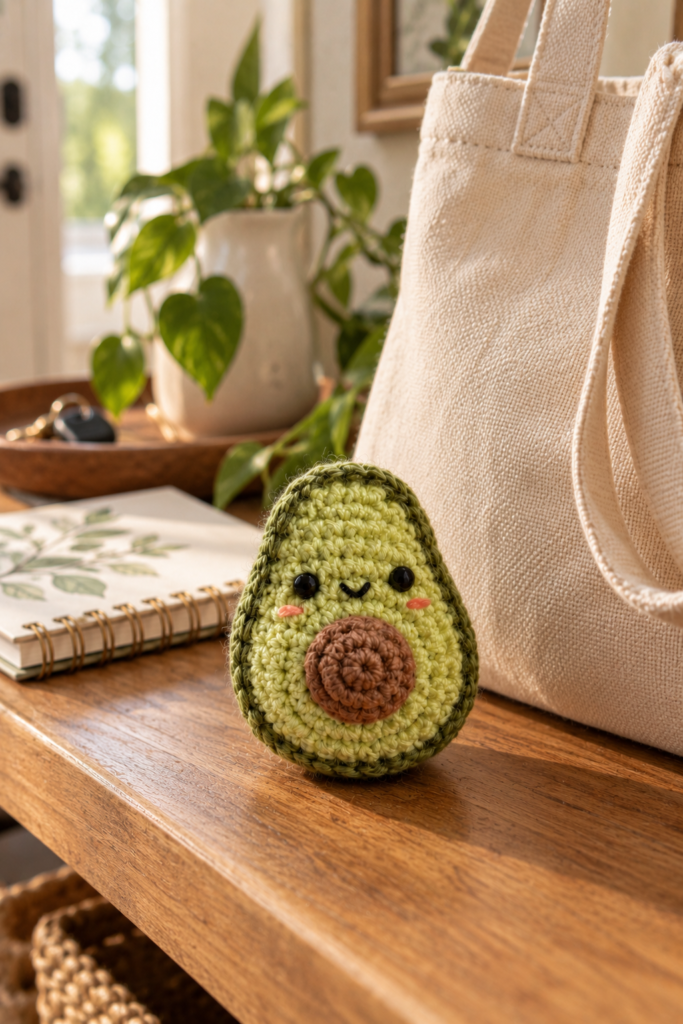
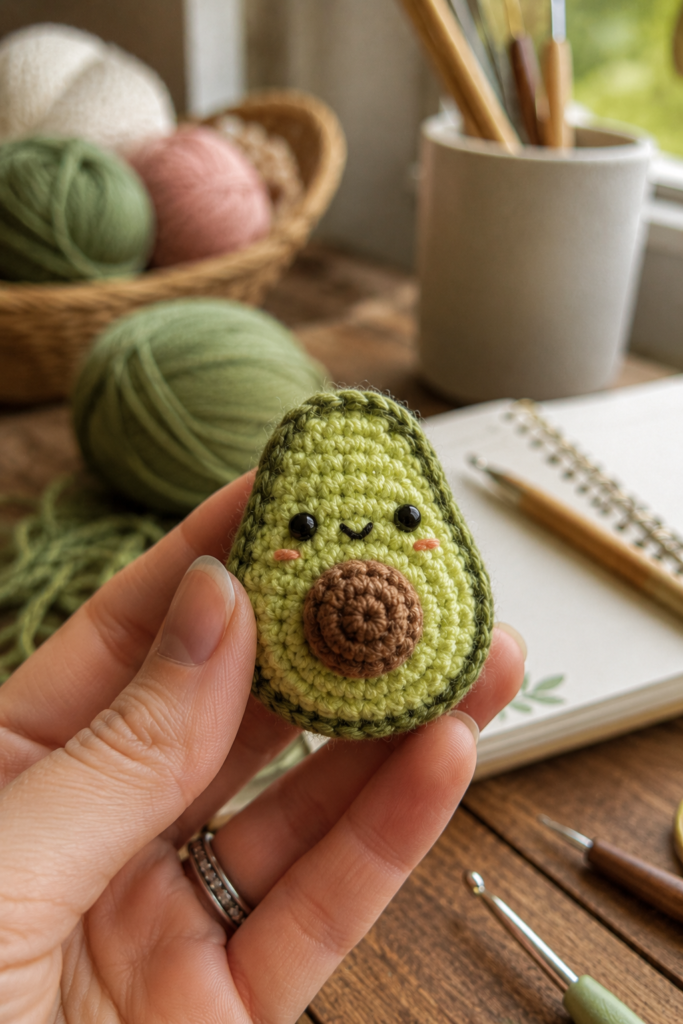
The design features a light-green avocado center framed by a darker green outer edge. A raised brown crocheted pit sits in the middle, while two glossy black eyes, a tiny smiling mouth, and soft pink cheeks complete the kawaii look. The result is a charming little avocado that’s quick to make and full of handmade character.
Table of Contents
- Why You’ll Love This Mini Avocado
- Understanding the Reference Design
- Materials You’ll Need
- Best Yarn for Mini Amigurumi
- Skill Level
- How the Avocado Is Constructed
- Step-by-Step Crochet Guide
- How to Shape the Avocado
- Making the Crocheted Pit
- Adding the Face
- Adding the Pink Cheeks
- Finishing and Assembly
- Beginner Tips
- Common Mistakes
- How to Customize It
- Care and Storage
- Frequently Asked Questions
- Final Thoughts
Why You’ll Love This Mini Avocado
Mini amigurumi projects are perfect when you want something satisfying without committing to a large project.
This avocado is particularly beginner-friendly because the overall design is based on a recognizable rounded shape rather than complicated clothing or multiple body parts.
Here are a few reasons to put it on your crochet list:
- It uses only a few yarn colors.
- Small amounts of leftover yarn are useful.
- The basic shape is easy to understand.
- It gives beginners practice with amigurumi construction.
- The face can be embroidered by hand.
- It makes a cute handmade desk decoration.
- It can be adapted into a charm or keychain.
- It works well as a small handmade gift.
- You can easily make several color variations.
The project is also a good exercise in proportion. With miniature crochet, a few stitches can make a surprisingly large visual difference, so it teaches you to pay attention to shaping and tension.
Understanding the Reference Design
Before starting, study the visual structure rather than immediately reaching for your hook.
The avocado consists of a few important components.
The Light-Green Body
The main body is a rounded avocado shape that becomes narrower toward the top.
The fabric is worked tightly enough that the stuffing does not show through the stitches.
The Dark-Green Border
A darker green outline follows the outside of the avocado.
This gives the piece definition and helps the lighter center stand out.
The Brown Pit
The pit is a separate raised crocheted circle attached to the front.
It is intentionally dimensional rather than simply embroidered onto the body.
The Face
Two shiny black eyes sit above the pit.
A tiny black embroidered smile is positioned between them, creating the kawaii expression.
The Pink Cheeks
Small pink details sit beneath the eyes.
They are subtle, but they make the character look much more expressive.
Materials You’ll Need
You don’t need a huge supply list for this project.
Yarn
Prepare small amounts of:
- Light green yarn for the avocado flesh
- Dark green yarn for the outer edge
- Brown yarn for the pit
- Black yarn or embroidery thread for the mouth
- Pink yarn or embroidery thread for the cheeks
Smooth yarn is preferable because the design depends on clearly visible stitches.
Crochet Hook
Choose a hook appropriate for your yarn.
For amigurumi, a slightly smaller hook than you might normally use can help produce a firm fabric.
The exact hook size depends on your yarn weight and personal tension.
Stuffing
Use a small amount of polyester fiberfill.
You don’t need to pack the body extremely tightly. Overstuffing can distort the oval shape.
Safety Eyes
Small black safety eyes can be used if your design is intended for an appropriate age group.
Alternatively, embroider the eyes with black yarn.
Tapestry Needle
A tapestry needle is useful for:
- Sewing the pit onto the body
- Embroidering the mouth
- Adding cheeks
- Weaving in ends
- Closing the final opening
Stitch Marker
A stitch marker is particularly useful when working in continuous rounds.
Best Yarn for Mini Amigurumi
For this type of project, cotton or cotton-blend yarn is a practical choice.
Cotton gives you:
- Defined stitches
- A firm fabric
- Less stretch
- Clean color changes
- A neat finished appearance
You don’t necessarily need the exact yarn used for the reference.
Instead, focus on choosing yarns with similar thickness.
If your green yarn is substantially thicker than your brown yarn, the pit may look disproportionately small.
Likewise, very bulky yarn can make the finished avocado much larger than expected.
Skill Level
I’d rate this project around confident beginner to intermediate, depending on how small you make it.
You should be comfortable with:
- Magic ring
- Single crochet
- Increase
- Invisible or standard decrease
- Slip stitch
- Working in rounds
- Changing colors
- Basic sewing
- Embroidery
The stitches themselves are not complicated.
The real challenge is maintaining consistent tension while working on a small piece.
How the Avocado Is Constructed
Think of the project as four main stages:
Body → Border → Pit → Face
That makes the project much easier to manage.
You first create the main avocado shape.
Then the darker green edging gives the outside its definition.
The brown pit is crocheted separately and attached to the front.
Finally, the facial details transform an ordinary avocado shape into the cute character seen in the reference.
Step-by-Step Crochet Guide
Step 1: Start the Avocado Body
Begin with a magic ring and work in single crochet.
The first rounds establish the upper portion of the avocado.
As you work, use increases gradually to expand the piece.
Don’t make all the increases in one area. Spread them naturally around the round so that the fabric remains smooth.
What You’re Looking For
At this stage, your work should resemble a small rounded cap.
It shouldn’t look completely flat.
It also shouldn’t form a sharply pointed triangle.
The reference has a soft, organic avocado silhouette.
Step 2: Build the Widest Section
Continue working rounds while maintaining controlled increases until the body reaches its widest point.
This is where checking the shape becomes important.
Place the crochet on a flat surface and look at it from the front.
The sides should curve naturally.
If one side is noticeably wider than the other, check your stitch placement before continuing.
Crochet Tip
Don’t rely only on counting.
Look at the fabric.
Experienced amigurumi crocheters often use both stitch counts and visual shaping. If the fabric is technically correct but the silhouette doesn’t look right, tension or increase placement may need attention.
Step 3: Begin Decreasing
Once the body reaches its widest section, gradually reduce the stitch count.
This creates the narrowing shape toward the top.
Work decreases evenly rather than bunching them together.
As the opening becomes smaller, start adding stuffing.
How to Shape the Avocado
Stuffing is one of the most important parts of getting a good miniature avocado.
Add Small Amounts
Don’t push a large ball of stuffing inside at once.
Instead:
- Add a small amount.
- Shape the body with your fingers.
- Add another small amount.
- Check the silhouette again.
This gives you much more control.
Avoid Hard Spots
You want the finished piece to feel firm but not rock-hard.
If you overstuff the body, the stitches may stretch and create visible gaps.
If you under-stuff it, the avocado may collapse.
Aim for even firmness throughout.
Step 4: Close the Body
Continue decreasing until the opening is small enough to close.
Add the final amount of stuffing before completely closing the piece.
Use a tapestry needle to secure the remaining stitches.
Weave the yarn end into the body and trim the excess carefully.
At this point, you should have the basic avocado silhouette.
Adding the Dark-Green Border
The darker green edge is an important visual feature of the reference.
Depending on how you’ve constructed the body, you can create this border during the final rounds or add it afterward with slip stitches or carefully placed single crochet.
The key is consistency.
Try to keep the edging similar in thickness around the entire outside.
Don’t Pull Too Tightly
A common mistake is making the border too tight.
That can cause the edge to curl inward.
If the border begins pulling the light-green body out of shape, loosen your tension slightly.
Making the Crocheted Pit
The pit is one of the easiest pieces to recognize in this design.
It is essentially a small raised circular amigurumi component.
Start With Brown Yarn
Create a small round shape using brown yarn.
Work increases evenly so that the circle stays flat.
The exact number of rounds will depend on the size of your avocado body and the proportions you’re trying to achieve.
Add Dimension
Rather than making the pit completely flat, add a small amount of stuffing before closing it.
This gives the pit its raised appearance.
Don’t overstuff it.
The reference shows a rounded, compact pit rather than a large ball.
Attaching the Pit
Position the pit in the center of the light-green body.
Before sewing, use a few temporary pins or yarn strands to hold it in place.
Step back and look at the avocado from a distance.
This sounds unnecessary for such a small project, but it helps.
A pit positioned slightly too high can change the entire expression of the character.
Once you’re happy with the position, sew it securely around its edge.
Adding the Face
The face is what gives the avocado its personality.
Eyes
The reference uses two glossy black eyes.
If using safety eyes, position them symmetrically.
Don’t install them until you’re happy with their location.
If you’re making the avocado for a young child, embroidered eyes can be a safer alternative to detachable plastic components.
Check the Expression
Place both eyes temporarily and look at the piece straight on.
The eyes should have a similar height and spacing.
Small differences become very noticeable on kawaii amigurumi.
The Tiny Smile
The mouth can be embroidered with black yarn or embroidery thread.
Keep it small.
A short curved line is enough.
Use fewer stitches than you initially think you need.
The expression should remain subtle.
Adding the Pink Cheeks
The tiny pink cheeks soften the expression and add a little color.
You can embroider each cheek with a few short stitches.
Try to keep both cheeks approximately the same size.
They don’t have to be mathematically perfect—handmade character is part of the charm—but they should look balanced.
Finishing and Assembly
Before calling the project finished, inspect the entire avocado.
Look for:
- Loose yarn ends
- Uneven border stitches
- Loose safety eyes
- Uneven cheeks
- Poorly attached pit
- Visible stuffing
- Misshapen areas
Shape With Your Fingers
Gently massage the body into shape.
Don’t pull hard on the crochet.
Small adjustments can make the silhouette much cleaner.
Secure the Pit
Check the pit from the side.
If it moves excessively, reinforce the stitching.
Check the Face
Look directly at the avocado.
The eyes, mouth, and cheeks should work together as one expression.
Beginner Tips for Better Results
1. Use a Stitch Marker
When working continuous rounds, it’s easy to lose track of where a round begins.
A marker saves time and prevents unnecessary counting errors.
2. Keep Your Hook Grip Relaxed
Gripping the hook too tightly can cause your stitches to become progressively smaller.
Try to maintain consistent tension.
3. Stuff Gradually
This is one of the easiest ways to improve your finished shape.
Small additions are much easier to control than one large amount of stuffing.
4. Check Before Sewing
Never permanently attach decorative pieces immediately.
Place them first.
Take a look.
Then sew.
5. Count, But Also Look
A technically correct stitch count doesn’t always guarantee the exact visual shape you want.
Your eye is an important tool.
Common Mistakes and How to Fix Them
The Avocado Looks Too Round
If your piece resembles a ball instead of an avocado, the shaping may need more vertical length.
Work additional rounds through the center before beginning the final decreases.
The Top Is Too Pointed
This can happen if decreases are concentrated too heavily near the top.
Spread shaping more gradually.
The Pit Looks Too Large
Reduce the size of the pit or use thinner yarn for that component.
The pit should complement the body rather than cover most of it.
The Face Looks Uneven
Remove and reposition the facial pieces before permanently securing them.
This is much easier than trying to correct them afterward.
Stuffing Is Visible
Your stitches may be too loose for the yarn and hook combination.
Try a smaller hook or slightly firmer tension.
How to Customize the Cute Mini Avocado
Once you’ve mastered the basic design, there are plenty of ways to personalize it.
Make a Tiny Keychain
Add a reinforced loop at the top of the avocado and attach suitable keychain hardware.
Because keychains experience more pulling than decorative plushies, reinforce the attachment point carefully.
Make Different Expressions
Try:
- Happy smile
- Sleepy eyes
- Blushing face
- Surprised expression
- Winking face
Change the Green
You can experiment with:
- Sage green
- Olive green
- Bright avocado green
- Soft pastel green
Make a Mini Collection
Create several avocados with different facial expressions.
A group of tiny food characters can make an adorable desk display.
Care and Storage
Crochet amigurumi is easy to maintain when treated gently.
Keep It Dry
Avoid leaving the finished avocado in damp areas for long periods.
Moisture can affect both yarn and stuffing.
Clean Gently
For everyday dust, use a soft dry cloth or gentle brush.
If the yarn manufacturer permits washing, follow that yarn’s specific care instructions.
Protect the Face
Avoid pulling on the safety eyes, embroidery, or decorative elements.
Store Away From Sharp Objects
Hooks, scissors, Velcro, and rough surfaces can catch crochet fibers.
A small fabric pouch or clean storage box works well for long-term storage.
Frequently Asked Questions
Is this Cute Mini Crochet Avocado Amigurumi Pattern beginner-friendly?
Yes. The project mainly uses basic amigurumi techniques such as single crochet, increases, decreases, stuffing, sewing, and simple embroidery. The miniature scale is the main challenge.
What yarn should I use for a crochet avocado?
Smooth cotton or cotton-blend yarn is a good choice because it provides clear stitch definition and creates a firm fabric.
Can I make the avocado larger?
Absolutely. Using thicker yarn and a larger hook will generally produce a larger finished piece. You can also add additional shaping rounds.
Can I turn the avocado into a keychain?
Yes. Add a secure attachment loop at the top and reinforce it thoroughly before connecting keychain hardware.
Do I need safety eyes?
No. You can embroider the eyes with black yarn or embroidery thread instead.
Why does my avocado look flat?
It may need more stuffing or additional shaping rounds. Add stuffing gradually and reshape the body before closing it.
Why are my stitches too loose?
Try using a smaller crochet hook or slightly firmer tension. Amigurumi generally looks best when the fabric is dense enough that the stuffing isn’t visible.
Can I sell finished avocado amigurumi?
That depends on the terms of the specific pattern or design you’re working from. Always check the designer’s stated permissions before selling finished pieces. If you create your own original design, keep records of your process and original work.
Is a crochet avocado safe for babies?
Not automatically. Safety eyes, stuffing, yarn ends, and keychain hardware can present hazards. Products containing small detachable parts should be kept away from babies and young children unless they have been specifically designed and tested for that use.
Final Thoughts
This Cute Mini Crochet Avocado Amigurumi Pattern is a great example of how a simple shape can become a character with only a few carefully placed details.
The light-green body creates the recognizable avocado silhouette, the darker green edge adds definition, and the raised brown pit gives the piece dimension. The black eyes, tiny smile, and pink cheeks are what finally turn it into a kawaii amigurumi character.
If you’re still learning amigurumi, don’t worry about making the first one absolutely perfect.
Focus on three things:
consistent stitches, balanced shaping, and careful finishing.
Once those are under control, the facial details become much easier.
And don’t throw away your leftover yarn. Small amounts of green, brown, pink, and black yarn are exactly what projects like this need.
Save this idea for your next crochet session, gather your supplies, and give this tiny avocado a personality of its own