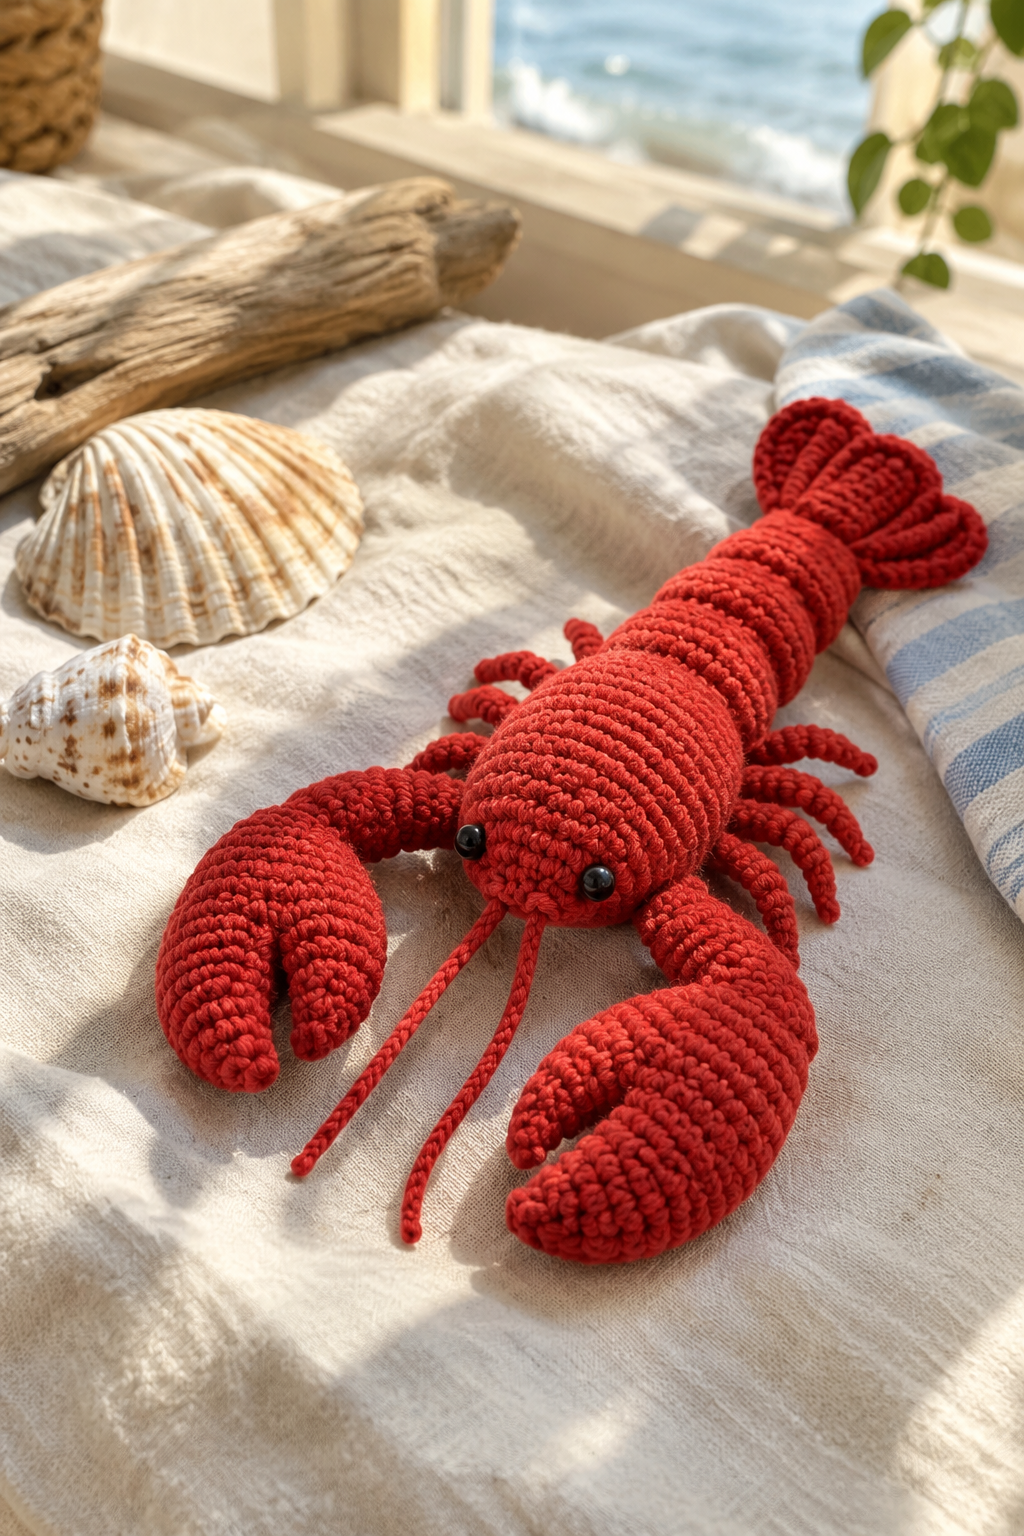
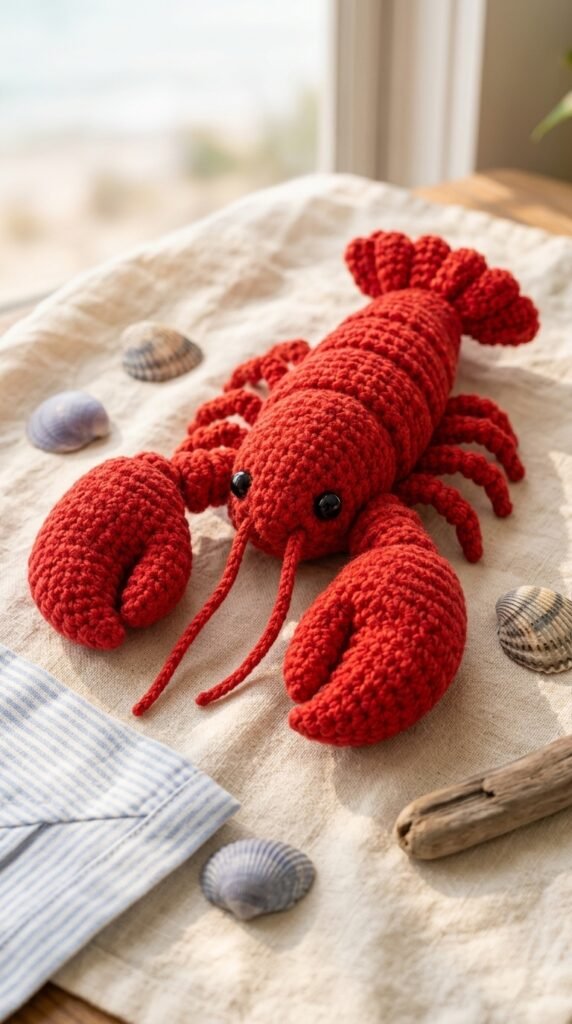
If your heart belongs to the sea, you probably already have a shelf, a window or a corner of your home that is full of seashells, little boats and beachy treasures. A soft, smiling lobster is the perfect addition. It is bright, a little bit funny, and impossible not to love. This cute crochet lobster amigurumi pattern will walk you through every part of the project, from the first magic ring to the last stitch of the smile.
This guide is written for real crocheters, including people who are making their first amigurumi. You will find the materials, the full pattern in US terms, the assembly steps and a long troubleshooting section for the problems that most people run into, like floppy claws, crooked eyes or a tail that will not sit straight. Take it one piece at a time, and by the end you will have a little ocean friend of your own.
Why a Crochet Lobster Is Such a Good Project
Ocean-themed amigurumi are some of the most popular handmade toys, and the lobster has a special charm. It is friendly rather than scary, even with its big claws. The bold red color catches the eye, and the simple shapes make it easy to crochet, even for people who are fairly new to working in the round.
It is also a very versatile project. A lobster makes a fun gift for a child who loves the beach, a lovely decoration for a nautical nursery, and a thoughtful present for a seafood-loving friend or a fisherman in the family. Some people even make a few and hang them on a summer wreath or place them on a beach house shelf. If you sell your handmade items at craft fairs, this design is sure to get attention, because people smile the moment they see it.
Another reason to love this pattern is that it is made from small, separate pieces. If one claw turns out wonky, you only redo the claw rather than the whole toy. That makes the process relaxed and forgiving. You can work on it in short sessions, such as a half hour in the evening, and still finish in a few days.
Skill Level and Time
This pattern is great for confident beginners and above. If you know how to make a magic ring, single crochet, increase and decrease, you have all the skills you need. The finished lobster is about 6 inches (15 cm) long, not counting the claws, although the exact size depends on your yarn and tension. Most people finish it in 5 to 8 hours, depending on how much time they spend on the face and the small details.
Materials You Will Need
Smooth yarn makes the best amigurumi, because it shows off the stitches and does not catch on the hook. A cotton or cotton blend in DK weight gives a neat, firm finish, but acrylic works too.
- DK weight yarn in bright red or coral red (main color)
- A small amount of white or cream yarn for the belly or for tiny highlights (optional)
- A small amount of black yarn for the mouth, or use embroidery thread
- 3.0 mm crochet hook (go down to 2.75 mm if your stitches look loose)
- A pair of 8 mm black safety eyes, or black yarn for embroidered eyes
- Polyester fiberfill stuffing
- Yarn needle
- Stitch markers
- Scissors
- Pink embroidery thread for cheeks (optional)
If you are making the lobster for a baby or toddler, skip the safety eyes and embroider the eyes instead. A handmade toy with no hard parts is always the safest choice for little ones.
Abbreviations (US Terms)
- MR: magic ring
- sc: single crochet
- inc: two single crochets in the same stitch
- dec: single crochet two stitches together (invisible decrease works best)
- ch: chain
- sl st: slip stitch
- ( ) at the end of a round shows your stitch count
All the main pieces are worked in continuous rounds, so there is no joining and no turning chain unless the pattern says so. Use a stitch marker in the first stitch of every round so you never lose your place.
Three Tips Before You Start
First, crochet tightly. Amigurumi needs dense stitches so the stuffing does not show through. If you can see white fluff between the stitches, go down a hook size. Tight stitches can feel awkward at first, but your hands get used to it quickly.
Second, stuff as you go. Do not wait until the end. Add small pieces of stuffing at a time, and push them into the corners with the blunt end of your hook. A firm body keeps the lobster standing up nicely and gives it a plump, cuddly shape.
Third, keep notes. When you finish a piece, jot down any changes you made, like an extra round on the arm. It makes the second claw easy to match with the first one, which is the number one thing people struggle with in this project.
The Pattern
Body (red)
The body starts at the front of the lobster, where the face is, and ends in the tail. Work in red yarn.
- Round 1: MR, 6 sc (6)
- Round 2: inc in each stitch (12)
- Round 3: (sc, inc) repeat 6 times (18)
- Round 4: (2 sc, inc) repeat 6 times (24)
- Round 5: (3 sc, inc) repeat 6 times (30)
- Round 6: (4 sc, inc) repeat 6 times (36)
- Rounds 7 to 14: sc in each stitch (36)
If you are using safety eyes, place them now between rounds 6 and 7, about 7 stitches apart. Test the position with pins first and check from the front before fixing them in place.
- Round 15: (4 sc, dec) repeat 6 times (30)
- Round 16: (3 sc, dec) repeat 6 times (24)
- Round 17: (2 sc, dec) repeat 6 times (18)
Stuff the body firmly now.
- Round 18: (sc, dec) repeat 6 times (12)
- Rounds 19 to 22: sc in each stitch (12)
Add a little more stuffing into the tail section, but keep it a bit softer so the tail has some flexibility.
- Round 23: flatten the opening and sc across 6 stitches to close
Fasten off and weave in the end.
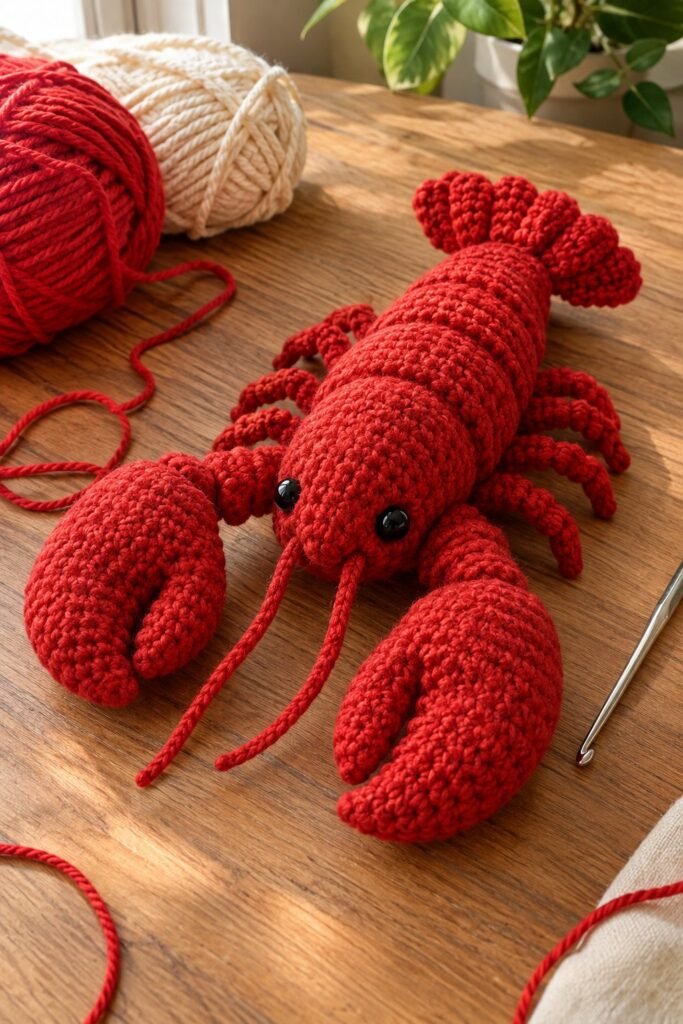
Claws (make 2, red)
- Round 1: MR, 6 sc (6)
- Round 2: inc in each stitch (12)
- Round 3: (sc, inc) repeat 6 times (18)
- Rounds 4 to 6: sc in each stitch (18)
- Round 7: (sc, dec) repeat 6 times (12)
Stuff the claw firmly.
- Rounds 8 to 12: sc in each stitch (12)
Lightly stuff the arm part. Fasten off, leaving a long tail for sewing.
Making the pincer: Pinch the front of the claw ball so the MR end is at the top. Take a length of red yarn on your needle and stitch a short line from the tip down into the claw about four stitches long. Pull gently so the claw forms a split, giving it the look of a pincer. This small step makes a big difference to the finished look.
Tail Fan (make 3, red)
These small ovals form the fan at the end of the tail.
- Ch 5
- Round 1: sc in 2nd ch from hook, sc in next 2 ch, 3 sc in last ch. Working along the other side of the chain, sc in next 2 ch, 2 sc in the last stitch (10)
- Round 2: inc, 3 sc, inc, inc, 3 sc, inc (14)
- Round 3: sc in each stitch (14)
Fasten off, leaving a tail for sewing. Make the center piece one round longer so the fan looks natural.
Little Legs (make 6, red)
- Ch 8
- sc in 2nd ch from hook and in each ch across (7)
- Fasten off, leaving a tail for sewing
Each leg is very small, so you can make all six in a few minutes. They look a bit like tiny noodles at first, but they are just right once sewn on.
Antennae (make 2, red)
- Ch 14
- sl st in 2nd ch from hook and in each ch across (13)
- Fasten off, leaving a tail for sewing
For a pretty curl, let the antennae wrap around a pencil for a few minutes before you sew them on.
Assembly: Bringing Your Lobster Together
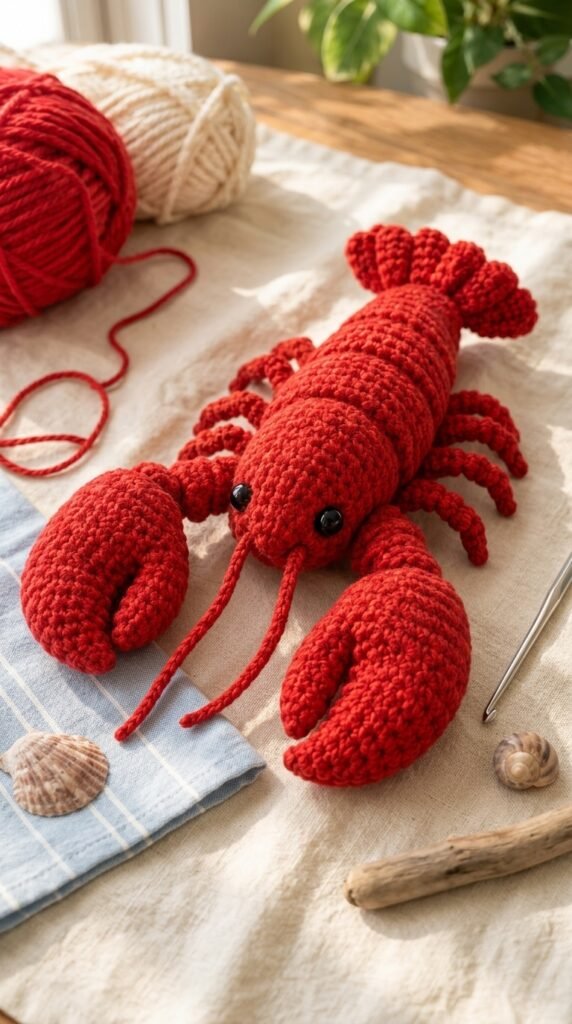
Careful assembly is what makes a handmade toy look polished, so slow down for this part. Use pins and check the lobster from the front, back and sides before you sew anything permanently.
- Sew the claws. Place the claws on each side of the body, around rounds 8 to 10, with the pincers pointing forward. Sew them on flat, going around the arm opening twice so they stay strong. Angle them slightly upward for a friendly look.
- Attach the legs. Sew three legs on each side of the underside of the body, spaced evenly. The legs should point out and slightly down so the lobster has a stable base.
- Add the tail fan. Sew the three ovals to the flattened end of the tail, with the longer one in the center and the others angled slightly outward.
- Place the antennae. Pin them close to the MR at the front, one on each side, and sew them in place. If they feel floppy, add a couple of extra stitches at the base.
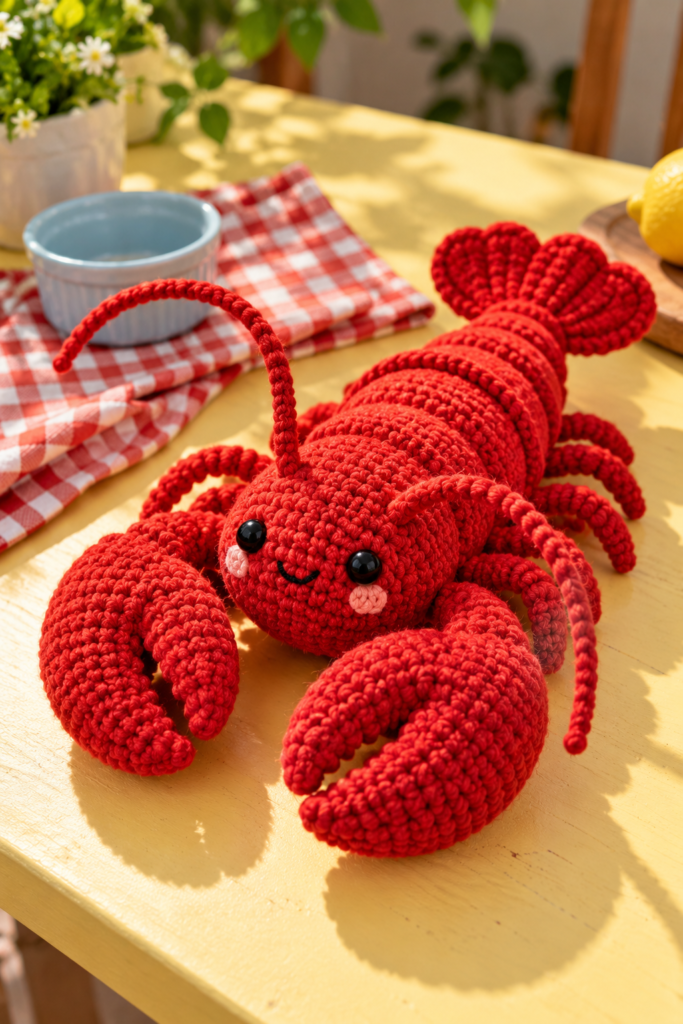
- Add the face details. Stitch a small curved smile in black yarn below the eyes, about 2 or 3 stitches wide. Add two small pink stitches on each side for soft cheeks.
- Final shaping. Roll the tail gently into a slight curve, and tack it in place with one or two hidden stitches underneath. This gives the lobster a happy, curled-up look.
Common Problems and How to Fix Them
This is the part most people skip, but it can save your project.
Problem: The claws are floppy.
Most often, the arm is under-stuffed or the stitches are too loose. Add a little more stuffing near the base of the claw, and sew it on with two rounds of stitching. If it is still floppy, pull a few stitches tighter at the joint.
Problem: The claws look different sizes.
This usually comes from a change in tension between sessions. Make both claws in one sitting if you can, and count your rounds as you go. If one looks bigger, make a new one with a hook one size smaller.
Problem: The eyes are crooked.
Pin the eyes in place and check the lobster in a mirror before you lock them in. A mirror shows any difference right away. If you have already fixed them, you can open the washer, pull the eye out and reposition it, but it is much easier to check first.
Problem: Stuffing shows through the stitches.
Your tension is too loose. Go down a hook size, or crochet with a tighter hold on the yarn. For a dark red yarn the problem is less visible, but with a light red it can show a lot.
Problem: The lobster will not sit upright.
The underside is probably too soft, or the legs are sewn too far back. Add a little more stuffing under the belly and move the legs a bit closer to the center. A small bag of plastic pellets inside the base can add weight, but only use it if the toy is for display and not for young children.
Problem: The tail fan looks messy.
The ovals may be too different in size, or sewn too close together. Make sure the center piece is the longest, and sew the outer pieces at a slight angle. A few extra stitches at the base keep them in position.
Problem: The color looks dull.
A true, warm red looks more cheerful than a dark or brownish red. Choose the yarn in natural daylight if you can, because shop lighting can change how colors look. If your yarn is too dark, add a lighter belly with a cream or coral yarn.
Problem: The shape looks lumpy.
That is almost always the stuffing. Use small pieces of fiberfill and place them gradually, rather than pushing in one big ball. Gently roll the piece between your hands once it is full to smooth it out.
Make It Your Own
Once you know the basics, you can adapt this pattern in many ways. Try a bright orange lobster for a sunset look, or a blue one for a fantasy sea creature, since real lobsters are often a dark blue-green until they are cooked. Add stripes of darker red across the tail with surface slip stitches to create a segmented look. Make a tiny crocheted bib, a little sailor hat, or a small scarf for a seasonal gift.
You can also create a whole family of sea friends to go with your lobster. A small crab, a starfish and an octopus all follow the same basic techniques, so once you finish this pattern you will be ready for more. A set of ocean animals lined up on a shelf makes a lovely nursery display or a heartfelt gift for a child.
If you want a larger version, simply use a thicker yarn and a bigger hook. A chunky yarn with a 5 mm hook will give you a cuddly lobster about twice the size, perfect as a pillow-style toy. Use a larger safety eye to match.
Care Tips
Spot clean with a damp cloth and a little mild soap. If your lobster needs a full wash, place it in a mesh laundry bag and use the gentle cycle, then let it air dry completely. Reshape the claws and the tail while it is still slightly damp. Keep it away from direct sunlight for long periods, which can fade the red over time.
Final Thoughts
A good amigurumi is part patience and part personality. With firm stuffing, careful sewing and a sweet little smile, this crochet lobster turns out bright, cheerful and full of charm. Do not worry if your first one is not perfect. Every handmade toy has its own character, and that is exactly what makes it special.
Grab your red yarn, play your favorite music, and enjoy the process. When your lobster is finished, give it a place of honor on your shelf, or wrap it up for someone who loves the ocean. And if you share your finished version online, we would love to see it.